Studio Editor: Pinning Elements and Sections
3 min
In this article
- Pinning elements and sections
- Removing the pinned position
Want to make sure visitors aren't missing important information? You can lock elements and sections into place using the Pinned Position setting - so they're always accessible to visitors as they scroll up and down.
Did you know?
You can add a header scroll effect to change the way it looks as visitors scroll up and down. For example, make the header change colors on scroll, or move it out of the way to help visitors focus on the page.
Pinning elements and sections
Pin elements to a container, section or page so they're always within reach for site visitors. Likewise, you can pin sections to increase the visibility of important content and navigation elements (e.g. the site menu).
Are there elements / sections that can't be pinned?
Notes:
It is only possible to pin one section per page. In addition, the section needs to border the page on all breakpoints.
To pin an element or a section:
- Select the relevant section or element.
- Click the Open Inspector icon
 at the top right of the editor.

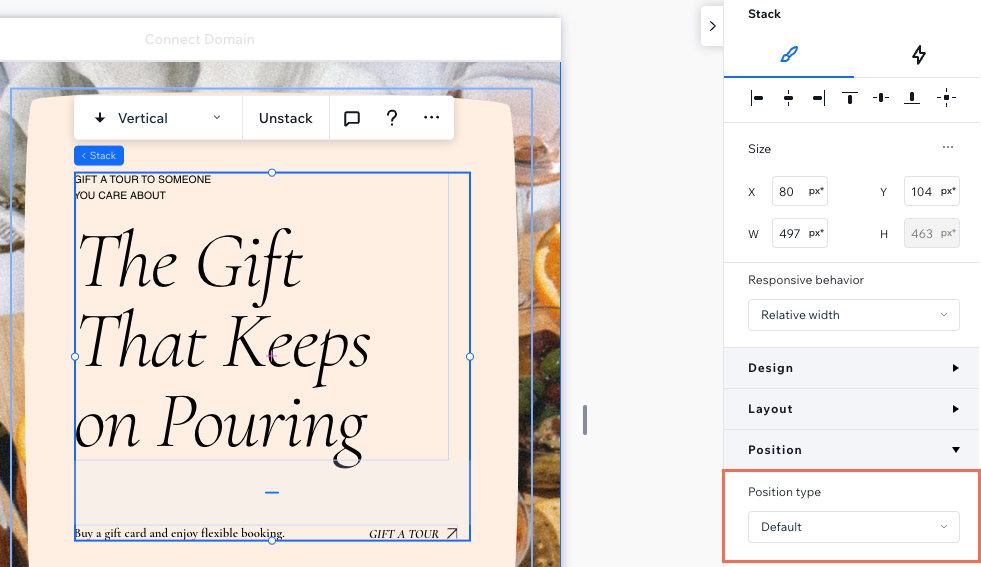
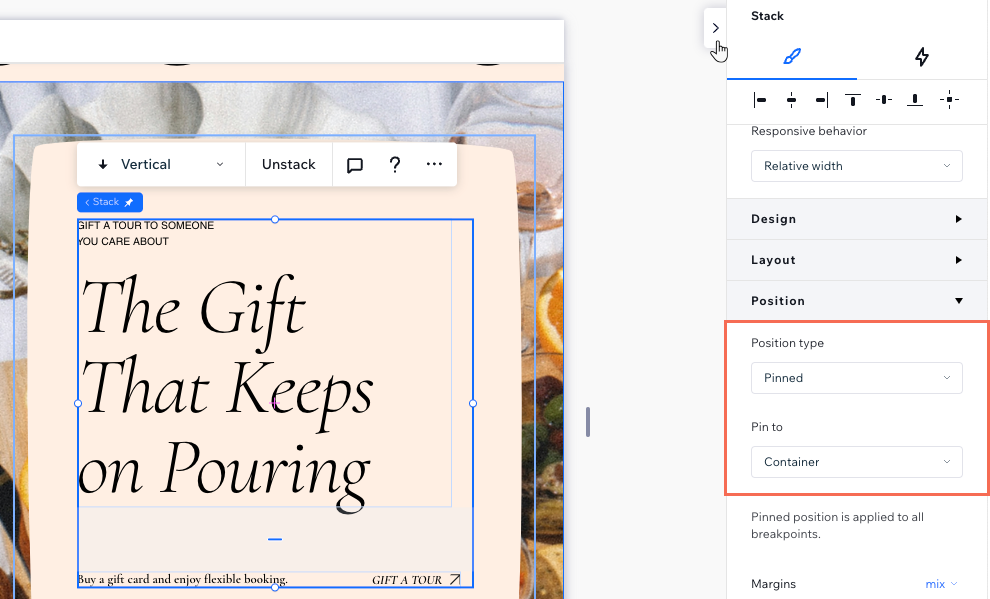
- Scroll down to Position.
- Select Pinned from the Position type drop-down.
- (Elements only) Choose where to pin the element under Pin to:
- Container / Cell: The element stays fixed in place, relative to its parent container or cell.
- Section: The element stays fixed in place as visitors scroll up and down the section.
- Page: The element stays visible and fixed in place as visitors scroll up and down the entire page.
Did you know?
By default, a pinned section overlaps the section below it.
Removing the pinned position
You can always revert elements and sections back to the default position. This means they are no longer pinned to the screen, they simply stay in their position.
To remove the pinned position:
- Select the relevant section or element.
- Click the Open Inspector icon at the top right of the editor.
- Scroll down to Position.
- Select Default from the Position type drop-down.