Studio Editor: Adding Header Scroll Effects
6 min
In this article
- Adding and setting up a header scroll effect
- Changing the header background color on scroll
- Removing a scroll effect
- Working with advanced header settings
Enhance the header's behavior during scroll by implementing smooth transition effects. You can make the header fade away or slide out of view as visitors navigate down the page. You can also adjust its fill color and opacity to maintain visibility without it being a distraction.
This approach not only improves the site visitor experience but also keeps the focus on the content, ensuring your clients’ sites look polished and professional.

Adding and setting up a header scroll effect
Choose how you want the header to behave, depending on how noticeable it should be. You can make it freeze, for example, so it's always visible, or make it move out of the way so visitors can focus on the page's content.
Tip:
The scroll effect only applies to the page you're currently working on.
To apply a scroll effect to the header:
- Select the header.
- Click the Open Inspector icon
 at the top right of the editor.

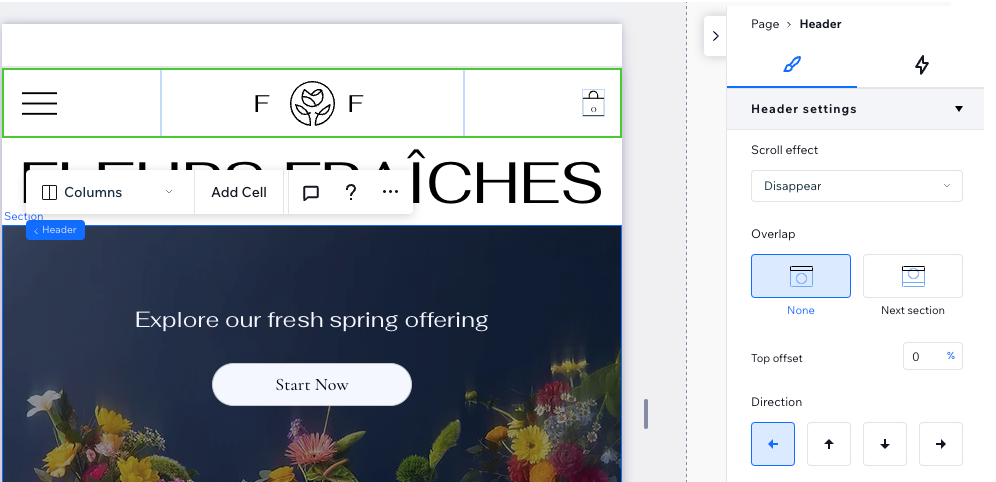
- Under Header settings, choose a Scroll effect and set it up:
Scroll with site
Freeze
Disappear
Fade out

Changing the header background color on scroll
Alongside the scroll effect you choose for the header, you can make it change colors when visitors scroll down. This brings even more attention to the header, ensuring visitors never miss it.
Tip:
This setting applies to every page where the header appears.
To change the header background color on scroll:
- Select the header.
- Click the Open Inspector icon
 at the top right of the editor.

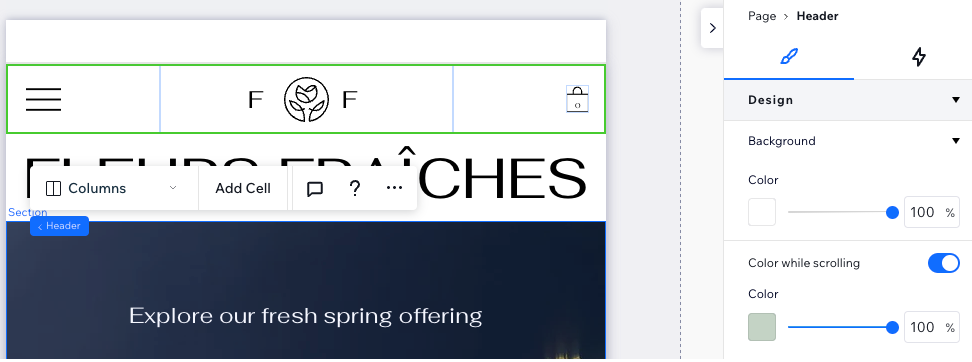
- Under Design, enable the Color while scrolling toggle.
- Click the color box to choose a different color.
- (Optional) Drag the slider to change the opacity.

Removing a scroll effect
You can always remove a scroll effect that you previously added to the header.
To remove a scroll effect:
- Select the header.
- Click the Open Inspector icon
 at the top right of the editor.

- Choose what you want to disable:
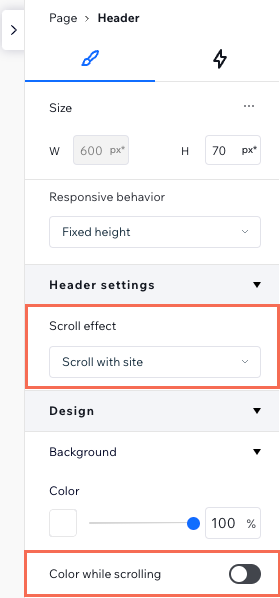
- Scroll effect: Select the Scroll with site option from the drop-down.
- Color while scrolling: Disable the toggle to remove this effect.

Working with advanced header settings
When enabling advanced settings in the Inspector, you get more granular control of the header scroll effect. This view lets you adjust the position type (i.e. pinned, sticky) and the transition (e.g. move, fade) separately, creating your own effect instead of our presets.
Note:
By default, pinned headers overlap the next section. If you don't want the header to overlap the next section but still want it fixed to the screen, you can make it sticky instead.
To enable advanced settings:
- Select the header.
- Click the Open Inspector icon
 at the top right of the editor.

- Click the More Actions icon
 next to Size.
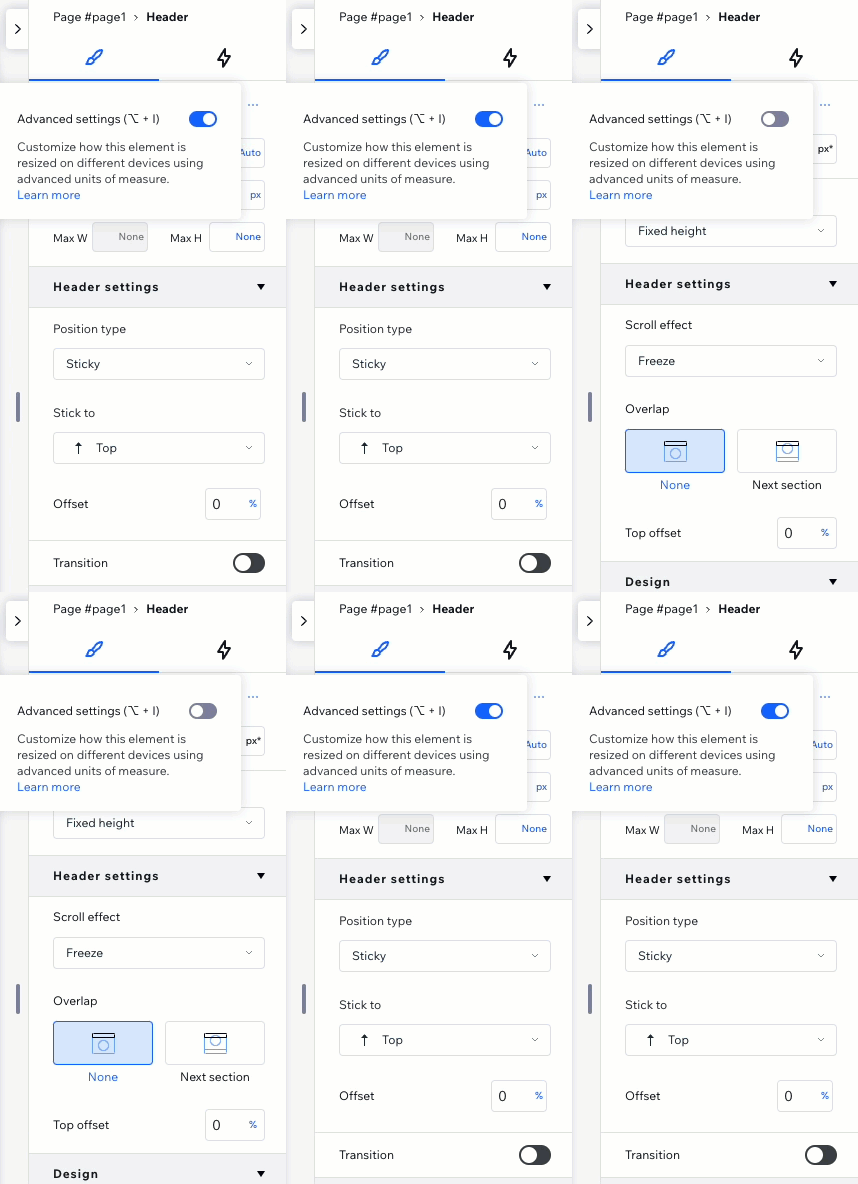
 - Enable the Advanced Settings toggle.
- Adjust the header scroll effect under Header settings:
- Select a Position type (e.g. pinned, sticky).
- Add an Offset to create some distance between the header and the top of the page.
- Enable the Transition toggle to add the Move or Fade effect.
- Add a Color while scrolling (under Design).


