

Studio Editor: Customizing a Section Grid
8 min
In this article
- Adding cells to a section
- Customizing the section grid
- Swapping and flipping cells in the grid
- Switching to an advanced CSS grid
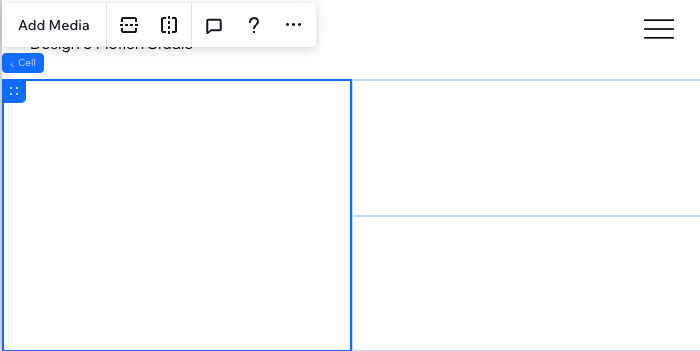
In the Studio Editor, sections come with a built-in grid, containing a single cell (housing the entire section). Split the section into more cells to give a responsive structure to the content. There are various customizable layouts to choose from.
Go to our Wix Studio Academy to check out additional Wix Studio webinars, tutorials, and courses.
Adding cells to a section
Add cells to a section to create a responsive, structured layout. Keeping the elements in separate cells ensures they stay in place on all screens. Choose a layout, then move elements to the cells - you can always split the cells or add new ones later.
Looking to add cells to a container?
You can apply an advanced CSS grid on the container.
To add cells to a section:
- Select the relevant section.
- Click the Blank drop-down at the top of the section.

- Choose a layout: Rows, Columns, Collage, etc.
Tip: You can change the layout from the drop-down at any time - it will not move your elements around. - Drag elements to the relevant cells.
Do your grid cells overlap on mobile?
We recommend switching to a vertical layout (like Rows) to resolve this issue.
Customizing the section grid
Make the grid look just as you want. You can split or merge existing cells, add new ones and drag the grid lines to adjust their size. You can also add gaps to create some space between the cells.
To customize the section grid:
- Select the relevant section.
- Choose how you want to customize the grid:
Resize the grid

 or horizontally
  , to make the rows or columns the same size.
Add more cells to the grid

Split a cell
 or Split Vertically
  .
.
Merge cells
Add gaps between cells
Delete a cell
 .
.
Note:
Currently, it is not possible to duplicate a cell.
Swapping and flipping cells in the grid
Reorganize the section grid quickly and efficiently by swapping cells. Using drag and drop, you can instantly swap between 2 cells – they instantly take each other's spot on the grid.
Alternatively, you can flip the entire grid horizontally or vertically to explore different options of presenting your client's content.
To swap cells:
- Select the relevant section.
- Choose what to do next:
Swap 2 cells
 at the top of the cell while dragging it onto the other cell. Tip: When you see the Swap content indication, it means you can drop the cell.
Flip the grid
Switching to an advanced CSS grid
Switching to an advanced CSS grid gives you more precise control of the layout per breakpoint. You can choose the number of rows and columns you want, and set their size using responsive measurements (e.g. fr, Min/max, %).
To switch from section grid to a CSS grid:
- Select the relevant section.
- Click the Open Inspector icon
 at the top right of the editor.

- Scroll down to Layout.
- Click Switch next to Advanced CSS grid.
- Click Switch to CSS Grid.

Dealing with overlapping elements?
Review our troubleshooting video to learn what to check and how to resolve this issue.
