Studio Editor: Adding and Customizing a Mega Menu
5 min
In this article
- Adding and setting up a mega menu container
- Creating a dropdown menu
- Adjusting the layout of the mega menu container
- Designing the mega menu
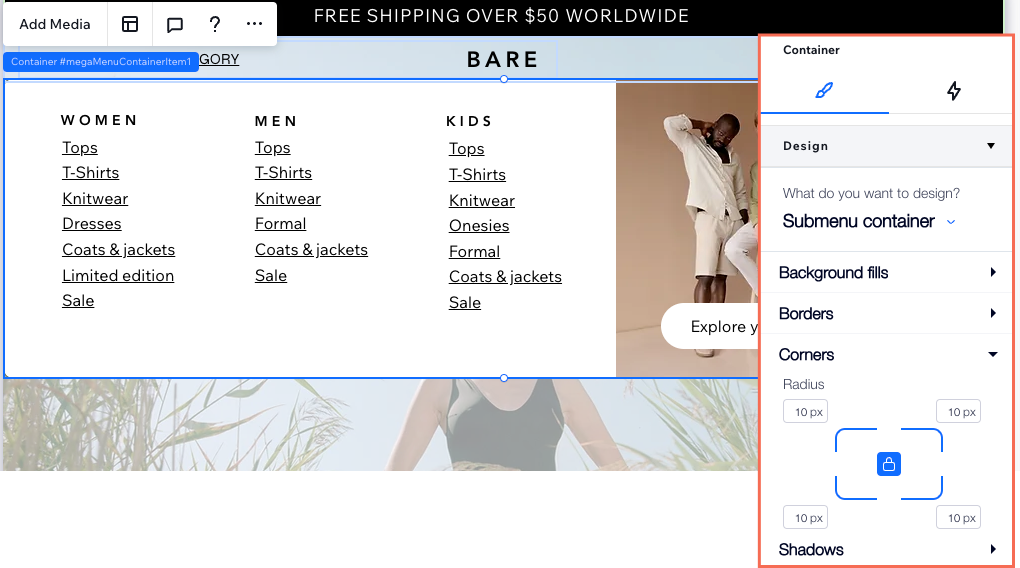
Mega menus are containers that you can add to a horizontal menu. When visitors hover over the relevant menu item, the container opens. Design the container from scratch and decide what you want to use it for – multi-level navigation, showcasing featured products, or any other purpose.

This article refers to the previous menu element in the Studio Editor. In the new menu experience, mega menus are called dropdowns. For steps on managing the new menu experience, please click here.
Adding and setting up a mega menu container
Add the mega menu container as an item to an existing menu, and name it what you want. We recommend using a title that reflects your intended content, such as "Services" or "Our Story".
Once you've added and named your container, add elements such as buttons, shapes, and text to build the content you want.
You should know:
It is only possible to add a mega menu container to a horizontal menu. Mega menu containers are not supported on vertical menus, anchor menus and hamburger menus.
To add a mega menu:
- Select the relevant horizontal menu in your editor.
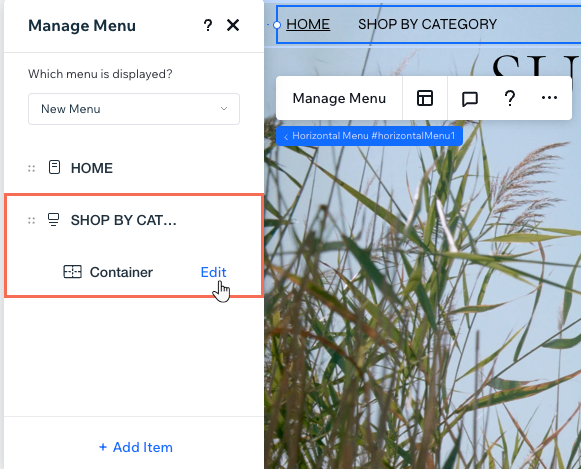
- Click Manage Menu.
- Click + Add Item at the bottom of the panel.
- Select Mega menu.
- Enter a title for the mega menu.
Tip: This is the title visitors hover over to see the mega menu. - Click Done.
- Add content to the mega menu:
- (In the Manage Menu panel) Click Edit next to Container.
- Add any elements you need to the container.
Want to link to site pages from the mega menu?
Elements that link to site pages are not accessible when placed in a mega menu container. We therefore recommend using the steps in the next section to add the page as a dropdown menu item instead. Learn more about web accessibility.
Creating a dropdown menu
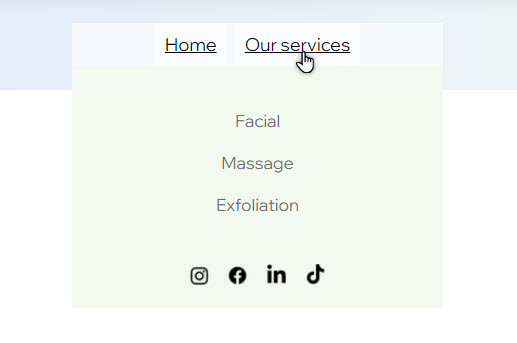
Use a mega menu to organize specific items on a site by creating a dropdown menu. When visitors click the mega menu, the dropdown menu and its items appear in the container.
What to know:
You add and manage dropdown items from the same panel as the main menu - so it's even easier to set up site navigation.
To create a dropdown menu:
- Select the relevant horizontal menu in your editor.
- Click Manage Menu.
- (If the item hasn't been added to the horizontal menu) Click Add Item and set up the menu item you want.
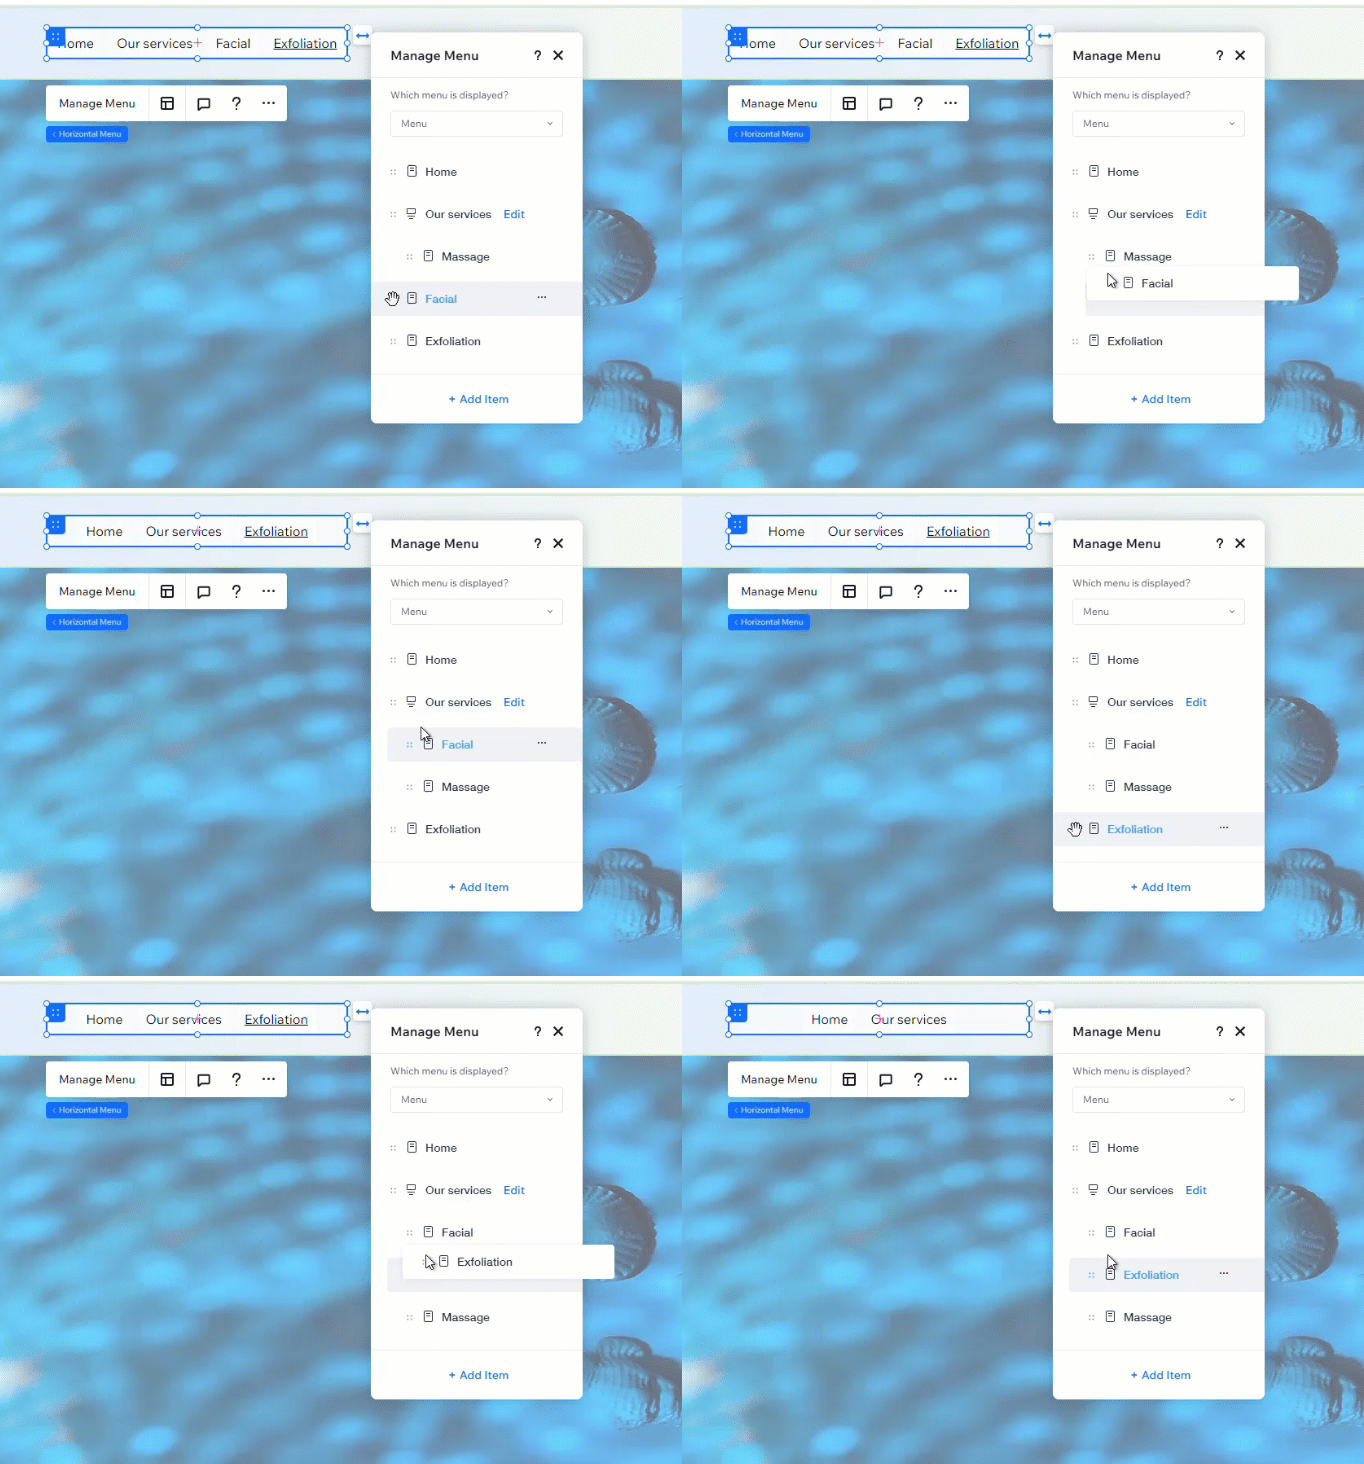
- Nest the relevant menu item(s) under the mega menu:
- Select the item in the Manage Menu panel.
- Drag and drop the item under the mega menu.
Want to manage dropdown menu items?
Use the Manage Menu panel to reorder, rename, and remove items in a dropdown menu.
Adjusting the layout of the mega menu container
After adding the elements you want to the mega menu, change the layout to match your page structure. You can adjust the spacing, and decide how far the container stretches.
To change the layout:
- Select the relevant menu in your editor.
- Click the Layout icon
 .
. - Click Mega Menu.
- Use the options to adjust the layout:
- Stretch container: Decide whether or not the container stretches to the full width of the visitor's screen. When disabled, you can set the desired width on the canvas or in the Inspector panel.
- Margins: Add space (in px or %) between the mega menu container and the edges of the screen.
- Space between items & container: Make the space between the menu and the mega menu container bigger or smaller by dragging the slider.

Designing the mega menu
Once you've adjusted the layout of the container, design its borders, background, and more. To maintain a consistent look, changes you make to the mega menu also apply to any submenus you've added.
To customize the container's design:
- Select the relevant menu in your editor.
- Click the Open Inspector icon
 at the top right of the editor.

- Select Submenu container from the What do you want to design? drop-down.
- Use the available options to design the container:
- Background fills: Set a color, gradient or image background for the container. You can add multiple layers of background with different levels of opacity.
- Borders: Add and design borders for the container.
- Corners: Make the corners of the container more round or rectangular.
- Shadows: Add a shadow behind the container for a 3D effect.
