Online Programs: Managing the Participants of Your Program in the Wix App
9 min read
In this article
- Inviting participants
- Approving join requests
- Viewing the profiles of your participants
- Tracking participant progress
- Chatting with participants
Keep up-to-date with your online program participant's progress in the Wix app. From the app, you can track participant activity, start chats and update participant program status, request payment, approve join requests, and invite more people to join your program while you're on the move.
Tips:
- Make sure to add Online Programs to your site so you can access it in the Wix app.
- You must upgrade your site so people can start joining your program.
Inviting participants
When you send an invitation from the Wix app, it takes participants to your site in the relevant member app and, from there, they can complete steps on the go. Managing your invitees is simple and, if a participant is no longer active, you can remove them from the program too.
Important:
When you create a private program, members of your site can view information about the program, but need to submit a request to join and access the content. Learn more about approving requests to join your program.
To add participants:
- Go to your site in the Wix app.
- Tap Manage at the bottom.
- Tap Online Programs.
- Tap the relevant program.
- Tap Invite Participants.
- Choose what you want to do:
- Invite Participants:
- Tap the box next to the member(s) you want to invite to join your program.
- Tap Done.
- Invite another way:
- Tap Invite Another Way.
- Choose from the following options:
- Email Wix Contacts: Send an email to contacts saved in your Wix account (site members, customers, contacts etc.).
- Send an SMS: Send the link and invitation code to people by SMS (text message).
- Copy Link: Copy the link and paste it into a new message in any application.
- Invite via Social & More: Share the link and invitation code to Gmail or any social network connected to your phone.
- Invite Participants:

To remove participants from your program:
- Go to your site in the Wix app.
- Tap Manage
 at the bottom.
 - Tap Online Programs.
- Tap the relevant program.
- Tap the participant you want to remove.
- Tap the More Actions icon
 .
. - Tap Remove Participant.
- Tap Remove to confirm.
Approving join requests
When you create a private program, members of your site can see its details but must submit a request to join and access the content. You can approve or decline these requests in the Wix app. If your program is public (not private), you don't need to approve join requests.
Important:
If you've set a price for your private program, new participants are automatically approved once they make the payment.
To approve requests:
- Go to your site in the Wix app.
- Tap Manage at the bottom.
- Tap Online Programs.
- Tap the relevant program.
- Tap View next to the pending request.
- Tap Approve next to the member you want to approve.
Tip: You can approve multiple requests by tapping Approve All at the bottom.

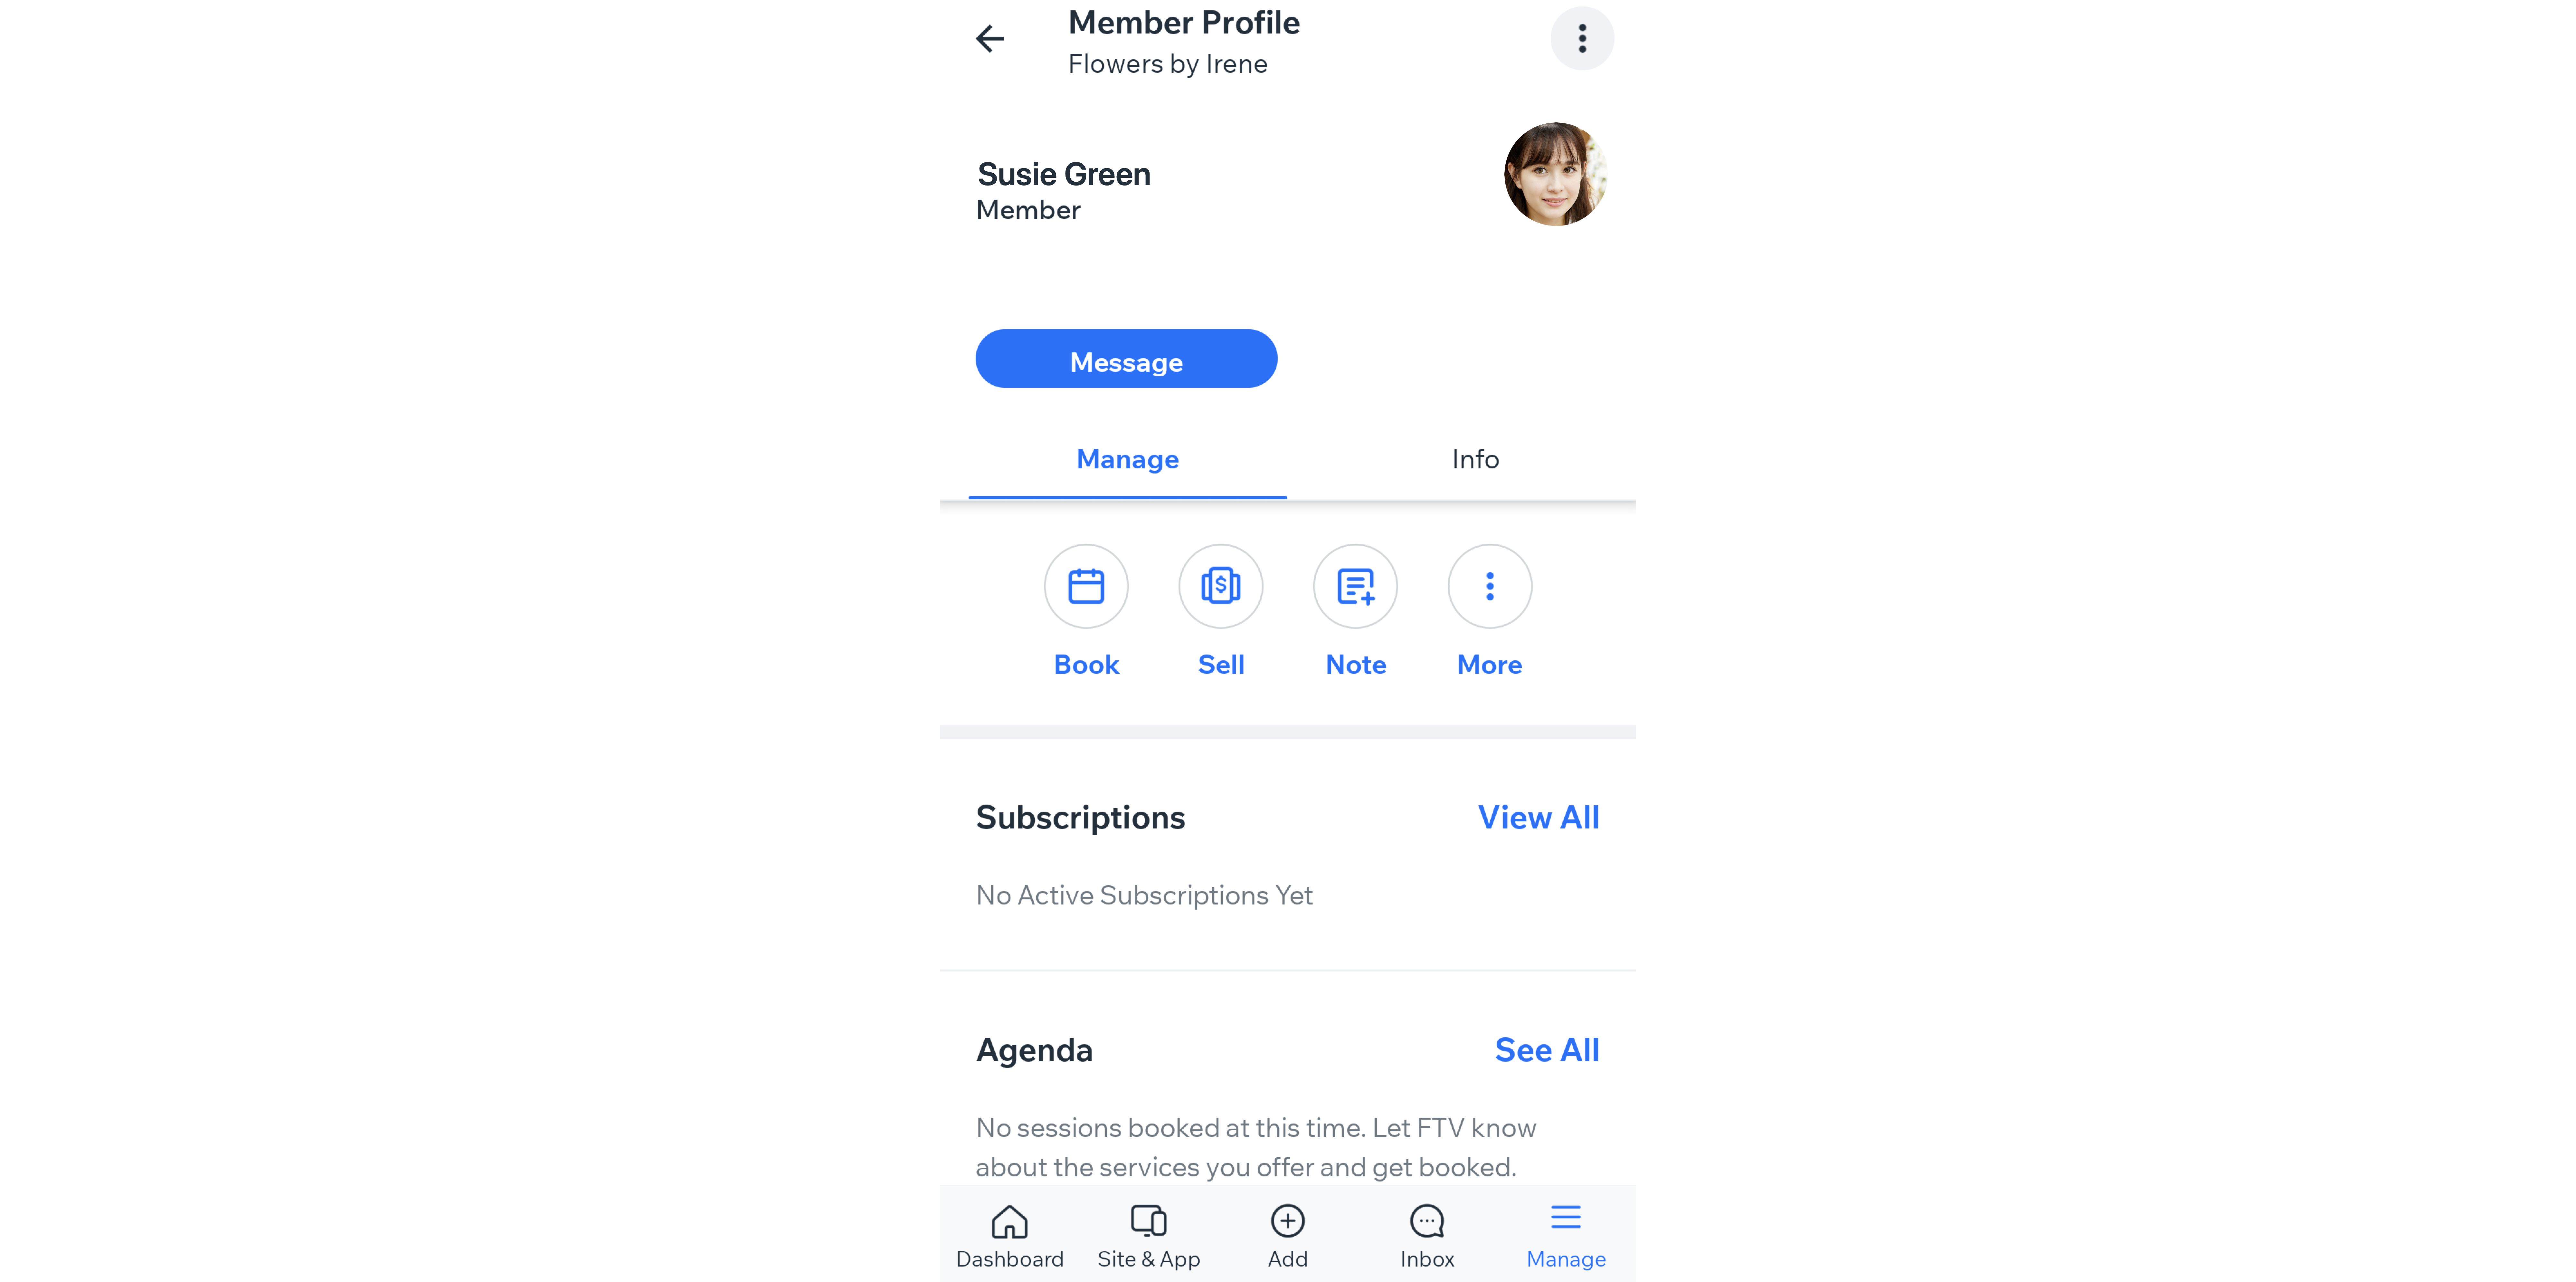
Viewing the profiles of your participants
Each participant has their own profile that includes their contact information, join date, active subscriptions, and any activity since the program started. From participant profiles, you can monitor program tasks, track progress, view payment requests, assign collaborators, add notes or reminders for yourself, assign badges, and more.
To view profiles:
- Go to your site in the Wix app.
- Tap Manage at the bottom.
- Tap Online Programs.
- Tap the relevant program.
- Tap See All next to Participants.
- Tap the relevant participant.
Note: If you have no participants yet, tap Invite Participants to invite them. - Tap View Profile.
- Choose what you want to do:
Send a message
Invite them to join the members app
Book an appointment
Sell a Pricing Plan
Add a task
Add a note
Call the participant
Assign / manage badges
Assign contact to a collaborator
Block member
Tracking participant progress
Check how your participants are doing with their program. Track their progress, see how many steps they've completed on time, find out how steps many were missed, and see anything they've uploaded.
Next to each participant's name are labels that can be used to monitor their status. Gray labels with a tick represent the steps that your participant has completed on time, and red labels with exclamation marks represent any steps that they've missed or are yet to take.
To track progress:
- Go to your site in the Wix app.
- Tap Manage at the bottom.
- Tap Online Programs.
- Tap the relevant program.
- Tap See All next to Participants.
- Tap any participant's name to see the participant's activity once the program has started. From there, you can view:
- If they have started your program.
- The date they joined your program.
- When they were last active.
- A calendar that tracks their scheduled steps, completed steps, and/or missed steps.
- (If available) Feedback they've left for each step.

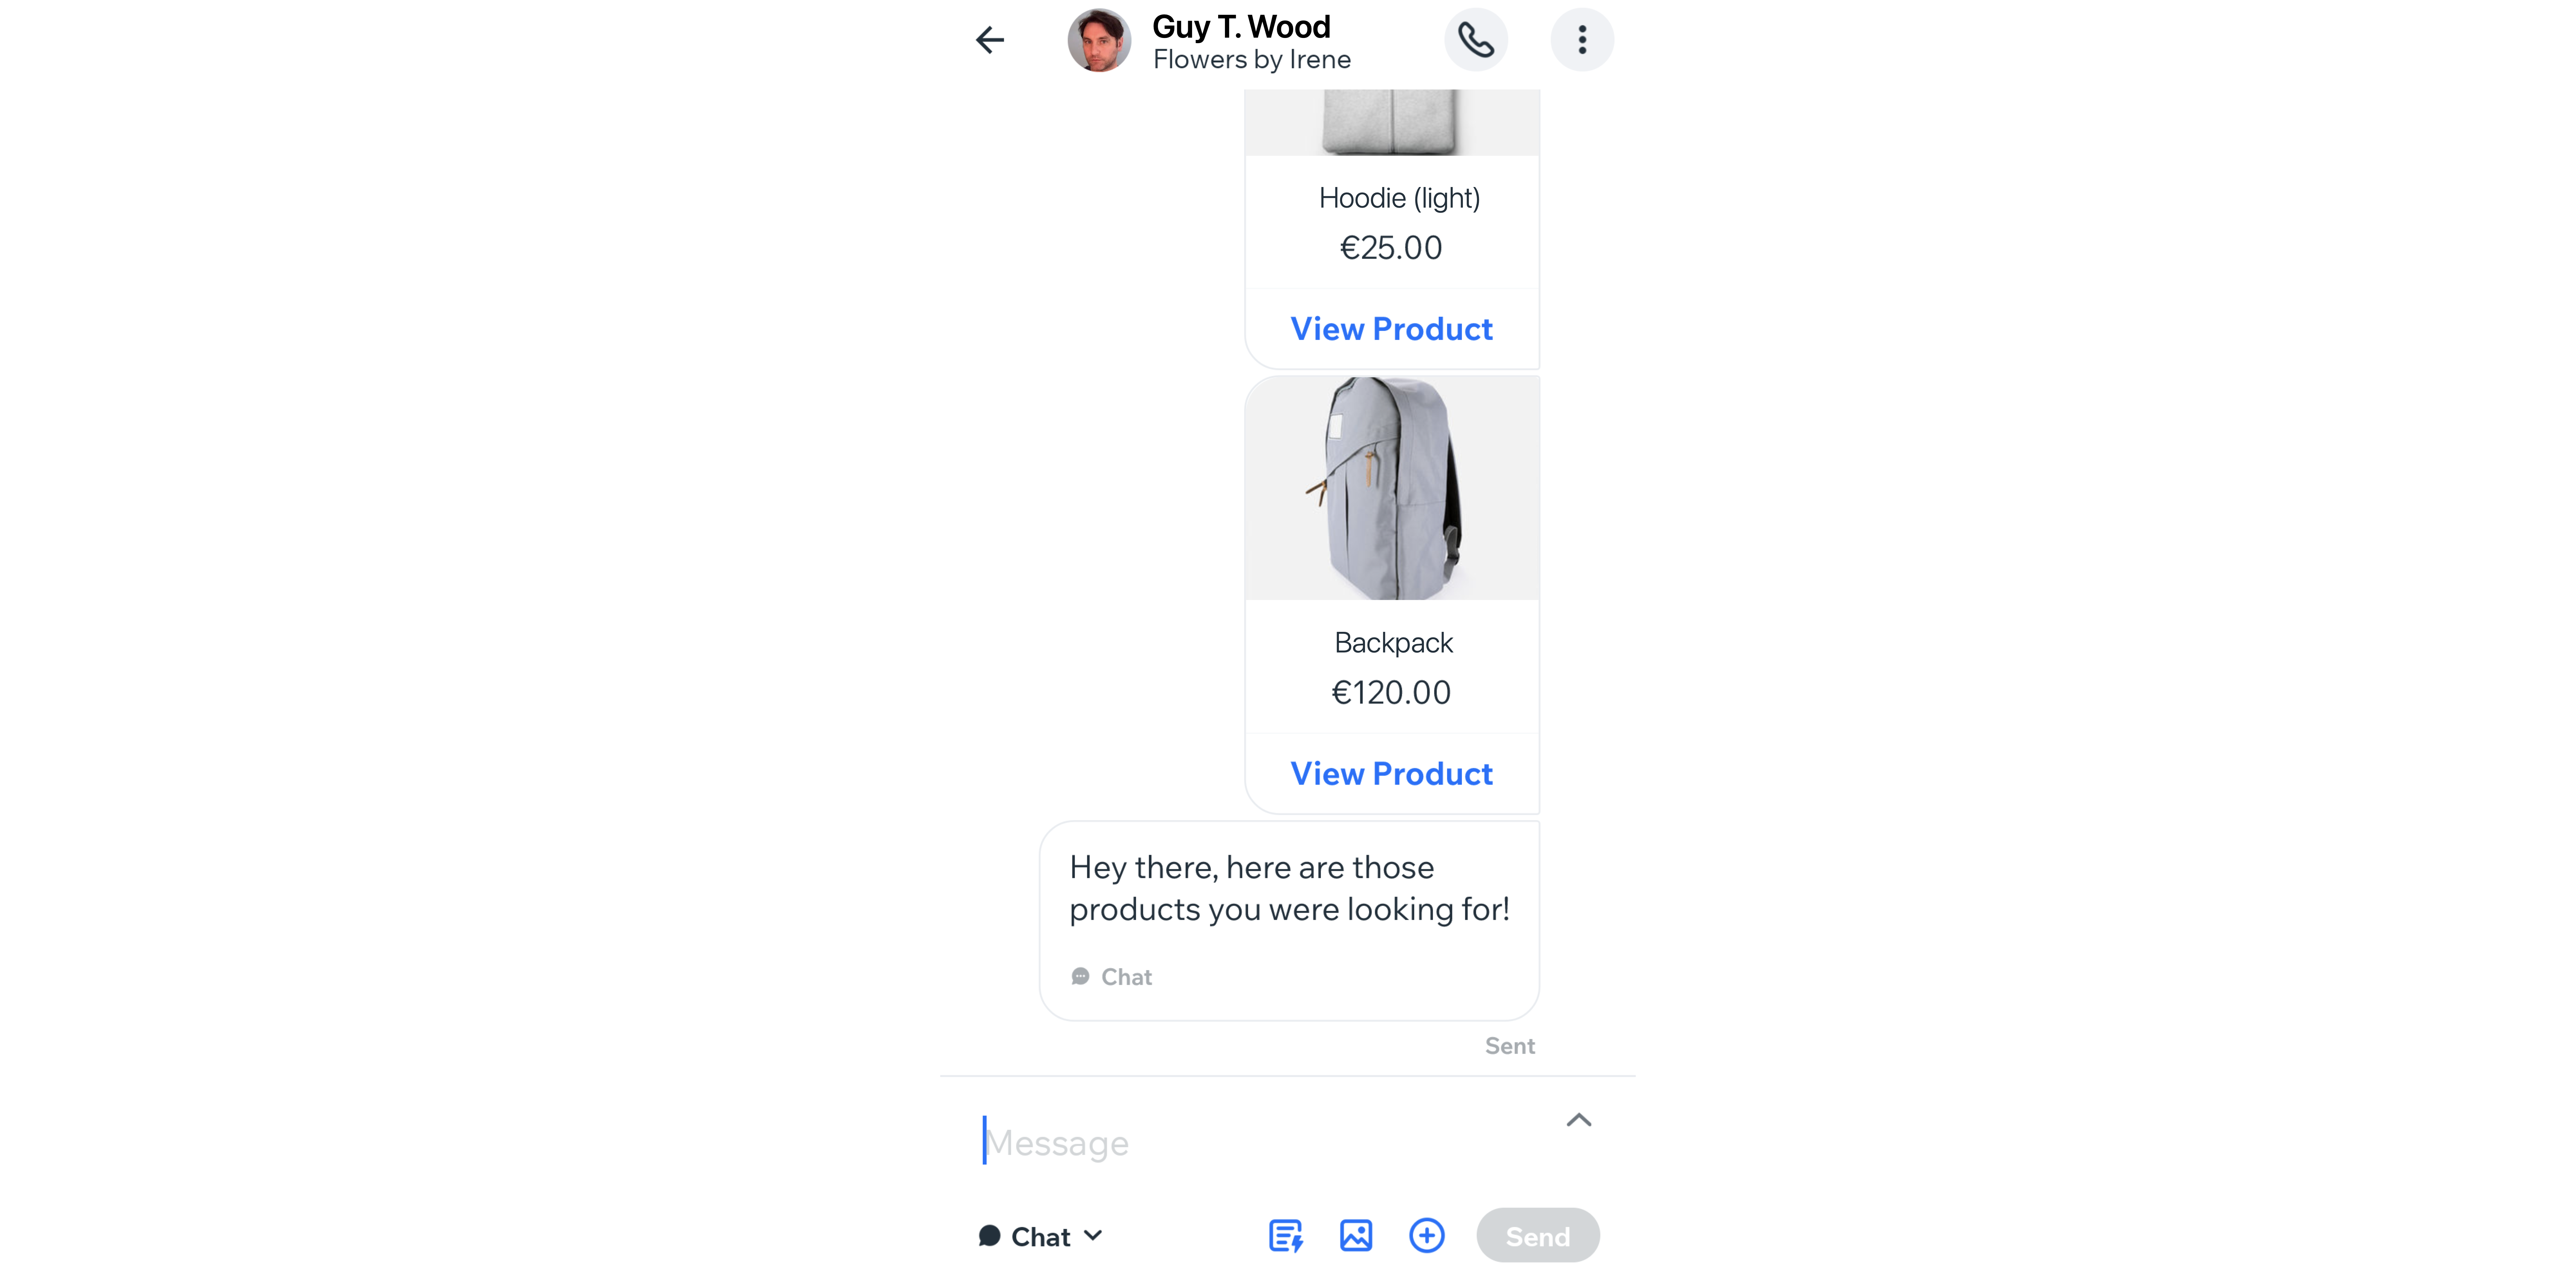
Chatting with participants
Communicate with your program participants on their preferred channel directly from the Wix app. Select which channel to communicate through, and share information or media. Chatting with your participants can boost morale and enables you to give guidance and useful tips.
To chat with participants:
- Go to your site in the Wix app.
- Tap Manage at the bottom.
- Tap Online Programs.
- Tap the relevant program.
- Tap See All next to Participants.
- Tap the relevant participant.
- Tap Message.
- Choose the relevant communication channel from the dropdown and create your message.
- If you would like to share media in the chat, choose from the following options:
- Saved replies: Tap the Saved replies icon and choose from a pre-saved reply (e.g about shipping info, return policy etc.).
Tip: Tap New Saved Reply to create a new reply. - Upload media: Tap the Upload media icon to:
- Take a photo: Tap Take a photo to add media directly from your device's camera.
- Choose from device: Tap Choose from device to select a media file to add from your device.
- Select from Media Manager: Tap Select from Media Manager to choose from uploaded media.
- Send an item: Tap the Send an item icon to:
- Send photos: Tap the Photos icon to share a photo in the chat.
- Send saved replies: Tap the Saved replies icon to share a saved or new reply in the chat.
- Send products: Tap Products icon to share an in stock product in the chat.
- Send coupons: Tap Coupons icon to share discounts and offers in the chat.
- Send services: Tap Services icon to share a service (online program) in the chat.
- Get Payment: Tap Get Payment icon to send a payment request in the chat.
Note: You need a payment method connected to request payment through chat. Learn how to connect a payment method to your site.
- Saved replies: Tap the Saved replies icon and choose from a pre-saved reply (e.g about shipping info, return policy etc.).
- If you would like to share media in the chat, choose from the following options:
- Tap Send.
 and choose from a pre-saved reply (e.g about shipping info, return policy etc.).
 to:
to:
 to:
to:
 to share a photo in the chat.
  to share a saved or new reply in the chat.
  to share an in stock product in the chat.
  to share discounts and offers in the chat.
  to share a service (online program) in the chat.
  to send a payment request in the chat.