

CMS: Choosing a Format for Displaying Date and Time Collection Fields
2 min
When you connect elements to date and time collection fields in the CMS (Content Management System), you can control how the dates and times are formatted on the live site.
For example, you could choose a short date format that renders a date and time field as "10/31/24". Or you could choose a full date time format that renders the same field as "Thursday, October 31, 2024 at 12:12:12 PM PDT".
You can display date and time fields in text elements and in the text that appears in other elements such as buttons and galleries.
To choose a format for displaying date and time fields:
- Go to your editor.
- Connect an element, such as text, to a dataset that connects to your collection.
- Click the relevant field (e.g. Text connects to) in the dataset connections and select the date, or time field you want to display. If needed, you can select + Add to create and connect a new collection field.

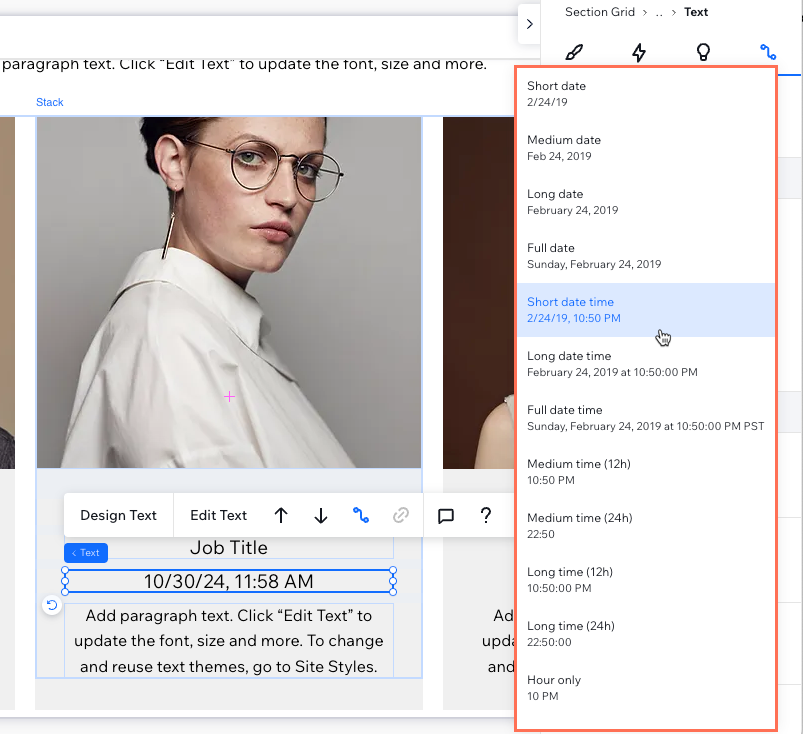
- Click the Choose a format drop-down and select the format you want to display your dates or times in. View the format options in the table below:
Format | Displayed as |
|---|---|
Short date | 2/25/19 |
Medium date | Feb 25, 2019 |
Long date | February 25, 2019 |
Full Date | Monday, February 25, 2019 |
Short date time | 2/25/19, 8:45 PM |
Long date time | February 25, 2019 at 8:45:00 PM |
Full date time | Sunday, February 24, 2019 at 10:50:00 PM PST |
Medium time (12h) | 8:45 PM |
Medium time (24h) | 20:45 |
Long time (12h) | 8:45:00 PM |
Long time (24h) | 20:45:00 |
Hour only | 8 PM |
Minute only | 45 |
Year only | 2019 |
Month only | February |
Short month only | Feb |
Day only | Monday |
5. Click Publish when you are ready to make the changes go live.
Notes:
- The date and times displayed on your live site adjust according to the visitor's local time zone.
- Your site's regional settings determine date and time language, time zones and other regional formatting options.
- When you export a collection to a CSV file, the time fields in the file are formatted as UTC+0. They are not formatted to local time.
