Editor X: Adding and Managing Your Pages
7 min read
In this article
- Adding a page
- Reordering pages in the Pages panel
- Deleting a page
- Hiding a page
- Changing your page settings
- Customizing your page's SEO settings
Editor X is transitioning to Wix Studio, our new platform for agencies and freelancers.Learn more about Wix Studio
In Editor X, you can use the Pages panel to manage your site's pages. Add new pages, change your pages' settings and reorder them for better organization. You can also delete pages that you no longer need on your site.
In this article, learn how to manage your site pages:
Navigating between your pages:
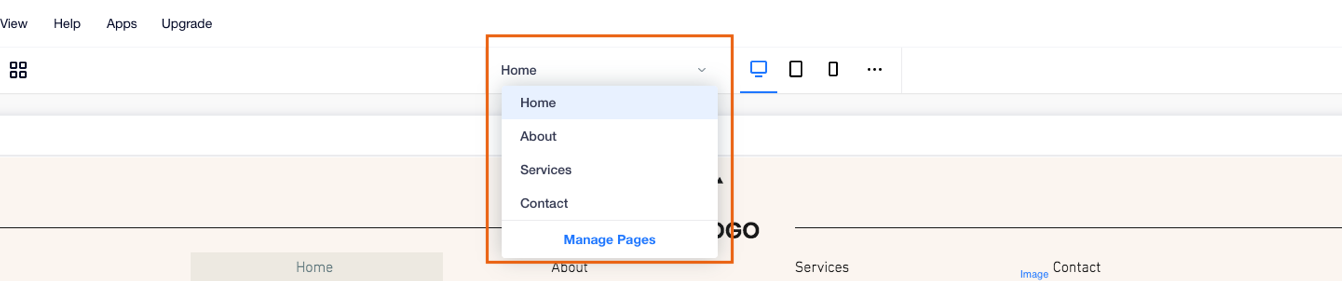
Use the page navigation menu at the top of Editor X to easily move between your site's pages. Clicking Manage Pages opens the Pages panel.
Adding a page
Add more pages to your site from the Pages panel at the top of Editor X. You can choose from different types of pages based on your needs. For example, add a member's page to create a new page with exclusive content for your members.
Tip:
Editor X sites have a limit of 100 static pages. Dynamic pages are a handy solution to this limitation, as they allow you to have an unlimited amount of pages on your site.
To add a page to your site:
- Click Pages
 at the top of Editor X.
 - Click + Add New Page at the bottom.
- Select a page type:
- Page: A standard blank page.
- Member's Page: A standard blank page that's only visible to your site members.
- Dynamic Page: A page that can change its content while keeping the same design and layout. Any element that's connected to your Content Collection changes according to what item is being viewed.
- Enter the page name and press Enter on your keyboard.

Notes:
- New pages are automatically displayed on your site's main menu.
- Some apps (e.g. Wix Stores, Wix Bookings etc.) add pages to your site automatically. Your pages are divided into categories in the Pages panel so you can easily find them.
Reordering pages in the Pages panel
Using drag and drop, you can change the order of your pages in the Pages panel. Organize them in a way that meets your needs and helps you work more efficiently.
Tip:
Reorganizing the Pages panel does not affect the order of pages on your site menu(s).
To reorder pages:
- Click Pages at the top of Editor X.
- Hover over the relevant page.
- Hold the Reorder icon
 next to the page and drag it to the desired location.
Deleting a page
Remove a page from your site at any time.
Tip:
You can also hide a page temporarily if you don't want to publish it yet. See Hiding a page below.
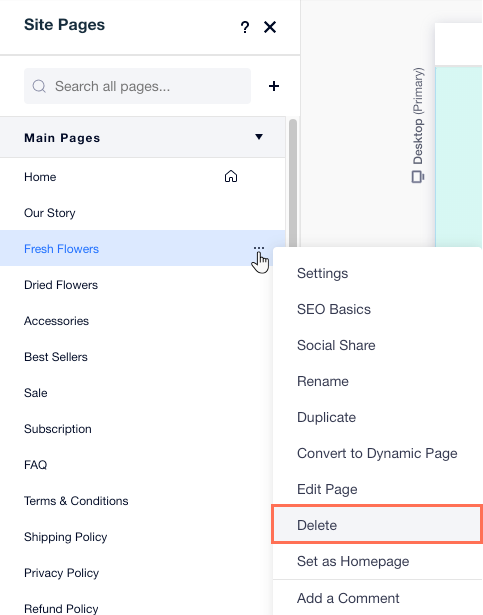
To delete a page:
- Click Pages at the top of Editor X.
- Hover over the relevant page and click the More Actions icon
 .
. - Click Delete.
- Click Delete Page to confirm.
Hiding a page
If you would like to hide a page temporarily, or are still working on a page and you don't want to publish it yet, you can hide it from your menu and / or search results. Your site visitors are unable to access hidden pages unless you link to them.
Click below to learn how to:
Hide a page from a menu
Prevent search engines from indexing your page
Changing your page settings
Set up each page of your site, including the page name, permissions, SEO and social share settings.
To change your page settings:
- Click Pages at the top of Editor X.
- Hover over the relevant page and click the More Actions icon .
- Click Settings.
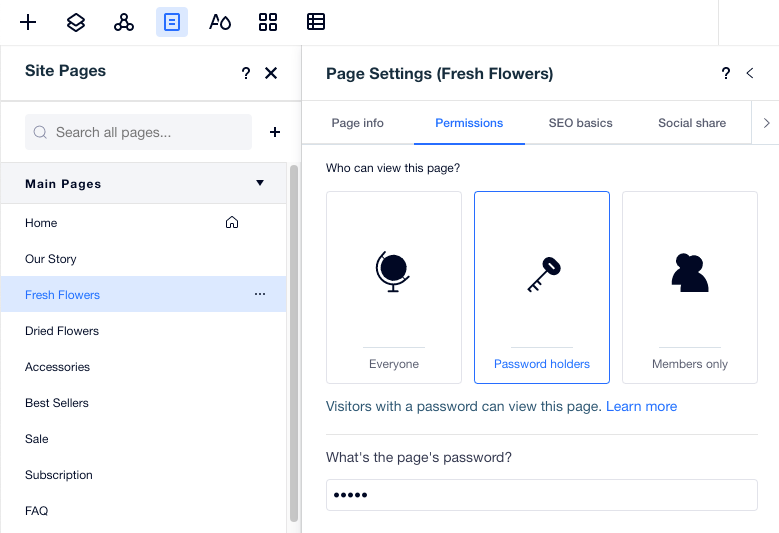
- Set up your page by clicking the tabs at the top of Page Settings:
- Page info: Change your page's name, set it as your homepage or control its caching.
- Permissions: Decide who can access this page - everyone, password holders or members only.
- SEO basics: Set up how your page appears in search engines such as Google.
- Social share: Review and customize the way your page looks when people share it on social media.
Customizing your page's SEO settings
Wix automatically adds default SEO settings for your page's title tag, meta description, and URL slug. You can customize these settings in the SEO Basics tab to help search engines and social networks display relevant information about your pages.
To customize your page's SEO settings:
- Click Pages at the top of Editor X.
- Hover over the relevant page and click the More Actions icon .
- Click SEO Basics.
- Customize any of the following SEO settings:
- What's the last part (or slug) of the page URL?: This text is the last part of your page's URL. You should only change this if it's necessary to reflect the content of your page. We recommend keeping it short and easy to read.
- Automatically redirect to the new URL once site is published: When you change a page's URL slug, you can choose to let Wix automatically redirect visitors who try to use the old URL to the new URL. Alternatively, you can uncheck this option and manually create your own redirect.

- What's the page's title tag (title in search results)?: Add a title tag that summarizes the content of the page. Enter your title tag as it is meant to appear on search engines results.
- What's the page's meta description (description in search results)?: Add a short meta description of the content on the page. This description helps users decide if the page is relevant to them.
- Click the Let search engines index this page toggle to set whether search engines can crawl and index your page or not:
- Enabled: Search engines will index your page. People can find your page when searching keywords and phrases in search engines.
- Disabled: Search engines will not index your page. People cannot find your page when searching keywords and phrases in search engines.
