

CMS: Connecting the Media Gallery Collection Field Type to a Pro Gallery
8 min
In this article
- Step 1 | Add a media gallery field to your collection
- Step 2 | (Optional) Manage the media for each item
- Step 3 | Connect a Pro Gallery to the media gallery field
The media gallery field type allows you to store multiple images and videos for each item in your CMS collection. After adding this field type, add the media associated with each individual collection item.
To display these images and videos on your site, connect a Pro Gallery to a dataset that binds to your media gallery field. This type of setup is ideal for dynamic item pages that are meant for showcasing details about a particular collection item.
Alternatively:
If you want your gallery to display images from several different collection items rather than showing multiple images for a single item, connect the gallery to the Image field type. The Image field connection is ideal for dynamic list pages and static pages.
You can connect Pro Galleries to the media gallery field on static pages too. For example, you could connect a Pro Gallery on your home page to the media gallery field type. Then connect navigational buttons that allow visitors to cycle through each collection item, viewing several images in the gallery for each item. You could also add a filter to the dataset to only include certain items, or add a sort that determines the order in which the previous/next items appear.
Step 1 | Add a media gallery field to your collection
Add a media gallery field type to your collection, then add images or videos for each collection item. Then organize your media items and add information about each image or video.
To add a media gallery field:
- Go to CMS in your site's dashboard. Alternatively, you can click CMS
 in your Editor.
 - Click the relevant collection.
- Add the media gallery field to the collection:
- Click Manage Fields.
- Click + New Field.
- Click the Media gallery field.
- Click Choose Field Type.
- (Optional) Enter a name for the field.
- Click Save.
- Add and organize your media in the media gallery field:
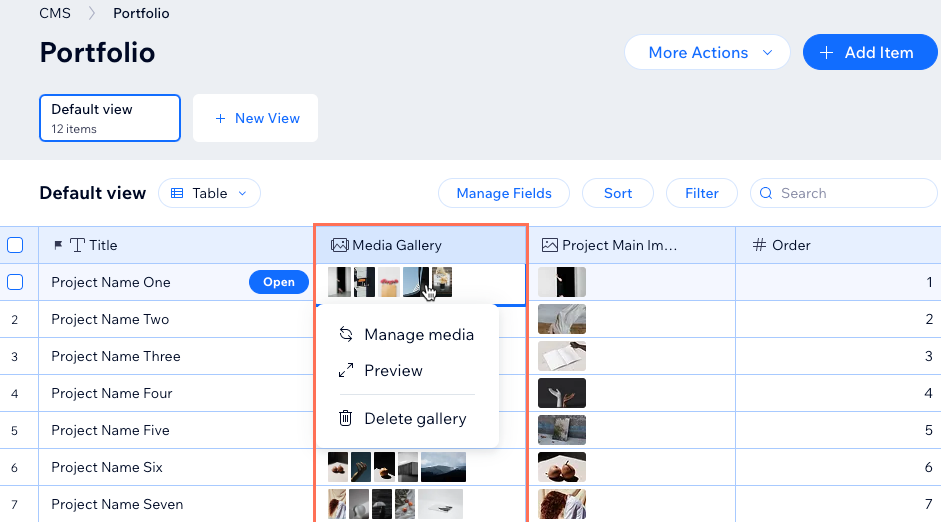
- Click the Media Gallery field in your collection next to the relevant item.
- Click the Add Media icon
 .
. - Click + Add Media.
- Use the tabs on the left to choose media or click + Upload Media to upload new media.
- Click Add to Item.
- Select an item and enter a title, description, and alt text on the right.
- (Optional) Click Add Link at the bottom right to link the item to a URL. Then enter a URL and choose how you want the link to open when clicked: New tab or Current tab. Click Save.
- Repeat steps 4f-4g above for each media item.
- (Optional) Drag the media items to reorder them. You can also click Arrange by to order the items by title or file name.
- Click Save at the bottom right.
- Repeat steps 3-4 above for each item in your collection. See the next section to learn about other features you can use in the media gallery manager.
Step 2 | (Optional) Manage the media for each item
While managing the media for each collection item, you can choose the order in which new uploads are added, set focal points on images, and more.
To manage the media in your media gallery field:
- Go to CMS in your site's dashboard. Alternatively, you can click CMS in your Editor.
- Click the relevant collection.
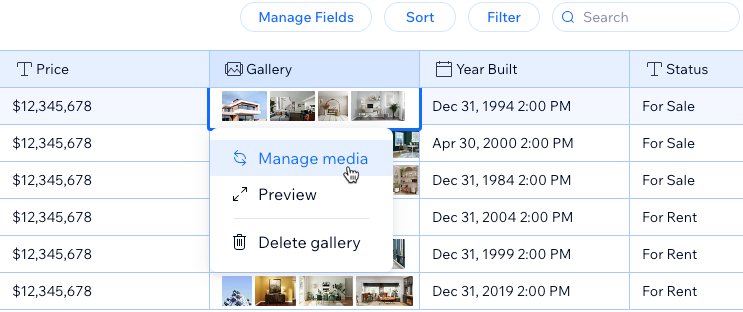
- Click the relevant media gallery field and select Manage media.
- Choose what you want to do:
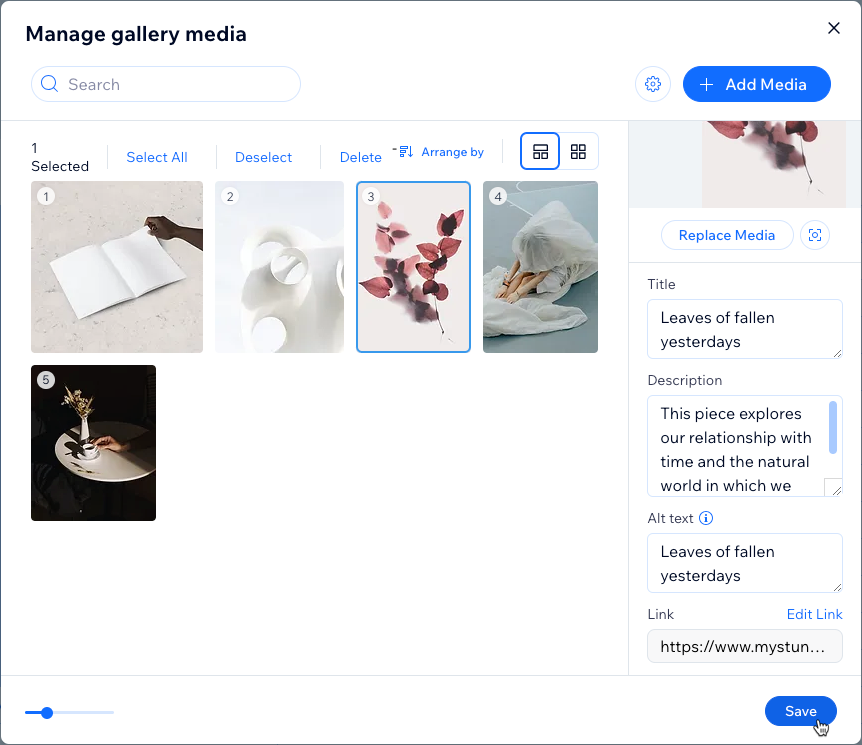
- Add media: Click + Add Media, select the files you want to add and click Add to Item.
- Choose a default order and names: Click the Settings icon
 at the top right and choose from the options:
- New media is added to: Choose whether new media you upload is added to the beginning or end of the gallery.
- Name for new media: Choose to leave the names of new media files empty or to name them the same as the file names.
- Reorder: Drag the media items to reorder them. You can also click Arrange by to order the items by title or file name. Click and drag a media item to reorder it.
- Select all: Click Select All to select each media item.
- Delete: Select the relevant image or video and click Delete.
- Replace: Select the relevant media item and click Replace Media on the right. Then choose the image or video you want to choose and select Add to Item.
- Adjust focal point: Select the relevant item and click the Adjust Focal Point icon
 . Then select the part of the image or video you want to highlight.
 - Add info: Select the relevant item and enter a title, description, and alt text in the fields on the right.
- Link: Select the relevant item and click Add Link at the bottom right to link the item to a URL. Then enter a URL and choose how you want the link to open when clicked: New tab or Current tab. Then click Save.
Step 3 | Connect a Pro Gallery to the media gallery field
Add a Pro Gallery to your site if you do not already have one to display the media in. This type of gallery setup is ideal for dynamic item pages as it can show multiple images or videos for a single item. Connect your gallery to a dataset that connects to your collection. Then connect to the Media Gallery field you just set up.
Wix Editor
Studio Editor
- Go to your editor.
- Go to the page where you want to add a gallery that displays media for one collection item at a time.
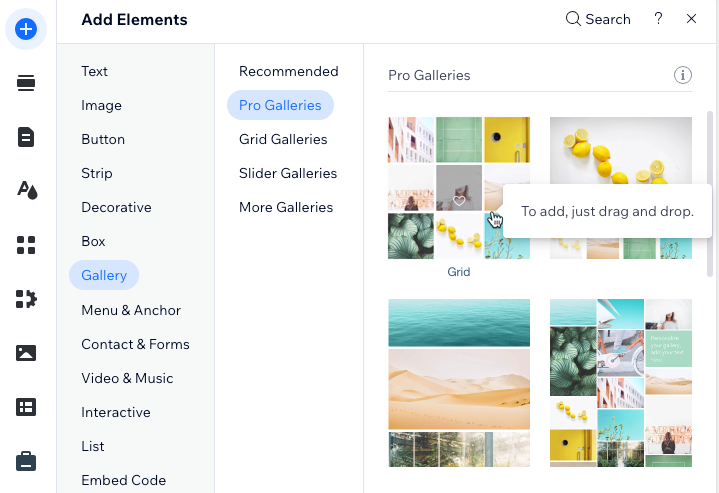
- Click Add Elements
 on the left side of the editor.
 - Click Gallery.
- Click and drag the relevant Pro Gallery onto your page.
- Remove the default images from the gallery:
- Click Manage Media on the gallery.
- Click Select All, then click Delete.
- Click Done.
- Click the Connect to CMS icon
 .
. - Create a new dataset to connect or choose an existing dataset:
- Create a new dataset:
- Click Create Dataset. If you already have a dataset on your page, click the Choose a dataset drop-down and select Create a New Dataset.
- Click the Choose a collection drop-down and select the relevant collection.
- (Optional) Click the Dataset name field and enter a name for the dataset.
- Click Create.
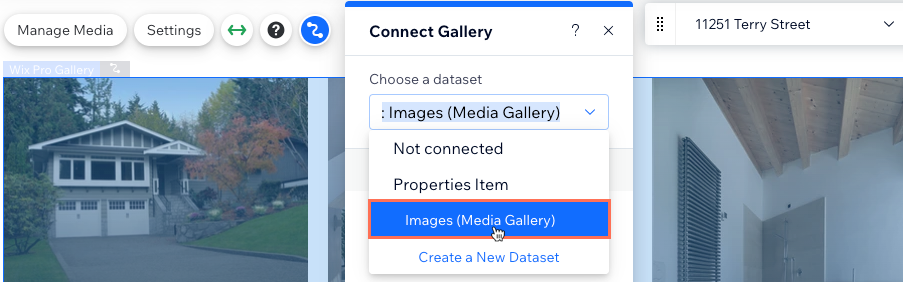
- Click the Choose a dataset drop-down again and select the relevant (Media Gallery) field under the dataset.
- Connect an existing dataset:
- Click the Choose a dataset drop-down.
- Select the relevant (Media Gallery) field under the relevant dataset.
- Create a new dataset:
- (Optional) If you connected to a regular dataset, rather than a dynamic page dataset, add a filter to the dataset to control which item's media displays. If using navigational buttons to cycle through items, you can add a sort condition to control the order in which the previous/next items load.
- Click the Pro Gallery element and select Settings to customize your gallery's layout, design, and more. Learn more about customizing your Pro Gallery.
Tip: You can use the gallery's built-in 'Load More' button in the layout settings to restrict the number of images or videos displayed on the page before visitors click to see more.
