Customizing the Order List and Saving Your View
3 min
In this article
- Filtering your orders
- Customizing the columns in the Orders tab
- Saving order views
- Accessing saved orders views
Important:
This article is relevant for Wix Stores, Wix Bookings, Wix Restaurants Orders, Wix Donations, and is in the process of becoming available for Pricing Plans.
How you use the orders list depends on the business solutions you use, such as Wix Stores, Wix Bookings, and more.
Whatever the task is at hand, you can save time and increase efficiency by customizing columns and filtering your orders. After you select the most helpful options, you can save the view to access it quickly the next time you need it.
Filtering your orders
Filter orders so that you view only the ones relevant for the task you're working on.
Tip:
If you assigned tags to your orders, you can filter by tag.
To filter your orders:
- Go to Orders in your site's dashboard.
- Click Filter.
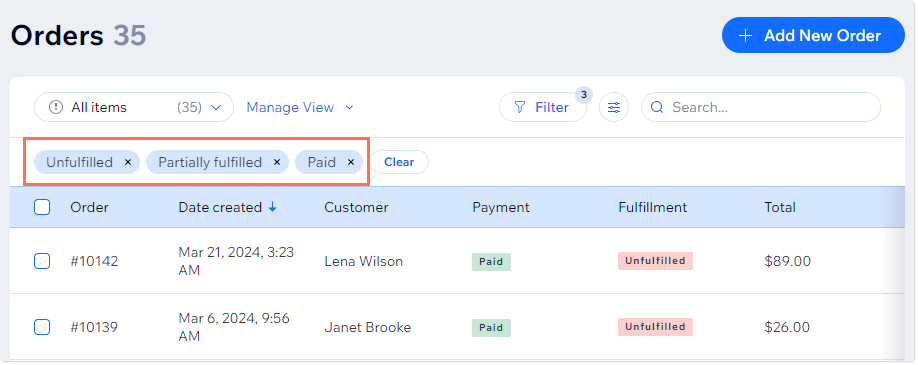
- Select one or more filters.
The filters you selected appear at the top of the order list.
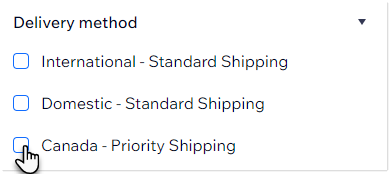
For store owners:
You can filter by a specific delivery region and rule (e.g. domestic - standard shipping).
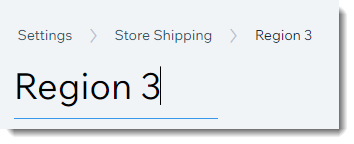
To make the delivery filters easier to use, you can also go to a region in the Shipping & fulfillments settings and rename the title (e.g. change Region 3 to "Canada").
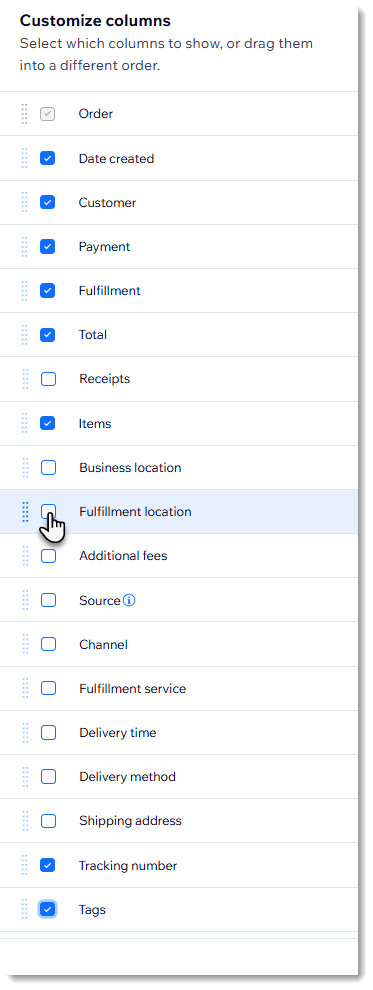
Customizing the columns in the Orders tab
When you go to the Orders tab, the default columns are always displayed. You can then select which columns you want to view. If this is a view you use often, you can save it (see below).

To customize the columns in the Orders tab:
- Go to Orders in your site's dashboard.
- Click the Customize Column icon
 at the top right.
 - Select the checkmarks next to the columns you want to display.
- (Optional) Drag the columns to reorder them.
Saving order views
Save views you need to return to again and again so you can access them with just a click.
Tip:
Save up to 20 views to handle different tasks or meet the needs of different staff members.
To save a view:
- Filter your orders and/or select the columns you want to display.
- Click Manage View.
- Select Save as new view.
- Enter a view name.
Tip: Enter a meaningful name that you'll remember (e.g. Local Delivery). - Click Save.
Note:
It is not possible to edit an existing view. You can, however, save a new view and delete an old one.
Accessing saved orders views
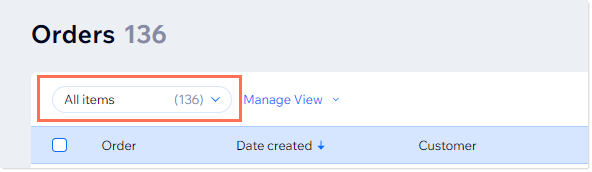
The next time you go to perform the same task, select the view you need from the drop-down.