Customizing the Checkout Form
5 min
In this article
- Customizing the checkout page fields
- Adding fields with conditional rules
- Previewing the Checkout Form
- FAQs
The Checkout Page includes several essential fields that cannot be deleted: email, first name, last name, phone number, and delivery details (i.e., address information)
To that you can add custom fields to help you collect the information you need. These can include multiple choice fields, text fields, and more.
Additionally, you can add conditional rules. These are rules which let you display different fields to different customers, depending on their responses.
In this article, learn more about:
Customizing the checkout page fields
Add any additional fields you need to collect information. Choose from a wide variety or types of fields. These include short or long answers, single or multiple choice, checkboxes and more.
To add fields to the checkout page:
- Click Edit next to the Checkout form.
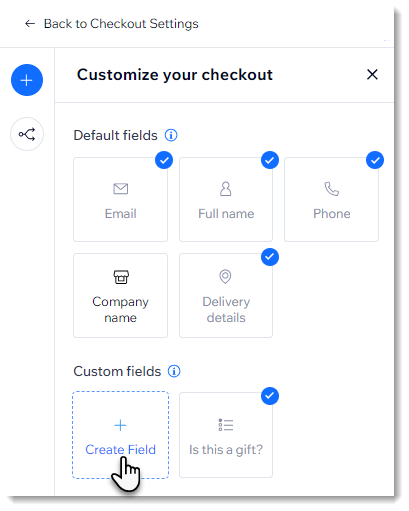
- Customize a default field:
Tip: The email and name fields have no customizations.- Phone:
- Click the Phone field in the preview.
- Enable or disable the Required field toggle.
Note: If disabled, customers can complete checkout without entering a phone number.
- Delivery details:
- Click the Delivery details field in the preview.
- Enable or disable the Show "Address - line 2" toggle.
- Phone:
- Add a custom field:
- Click the Create field on the left.
- Select the type of field you want to add.
- Customize the field using the available general and advanced customizations.
Note: Get detailed instructions on how to add and customize custom fields.
If you added an Additional Info field before February 2024:
- If you added a custom field (called an additional field) before we released advanced checkout forms, it will still appear on your live site. No need to update anything.
- You'll see the field in the new form composer, but without most of the customization options (e.g. without the option to add placeholder text). It appears next to your default fields.
- To get customizations, delete the field and re-add it. This cannot be undone.
Adding fields with conditional rules
You can create conditional rules to help you collect the precise information you need, based customers' responses.
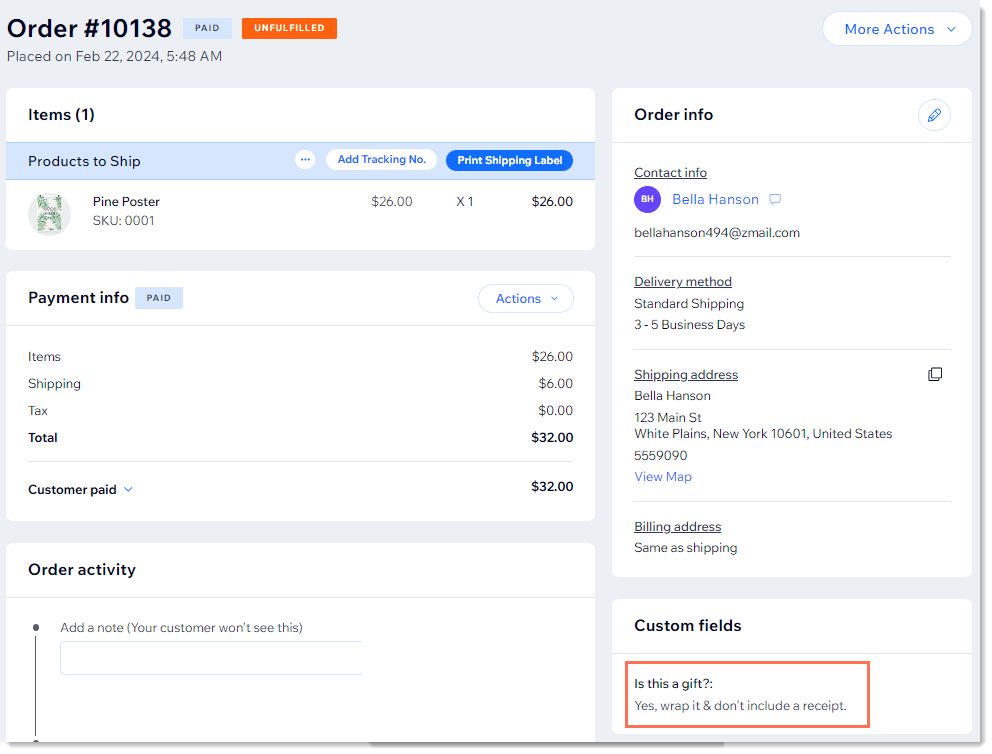
For instance, you can inquire if their purchase is intended as a gift. If they reply "Yes", you can ask additional questions, such as would they like to include a card with the order. Customers who answer "No" don't see these additional questions.
Before you begin:
Before you create your rule, make sure you add any custom fields you need.
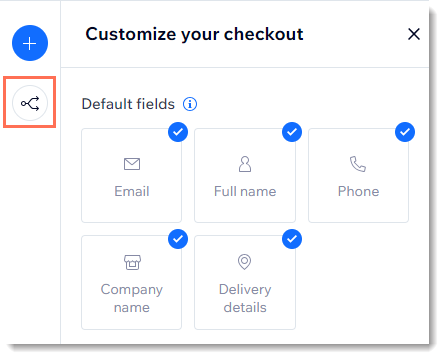
To access conditional rules:
- Click Edit next to the Checkout form.
- Click the Rules icon
 on the left.
Get detailed instructions on how to add conditional rules to your checkout page fields.
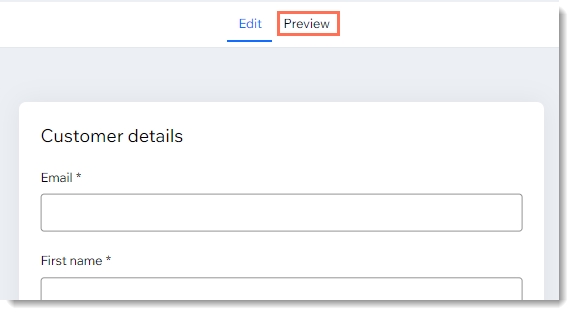
Previewing the Checkout Form
Click the Preview tab to see what your checkout form will look like for customers. Note that the actual form changes according to the customer's location and what they're purchasing.
Changes based on location
Customers in different countries need to enter addresses in a way that works with their local conventions. The form updates automatically to suit addresses around the world - you don't need to do a thing.
For example, if your customer is in the US, the Delivery details section has the following fields:
- Country/Region
- Address
- City
- State
- Zip / Postal code
However, for Japanese customers, this automatically changes to a format suitable for Japan:
- Country/Region
- Zip / Postal code
- Prefecture
- City
- Address
Changes based on what's in the cart
When it's clear, based on what the customer is purchasing, that delivery details aren't needed, the delivery detail fields won't appear on the Checkout Page. For example, this occurs when a customer is only purchasing digital products.
Similarly, if you're using Wix Bookings and a customer is booking a session that takes place at your business location, the Checkout Page won't have a Delivery details section because there's nothing to deliver.
FAQs
Click a question below to learn more.
How can I get more information on how to add custom fields?
Where will my custom fields appear on the Checkout Page?
How can I reorder custom fields that I added?
 .
.
Where can I view the information my customers entered in custom fields?