Adding Conditional Rules to Your Checkout Page Fields
3 min
In this article
- Creating a new conditional rule
- FAQs
Conditional rules help you collect the exact info you need based on your customers' responses.
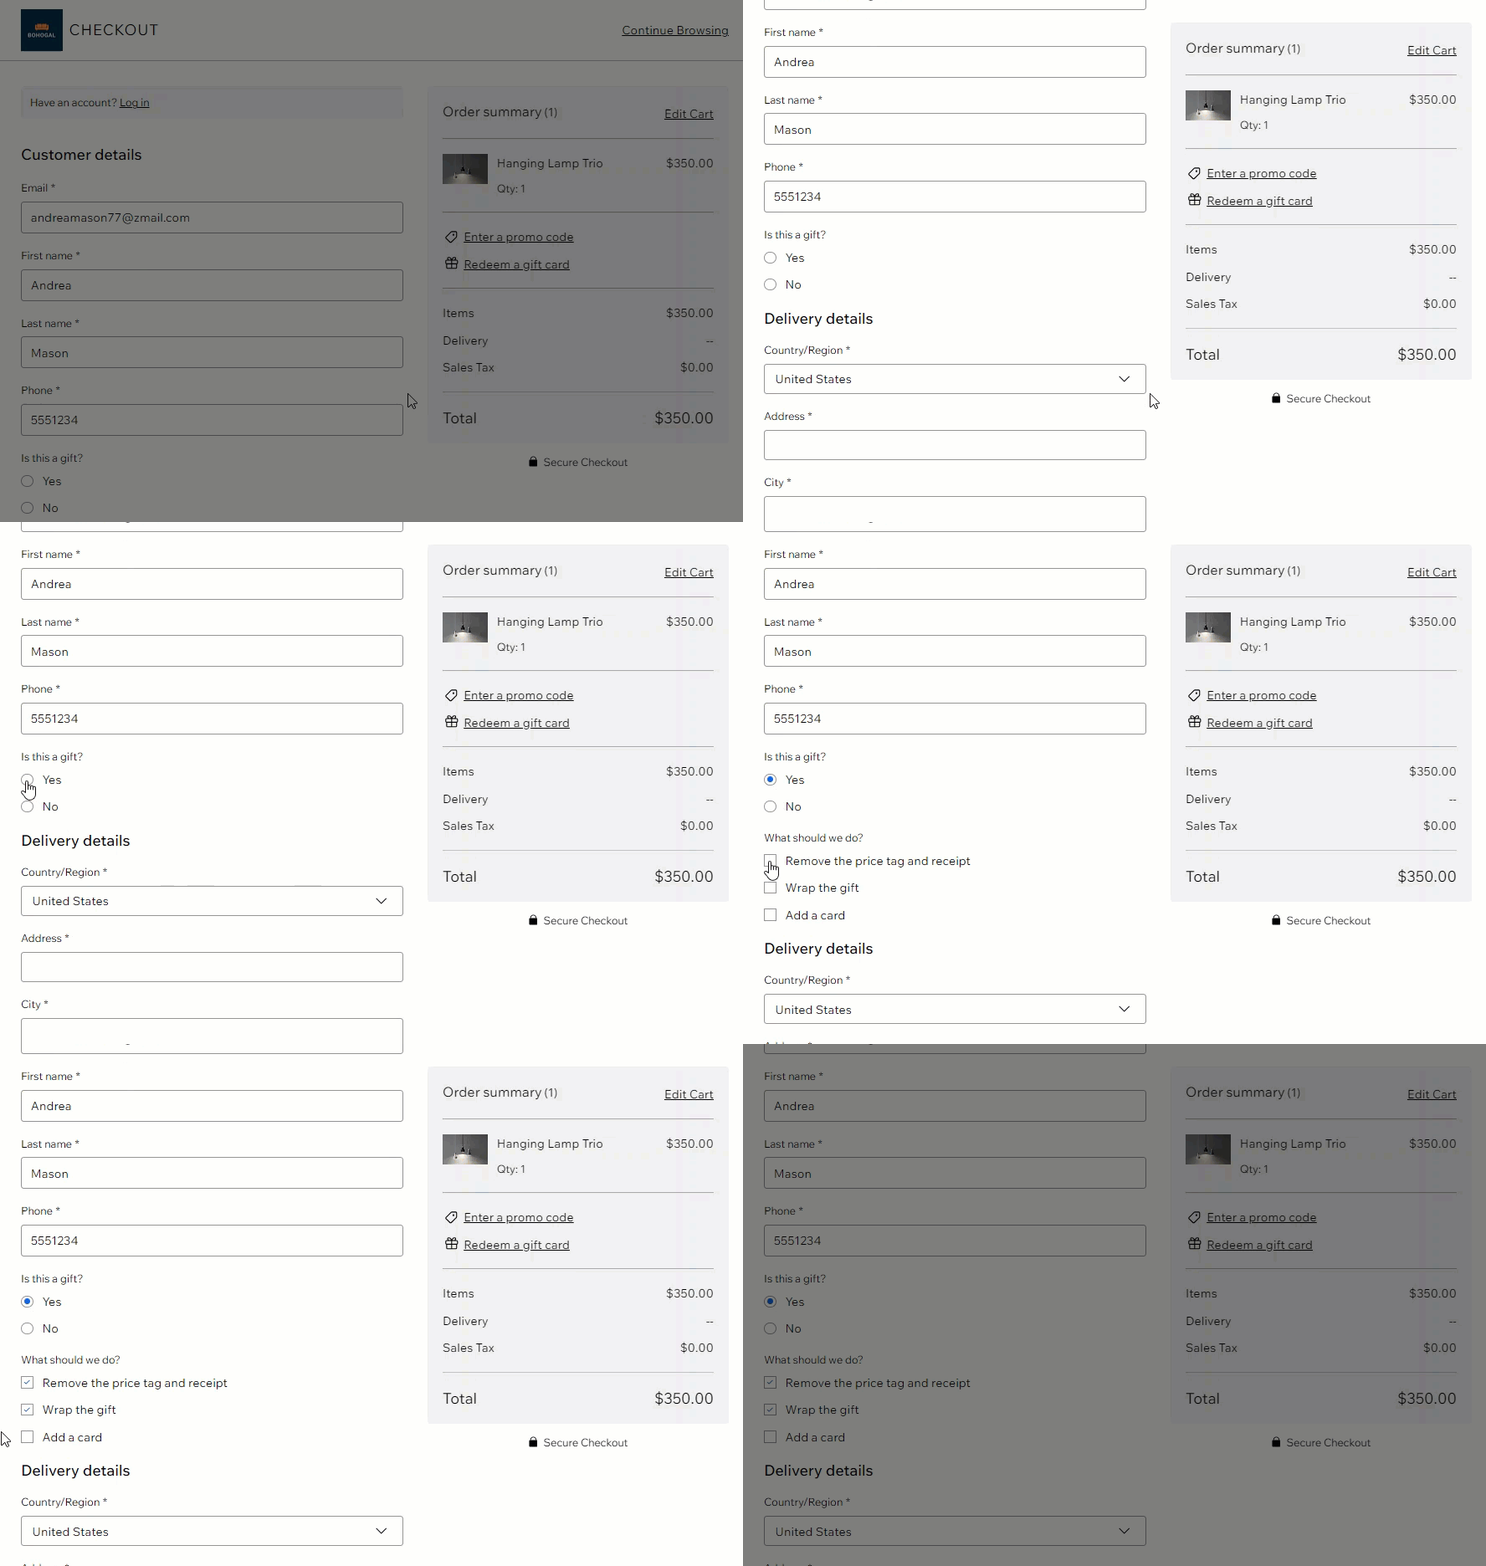
For example, you can ask customers whether their purchase is meant to be a gift. Then, based on their reply, you can display additional questions only to those customers who replied "Yes".

In this article, learn more about:
Creating a new conditional rule
Each rule includes a condition and an action: If a condition is fulfilled, another field reacts accordingly (action).
Start by selecting one of your checkout fields (e.g. the "Is this a gift" field). Then, apply the condition that needs to be fulfilled (e.g. Is equal to "Yes"). Finally, select the action that occurs when the condition is met.
Before you begin:
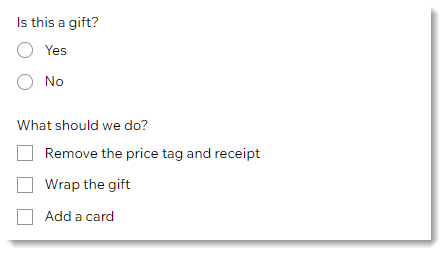
Before you create your rule, make sure you add any custom fields you need. For the example used in this article, the following 2 fields were added before the rule was created:


To add a new rule:
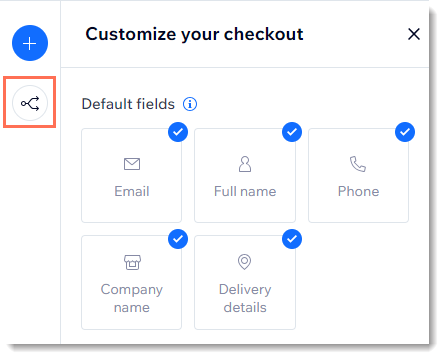
- Click the Rules icon
 on the left.

- Set up the condition for your rule under If:
- Select a field from the This field dropdown.
- Select an option from the Choose a condition dropdown.
Tip: Depending on the type of field and condition, you may be required to make additional selections.
- Decide on your form's behavior under Then:
- Select a field from the This field(s) dropdown.
- Based on your visitor's input, select an option under Is:
- Shown: The field appears.
- Hidden: The field becomes hidden.
- Optional: This field isn't mandatory to submit the form.
- Required: Your visitor must fill this field to complete checkout.
- Click Save Rule.
Tip: You may be prompted to change the default visibility status of a rule, for example if it should only be shown when a condition is met.
FAQs
Click a question below to learn more.
Can I create more than one rule?
Can I add multiple conditions to a rule?


