

Wix Mobile Apps: Creating Store Listing Descriptions
5 min
Create store listing descriptions for your native mobile app on the Apple App Store and Google Play Store. These descriptions highlight your app’s functionality, benefits, and key details like your business name, app icon, and keywords to improve discoverability. You can use the preview screen on the right to see real-time updates based on the information you add.
Adding your store listing details in Google Play and the Apple App Store
Showcase your app’s functionality, benefits, and key details by adding a store listing for your native mobile app on the Apple App Store and Google Play Store. If you set up your app name and icon during the initial setup, they will appear by default, but you can update them later.
Note:
The first time you fill out your Google or Apple store listing, you go through a step-by-step process. After completing these steps, you can go back and edit any details. When you set up the listing for the other platform or make updates, the listing will appear in a single form and include details from your previous entry.
To add your store listing details in Google Play and the Apple App Store:
- Go to Mobile App in your dashboard.
- Click the Your own mobile app tab or click the tab with the name of your own mobile app.
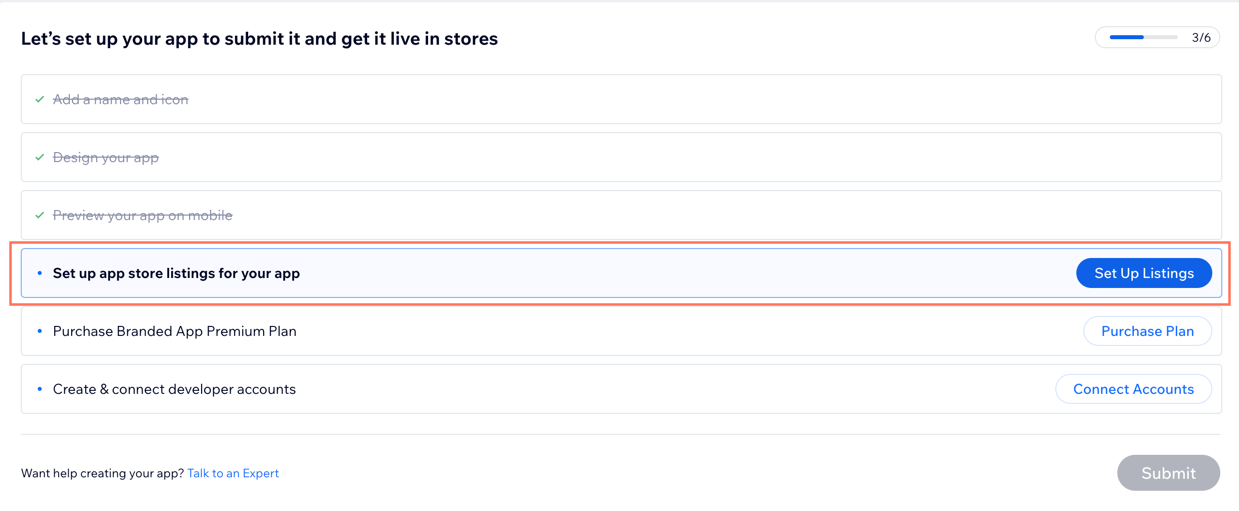
- Scroll down and click Set up app store listings for your app.
- Click Get Started under the store listing you want to set up first: Google Play or Apple App Store
- Add a name and icon that members will see in the app store.
Tip: Click Check Availability to see if your app name is available. - Click Next.

- Describe your app with a promotional text, then add a description of your app's main features and functionality.
- Click Next.
- Add discoverability details to help members find your app in the app stores. Follow the steps below based on the store:
Google Play Store

Apple App Store

10. Add your privacy and support information. Follow the steps below based on the store:
Google Play Store
Apple App Store
FAQs
Click a question to learn more about your store listings.
Can I change my app name and icon after publishing?
How do I choose the best keywords and tags for my app?
How do I choose the best categories for my app?
What is the difference between promotional text and the app description?
Can I use the same app listing details for both Google Play and Apple App Store?
Can I preview my app listing before submitting it?
What should I include in the privacy policy URL?
What is a support URL and why do I need it?
Do I need a marketing URL?
How often should I update my app listing?
