With the File Share app, you can create a file sharing library where people can exchange ideas and collaborate on projects. After you've added the app to your site, you can customize its appearance and decide how your site visitors can interact with it.
Step 1 | Add the File Share app to your site
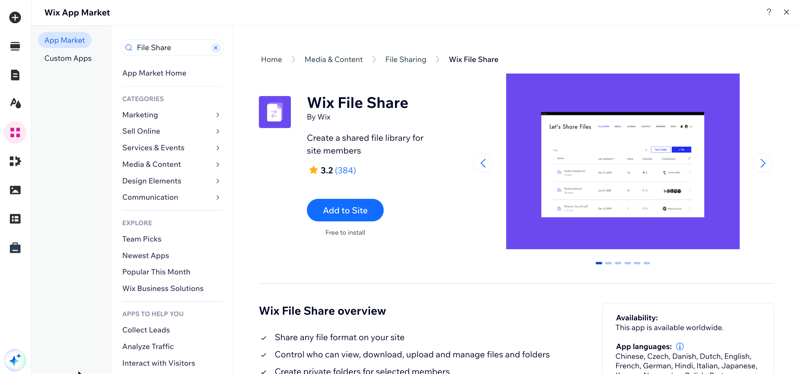
First, you need to add the File Share app to your site from the Wix App Market.
- Click Add Apps
 on the left side of the editor.
 - Search for the File Share app in the search bar.
- Click Add to Site.
Step 2 | Customize the permissions and member settings
After you've added the app, you can set permissions for who can perform actions in the File Share app.
To customize permissions and member settings:
- Click the app in your editor.
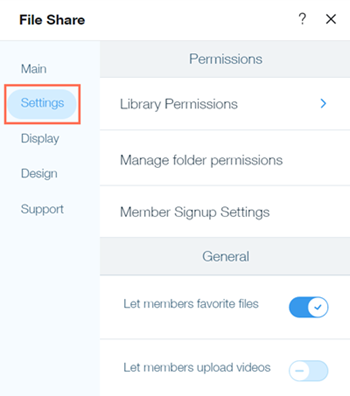
- Click Settings.
- Click the Settings tab.
- Choose the permissions you want to customize:
- Click the Who can view and download items? drop-down to set view and download permissions for your library:
- All members: Visitors who are members and log in to your site can view and download files.
- Site visitors: Anyone who visits your site can view and download files.
- Click the Edit icon
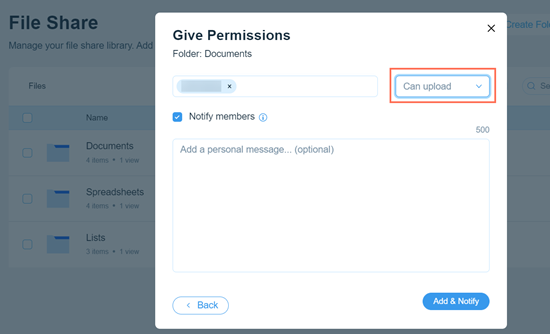
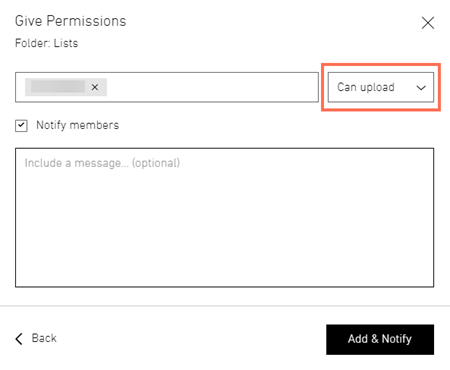
 under Who can upload files? to select who has upload permissions.
 - Select the checkbox next to all roles you want to allow to upload files.
Tip: To create a custom role, click +Create New. Learn more - Click Apply.
- Click the Edit icon
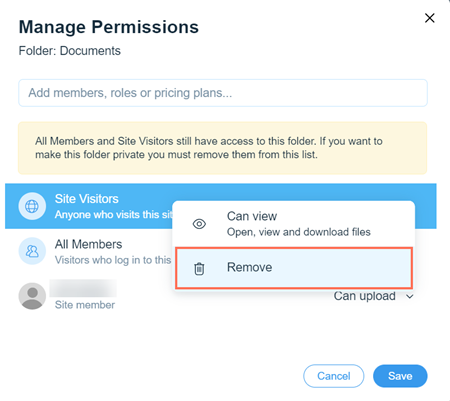
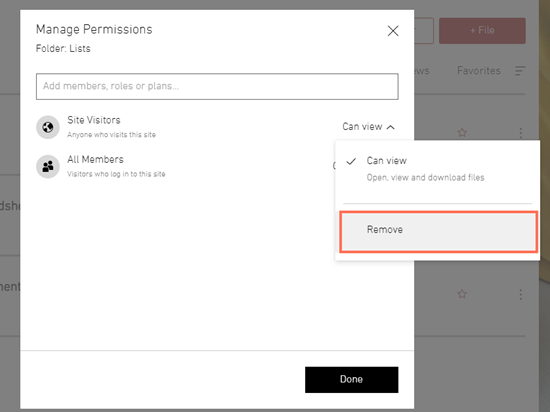
 under Who can manage the library? to choose who has manage permissions.
 - Select the checkbox next to all roles you want to allow to manage files.
- Click Apply.
- Click Save Changes.
- Click the Expand icon
 to open these settings.
Note: There are three tabs in this section. - Click the General tab.
- Choose which option your site visitors see first in the signup window:
- New member signup: The option to sign up as a new member is displayed first.
- Existing member login: The option to log in as an existing member is displayed first.

- Click Additional Signup & Login Settings to manage who can become a member.
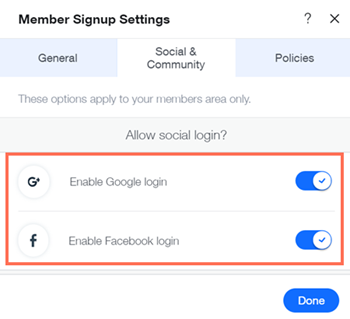
- Click the Social & Community tab.
- Select the social networks that members can use to log in under Allow social login?
- Enable Google login: Members can sign in using their Google credentials.
- Enable Facebook login: Members can sign in using their Facebook credentials.
- Click the Join the community is checked by default toggle to choose whether or not the "Join the community" checkbox is selected by default.
- Click the Policies tab.
- Click the Terms of Use toggle to enable or disable the Terms of Use link:
- Enabled: A link to your Terms of Use page is added in the signup window. Click the Link icon
 and select the page containing your Terms of Use.
 - Disabled: A link to your Terms of Use page is not added in the signup window.

- Click the Privacy Policy toggle enable or disable the Privacy Policy link:
- Enabled: A link to your Privacy Policy page is added in the signup window. Click the Link icon
 and select the page containing your Privacy Policy.
 - Disabled: A link to your Privacy Policy page is not added in the signup window.
- Click the Code of Conduct toggle to enable or disable the Code of Conduct link:
- Enabled: A link to your Code of Conduct page is added in the signup window. Click the Link icon
 and select the page containing your Code of Conduct Policy.
 - Disabled: A link to your Code of Contact page is not added in the signup window.
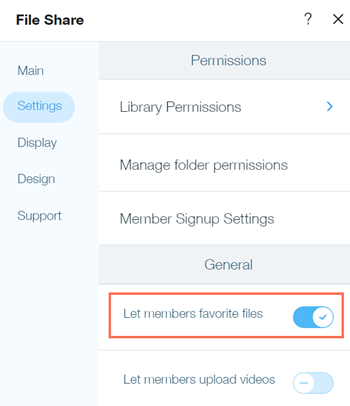
5. Customize the general settings of the app under General.
You can choose whether or not to let members favorite files and upload videos.
- Click the Let member favorite files toggle to set whether or not members can favorite files.
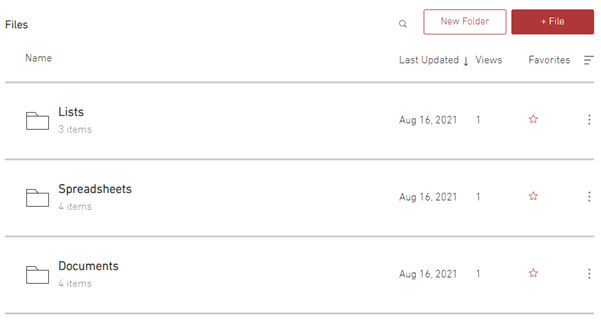
- Enabled: A star icon is displayed next to each file and folder. Members can click to mark a file or folder as a favorite.
- Disabled: No star icons are displayed.
- Click the Let members upload videos to set whether or not members can upload videos.
- Enabled: Members can upload videos.
- Disabled: Only admins can upload videos.
Step 3 | Design your app
You're nearly ready to publish the File Share app to your site! The last step is to customize how the app looks so that it matches your live site.
To customize the design:
- Click the Display tab to choose the information you want to display in the File Share app.
- Click the Display tab.
- Click the checkboxes next to each option to display information under the file name under What info do you want to show?.
- Select how your files will be sorted under Library default sort.
- Click to change the alignment to left or right.
2. Click the Design tab to customize the icons, buttons and more.
- Click the Design tab.
- Click the Files and folder icons tab.
- Click to choose an icon style:
- Fill: File icon is solid and does not display the filename extension
- Labelled: File icon displays the filename extension (e.g. PDF)
- Line: File icon is an outline and does not display the filename extension
- Click the File color by type toggle to enable or disable it:
- Enabled: Each file type is displayed as a specific color.
- Click the color box to choose the relevant color.
- Disabled: Files are not displayed with a specific color, instead, they appear as the same color and you can choose to change them as you wish.
- Click the color box to choose the relevant colors for your files.
- Click Back to return to the previous page.
- Click the Buttons and actions tab.
- Click the Buttons and actions color box to choose the color for your buttons.
- Click the Button text color box to choose the color of your button text.
- Click the Button font style drop-down to customize the font and style of your button text.
- Drag the Buttons corner radius slider to adjust the corner radius of your buttons.
- Click Back to return to the previous page.
- Click the Table and background tab.
- Click the drop-down to customize the style of the Folder navigation icons.
- Click the drop-down to customize the style of the Column titles and item info.
- Click the drop-down to customize the style of the Item names.
- Click the color box to choose a color for the Text and dividers.
- Drag the Hover color and opacity slider to adjust the color and opacity of the hover.
- Drag the Divider width slider to adjust the width of the dividers.
- Drag the Background opacity and color slider to adjust the opacity and color of the background.


 next to the relevant folder.