

Accessibility: About the Accessibility Wizard
4 min
In this article
- Get a comprehensive overview
- Optimize the way you build sites
- Get actionable solutions
- Expose advanced tools in the Wix Editor
- Monitor sites from your dashboard
- Frequently asked questions (FAQs)
The Accessibility Wizard is a tool to help you find and fix accessibility issues on the site you're working on. It scans the site from your editor, and guides you through actions to enhance the experience for every site visitor and customer.
Important:
While Wix is always striving to improve our products and services, we cannot guarantee that your site will be compliant with your region's accessibility laws and regulations after using the Wizard. We recommend consulting an accessibility expert to ensure that your site is meeting the standards for your region.
Get a comprehensive overview
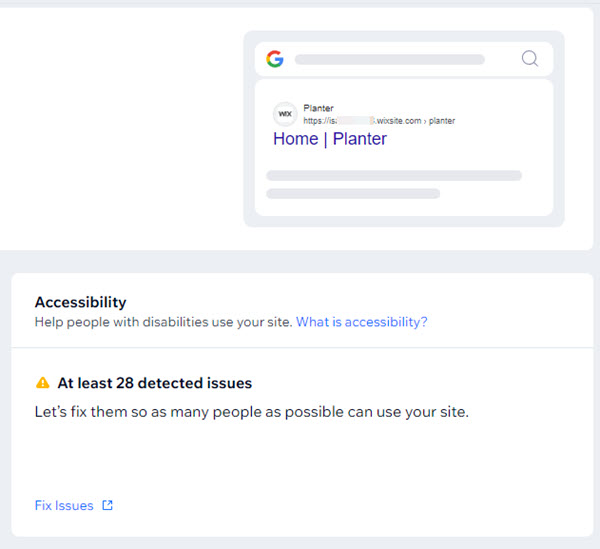
When you scan a site with the Accessibility Wizard, the results are displayed in 2 tabs: Detected issues, and Manual tasks.
We've based these tasks on the Web Content Accessibility Guidelines (WCAG) 2.2. This document has been developed by the World Wide Web Consortium (W3C), and outlines the international standard for web accessibility.
Scanning a site with the Accessibility Wizard is therefore a great way to get a sense of the site's accessibility, and see helpful suggestions for improvements.
Did you know?
Changes you make are saved in the wizard as you go, so you can switch between tabs (or exit the wizard completely) without losing any progress.
Optimize the way you build sites
The wizard highlights what it found in the Detected issues tab, and splits the issues into site-level and page-level.
Site-level issues are potential accessibility blockers that apply to the whole site (e.g. main site language, DOM order, etc.). You can use these options to quickly make holistic adjustments.
Pages have their own drop-downs in the wizard, allowing you to update specific content and settings like alt text and color contrast. Using business solutions on your site? The wizard also scans app pages (e.g. Stores, Blog) and provides you with resolutions.
Detected issues are a helpful way to start improving a site's accessibility, and work towards creating an equal experience for everyone.
Get actionable solutions
Each part of a site's accessibility is important. The Manual tasks tab displays actions or issues the wizard can't detect, helping you to cover as much of the site as possible.
The tab provides detailed guidelines for adjusting elements and settings, such as use of color, browser zoom, and more.
Going through each manual task can help clients expand their business, and provide a site experience that is more accessible for visitors.
Expose advanced tools in the Wix Editor
Working with custom elements or applications on a Wix Editor site? If you have experience in site development and advanced knowledge of preparing sites for accessibility purposes, you can use the wizard to expose and adjust dev settings such as tabindex and ARIA attributes.
Important:
- This option is available in Wix Editor sites only.
- We have already hardcoded ARIA attributes for most elements, so we recommend keeping Accessibility Dev Tools hidden in your editor unless necessary.
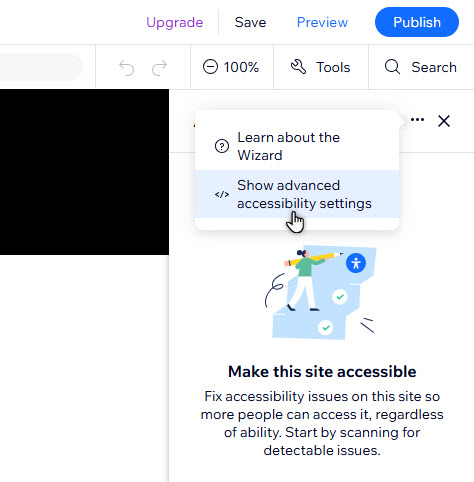
To expose accessibility dev tools:
- Go to your editor.
- Click Settings at the top and select Accessibility Wizard.
- Click the More Actions icon
 at the top of the panel.
 - Select Show advanced accessibility settings.
- Click Show Settings.
Monitor sites from your dashboard
The wizard is connected to the Accessibility Monitor in the site's dashboard. This tool scans and flags potential issues on the published version of the site, so you can keep improving its accessibility as you go.
Ready to get started?
Frequently asked questions (FAQs)
Select a question to learn more about the wizard.
How does the Accessibility Wizard work with multilingual sites?
What does the Accessibility Wizard scan?
What pages and site content are not supported by the wizard?
How else can I improve a site's accessibility?
