

Wix Logo: Making Your Logo Non-Square (Circular / Triangular) in the Wix Logo Maker
3 min
With the Wix Logo Maker, your logo doesn't have to be square. You can create a logo in a variety of shapes, i.e., triangular, circular, rectangular, and more.
By positioning your logo elements strategically, you can design a non-square logo. Simply position all text and elements on top of and inside the shape you have chosen your logo to be. Then use the Original on Transparent logo file.
Tip:
Before you get started creating your logo, we recommend that you take time to review our Logo Maker best practices. This can help avoid any potential design issues in the long run.
To make your logo a different shape:
- Go to the Brand Studio.
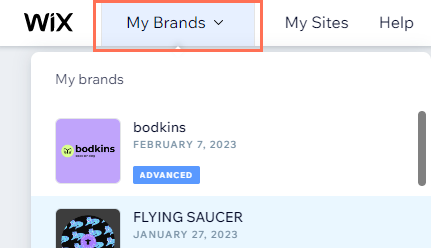
Note: If this is your first time creating a Logo in the Wix Logo Maker, skip to step 4. - Click the My Brands drop-down at the top.
- Select the relevant brand.
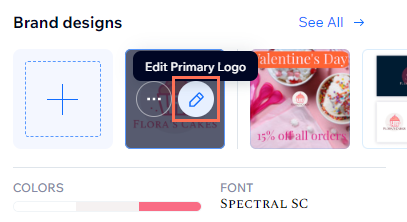
- Hover over the relevant logo design and click the Edit icon
 .
.
- Choose the shape of your logo using the Icons panel or the Shapes panel:
- Symbols panel:
- Click the Symbols icon
 on the left and search for your preferred symbol.
 - Click the symbol to add it to your logo.
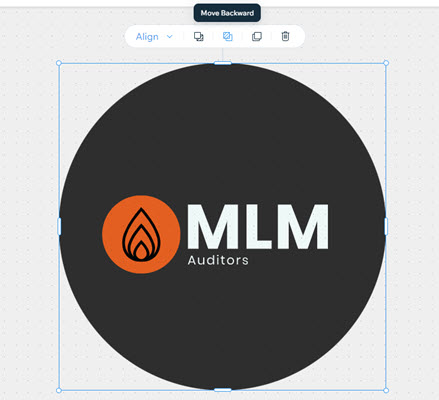
- Click the Move Backward icon
 as many times as necessary in the toolbar at the top of the Logo Maker.
 - (If necessary) Resize and customize your logo elements.
- Click the Symbols icon
- Shapes panel:
- Click the Shapes icon
 on the left and select your preferred shape.
 - Click the Move Backward icon
 as many times as necessary in the toolbar at the top of the Logo Maker.
 - (If necessary) Resize and customize your logo elements.
- Click the Shapes icon
- Symbols panel:
- Click Next at the top right to purchase and download your logo.
- Extract your files from the .zip folder and use the "Original on Transparent" logo file.
Note:
- Currently, it is not possible to cut out or erase parts of a shape, icon, or text in the Logo Maker. You can vote for this feature here. Be aware that if you try and achieve this effect by overlapping your logo with shapes or icons, they will be visible in the white, black, monochrome, grayscale and transparent files of the logo.
- Learn how you can hide a specific element in your logo here.
