Wix Logo: Creating Social Posts in the Wix Logo Maker
3 min
Keep your followers engaged with eye-catching social posts designed by you. Create a post using one of our beautiful templates and customize it to make it your own. You can add text, symbols, images, and your logo to your post, and even change your color palette and background.
Note:
You can download Social Posts and more with our Brand Kit plans.

To create a Social Post:
- Go to the Brand Studio.
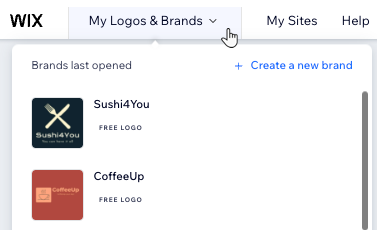
- Click the My Logos & Brands drop-down at the top.
- Select the relevant brand.

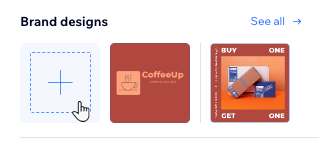
- Click the Create a New Design icon
 under Brand Designs.

- Click the Social Post tab.
- Hover over the Social Post template you like best and click Select.
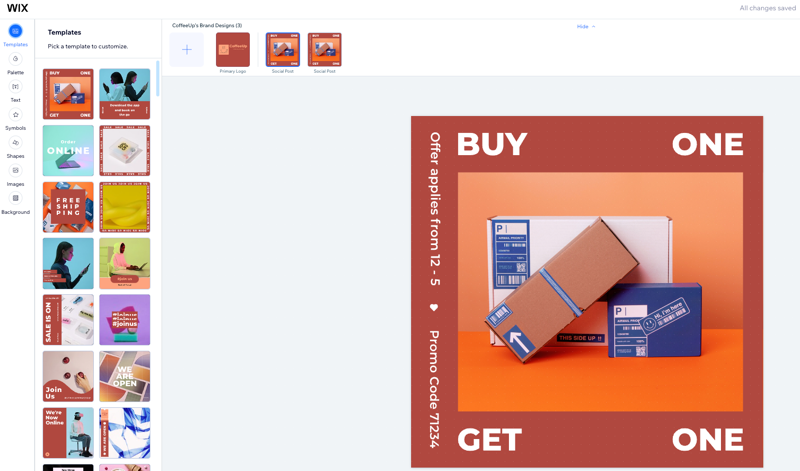
- Click the tabs on the left to customize your logo (you can also click the element itself to open its tab)
- Templates: Select a new template for your post that suits your brand.
- Palette: Select a new color palette for your post. Color palettes come in presets of 4 colors. You can change the individual colors in the other tabs.
- Text: Customize the text on your post. (There is a 50-character limit for each text box).
- Symbols: Click Add Symbol to add a symbol or your logo to your Social Post.
Note: To add your logo to your post, click My Logos at the top of the Manage Symbols tab. Then, click your logo design to add it to your post and customize it to your liking.

- Shapes: Click Add Shape to add a shape to your post.
- Images: Click Add Image to upload your own image or choose an image from the Wix Library.
Note: Currently, you can only upload .JPEG and .PNG images with a maximum size of 25MB. You can also search and filter images by keyword, orientation and color, to help you find what you're looking for faster. - Background: Choose a color for your post's background.
- Depending on whether or not you have a logo plan, follow the relevant step:
- Don't have a Logo + Website plan: Click Next to purchase a plan with unlimited Social Posts.
- Already have a Logo + Website plan: Click Download to download your .PNG Social Post file.
- Extract your Social Post files and upload them to your social media of choice.

Note:
Each Social Post file created is downloaded at 1080 x 1080px file size.


