

Wix Bookings: Creating and Setting Up Your Booking Forms
11 min
In this article
- Step 1 | Set up your booking form
- Step 2 | Customize the design of your form
- FAQs
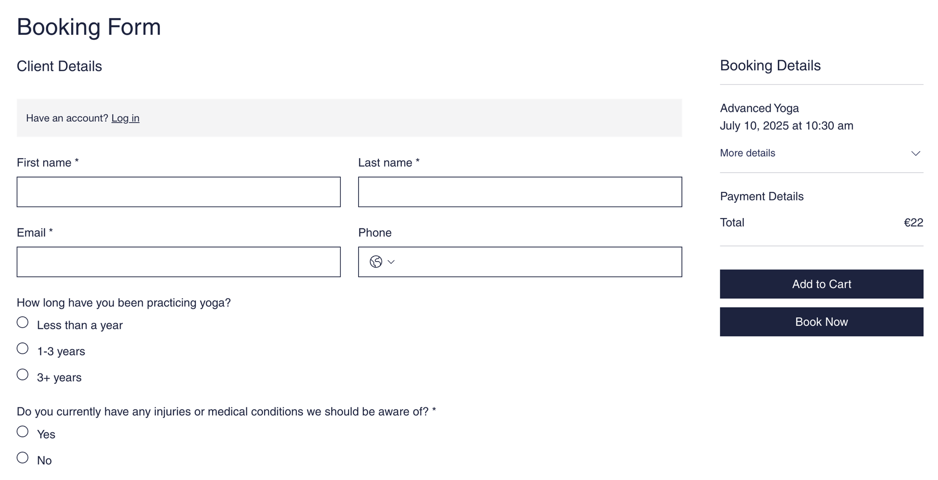
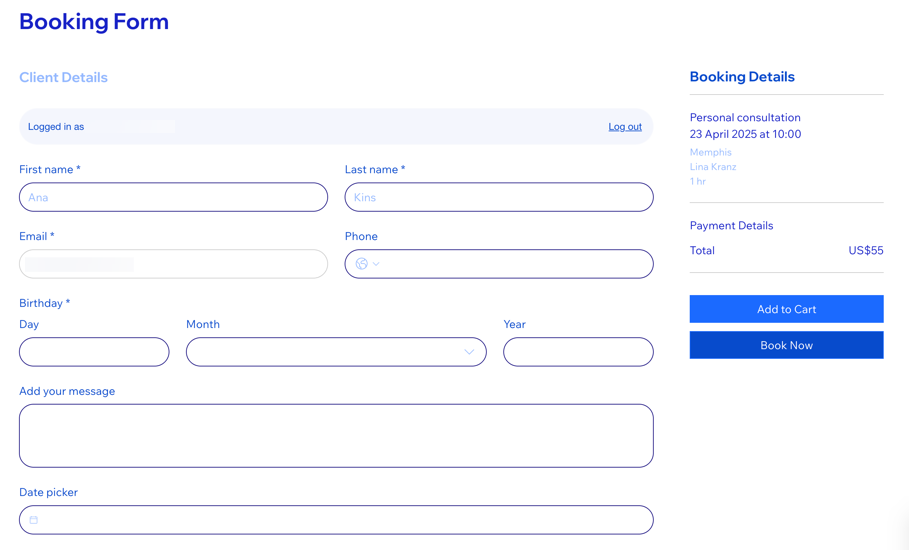
Booking forms are essential for collecting important details from your clients when they make a booking. Start with a default form to collect general client information, and then customize or create new forms for other services as needed. Customizing your booking form makes the booking process smoother and helps you gather all the necessary details in advance.
For example, a yoga instructor can use the default form for general bookings and a customized form for advanced classes to gather additional details like experience levels and health concerns.
Step 1 | Set up your booking form
The default booking form is the main form clients fill out when booking any service on your site. You can personalize this form by adding necessary fields and marking important ones as required.
If certain services need additional information, you can create custom forms for them. This way, you gather the details you need while still using the default form for general bookings.
Making changes?
Changes to a booking form field apply to both past and future bookings, affecting all forms using the same field text. For example, updating a field title also updates it in past submissions.
To set up your booking form:
- Go to Booking Settings in your site's dashboard.
- Click Booking form.
Tip: You can also edit your booking form in the Booking Services section under your booking preferences. - Choose what you want to do:
- Edit the default form: Click the More Actions icon
 next to the default booking form and select Edit form fields.
 - Create a new form: Click + Create New Form.
- Edit the default form: Click the More Actions icon
- (Optional) Click the form name at the top, enter a new name, and click the checkmark to save it.
Note: The form name is for internal use only. - Choose how you want to customize the form:
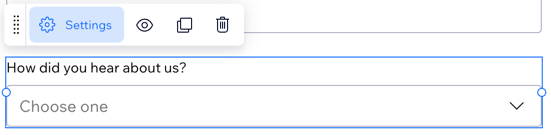
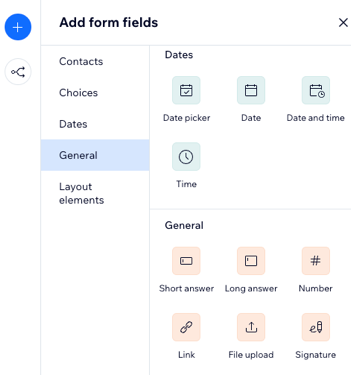
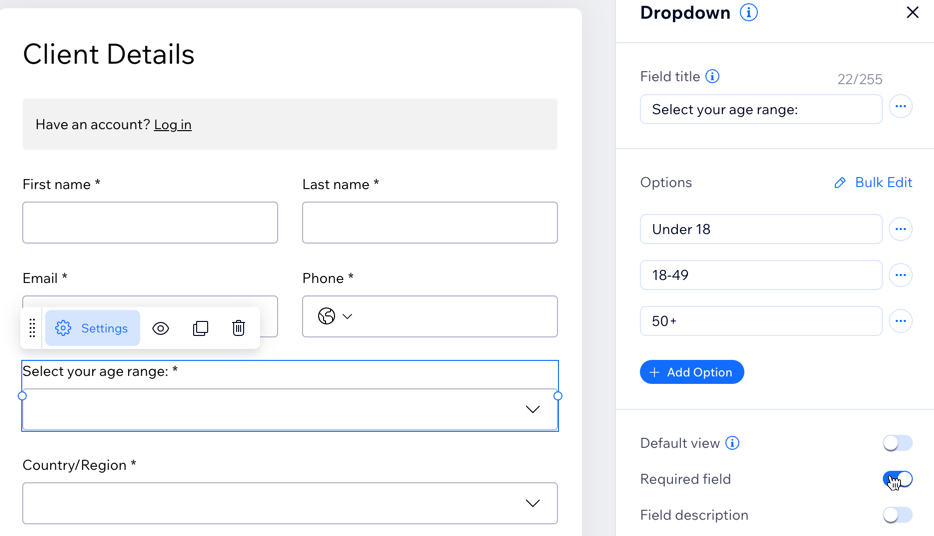
Add form fields
 on the left.
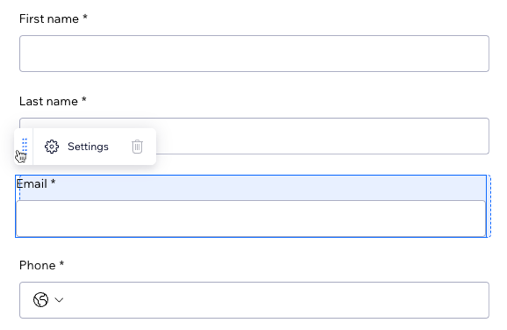
Edit a field
Remove a field
 .
.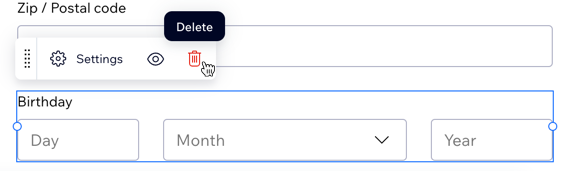
Reorder the fields
Set conditional rules
 on the left.
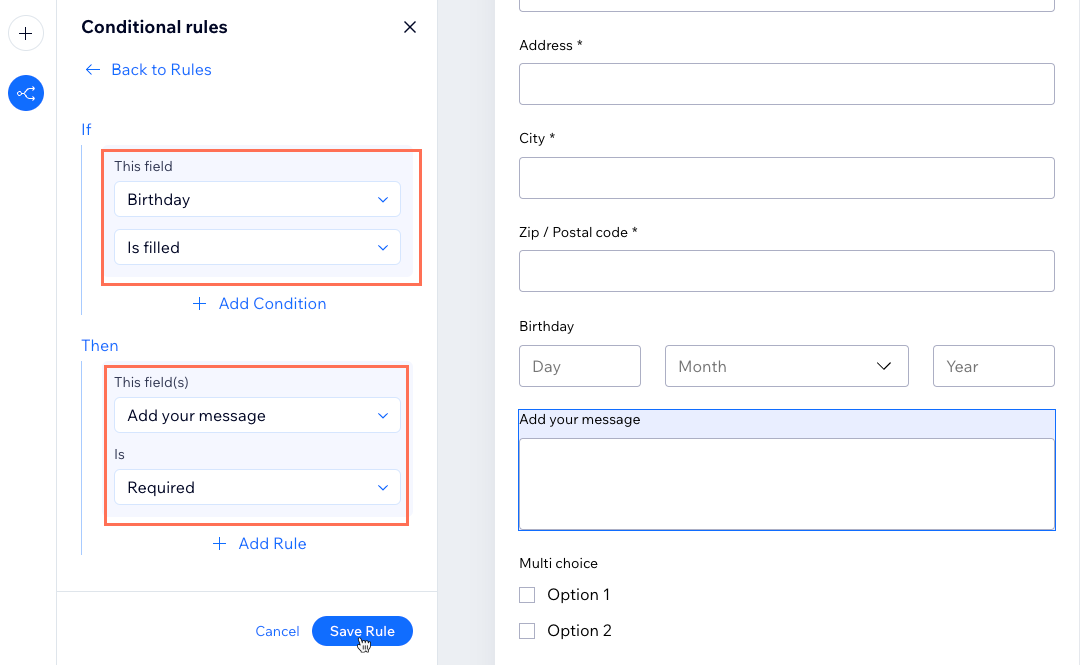
6. Click Save.
Step 2 | Customize the design of your form
You can customize the layout, display design and text of your booking form to suit your site and your brand. Keeping the design and layout as clear as possible provides a better experience for clients as they make bookings.
Wix Editor
Studio Editor
- Go to your editor.
- Go to your Booking Form page:
- Click Pages & Menu
 on the left side of the editor.
 - Click Bookings Pages.
- Click the Booking Form page.
- Click Pages & Menu
- Click the booking form element on your page.
- Click Settings.
- Choose what you want to customize:
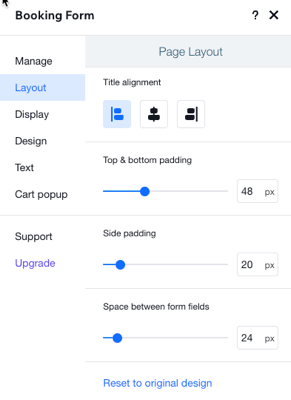
Layout
Display

Design

Text
Cart popup
Connect your services:
After creating your booking form, connect it to the relevant services to ensure clients see the correct form. By default, all services use the default booking form.
- Go to Booking Form in your site's dashboard.
- Click the More Actions icon next to the relevant booking form.
- Click Manage connected services.
- Click the checkbox next to the relevant service(s).
- Click Save.
FAQs
Click a question to learn more about booking forms.
Can each service have its own booking form?
What type of fields can I add to my booking form?
Can I make fields on my booking form mandatory?
How can I delete a booking form?
Will changes to a booking form affect all services?
Can I create new booking form while I'm adding a new service to my site?
Can clients upload important files or signatures on a booking form?
How can I preview my booking form?
What happens to past bookings when I edit a booking form?
How do I view booking form responses?
Can I add a custom form for clients to fill out during checkout?
