

Wix Blog: Promoting Your Published Post
2 min
In this article
- Sending an email campaign for a blog post
- FAQs
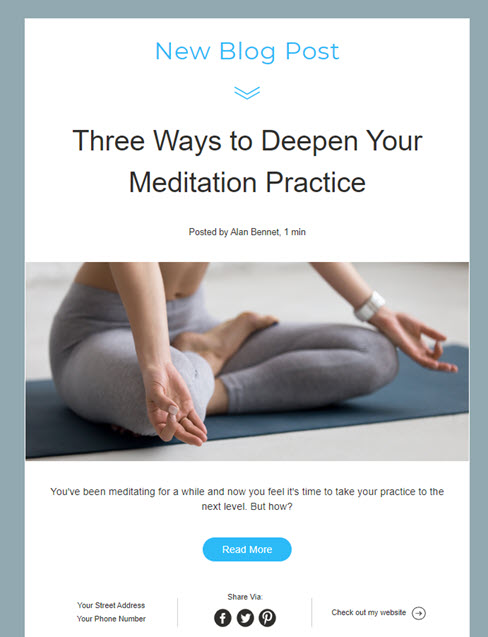
After you write a great post, why not share in a beautiful email campaign? You can create your own email marketing campaign that showcases your latest blog post. This is a great way to generate traffic to your blog.
Sending an email campaign for a blog post
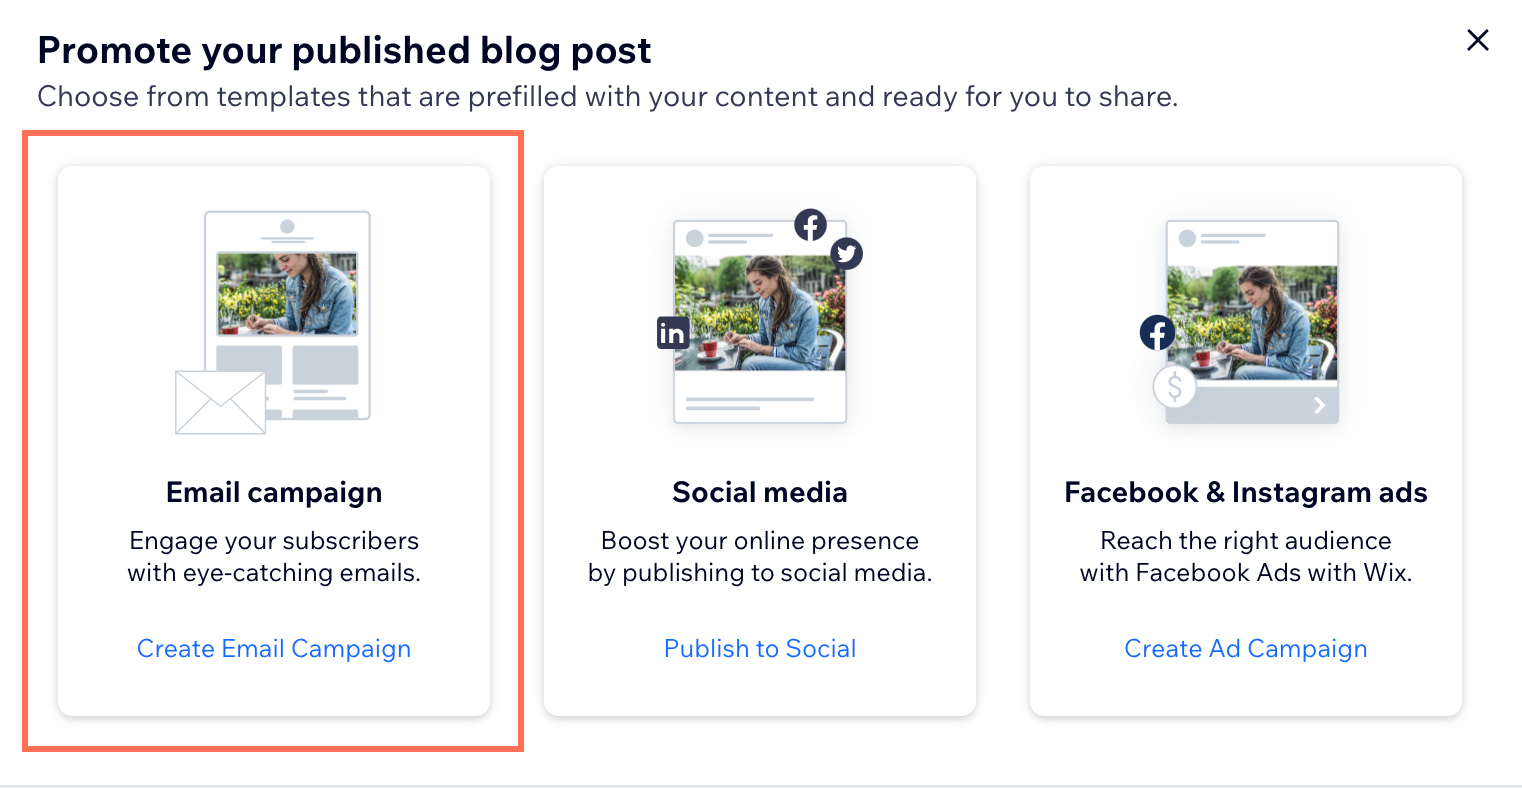
Create your email campaign directly from your dashboard.
To send an email campaign:
- Go to Blog in your site's dashboard.
- Click the More actions icon
 next to the relevant post.
 - Select Share Post.
- Click Create Email Campaign.
- (Optional) Customize the email campaign using the available options (e.g. choose a new theme, background, or edit the text).
- Click Next at the top right.
- Select the relevant contacts you want to send your email to, or enter email addresses directly.
- Click Next at top right.
- (If necessary) Click Edit next to the relevant option to edit your campaign details:
- Subject Line: Enter the subject line of the email and add the preview text.
- Sender details: Enter the name that the email is sent from and the reply-to email address.
Note: If you have not yet confirmed your email address, click Confirm Now. - Email recipients: Edit and review the emails before you send your campaign.
- Select a send option:
- Send immediately: Click Send Now.
- Send later:
- Click Schedule.
- Select the send day.
- Select the send time.
- Click Schedule Campaign.
FAQs
Click a question below to find out more information about email campaigns:
Can I send a test email?
How can I create a good email campaign?
