Wix Contacts: Creating and Managing Segments
7 min
In this article
- Creating a segment
- Viewing the contacts in your segments
- Managing your segments
- Sending an email campaign to a segment
- FAQs
Organize your contacts into groups called segments to target the right people when sending an email campaign or reaching out to your audience.
When you add a new contact to your list, or someone performs an action on your site such as signing up for your newsletter, all the data (e.g. name, email, last viewed page) is stored. You can use this valuable information to create segments of contacts built from specific filters and criteria.
For example, create a segment for all contacts who have purchased an item on your site before, but have not purchased in the last 30 days. You can then send this specific group an incentive such as an email campaign with a special offer or coupon.

Creating a segment
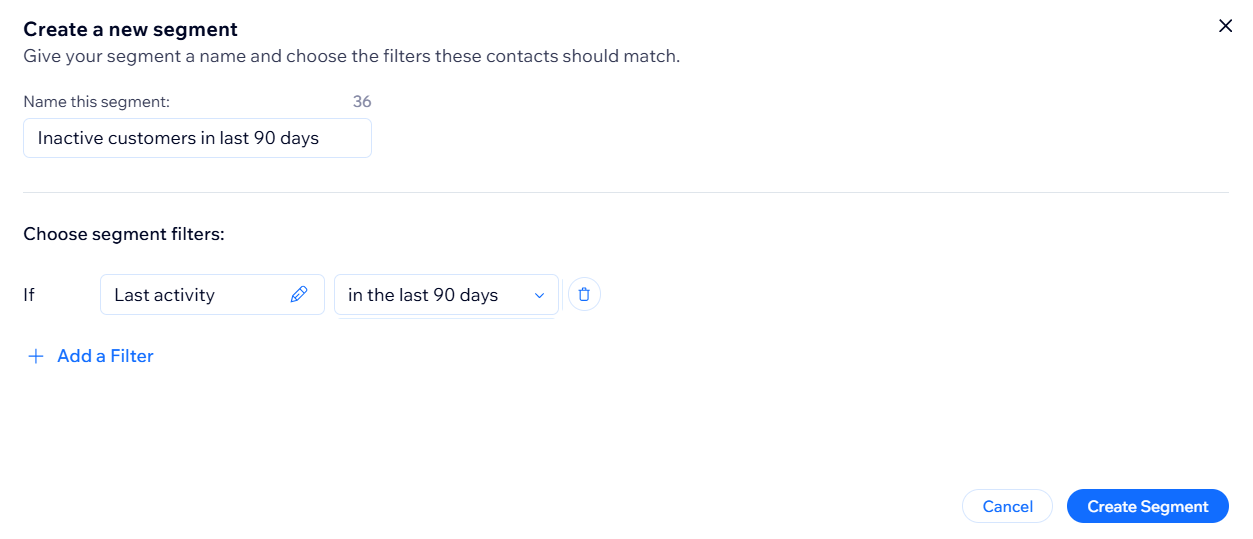
Create a segment using filters and conditional logic. First pick a filter based on either a contact attribute (city, country, email) or contact activities on your site (number of purchases, last purchased). Then choose the conditional logic for this segment.
In the following steps we're going to create a segment called 'returning customers'. Using an online store as an example, we want to target all contacts who meet two criteria: 1. They have purchased an item from the store before, and 2. They have been active on the site within the last 30 days but not purchased anything else. Using filters we can create a segment of contacts who meet both criteria.
Important:
The logic of the filters you choose changes based on the attribute or activity. For example, the conditions for 'last viewed' will be different than the conditions for 'last purchased.'
To create a segment:
- Go to Contacts in your site's dashboard.
- Click Manage Segments at the top right.
- Click the drop-down next to Create Segment and choose how you want to create your segment:
Manually
With AI
Viewing the contacts in your segments
You can view contacts belonging to a segment from your Segments page. Refresh segments data before viewing to make sure you're seeing the most up-to-date list of contacts in a segment.
To view the contacts in your segments:
- Go to Contacts in your site's dashboard.
- Click Manage Segments at the top of the page.
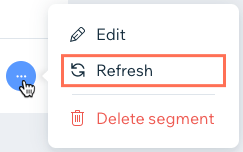
- (Optional) Hover over the relevant segment, click the More Actions icon
 and click Refresh.

- Click the No. of contacts icon next to the segment you want to view.

Tip:
Filter your contact list to view contacts belonging to multiple segments at once.
Managing your segments
The Segments tab in the Contacts dashboard shows you all the info on the segments you've created. You can also edit and remove segments. Under Your Segments, view the date and time a segment was last updated as well as the number of contacts that match the segment.
To manage your segments:
- Go to Contacts in your site's dashboard.
- Click Manage Segments at the top of the page.
- Hover over the segment you want to manage and click the More Actions icon
 .
. - Manage your segment using the available options:
- Send Email Campaign: Send a targeted email marketing campaign to this segment. This counts as one of your monthly campaign allowances. See the next section for more information about sending email campaigns to a segment.
Note: If you cannot select this option you don't have contacts that match the filter criteria yet. - Create automation: Create an automation to trigger an action for this segment.
- Export contacts: Export this segment to create a back up of the contacts list or to copy the segment to a different platform.
- Duplicate: Create a copy of the segment. You can rename the segment or add new filters to change the criteria. When you're done editing click Create Segment.
- Edit: Update the segment's name and filters. You can also add a new filter to make the segment more specific. When you're done editing click Save Segment.
- Refresh: Refresh a segment's filters so that any new contacts that match the criteria are pulled into the segment. You can also see the date change next to Last updated.
- Delete: Remove a segment from the list. The contacts are still saved in your contact list, but the filters are deleted. Click Delete Segment to confirm.
- Send Email Campaign: Send a targeted email marketing campaign to this segment. This counts as one of your monthly campaign allowances. See the next section for more information about sending email campaigns to a segment.
Sending an email campaign to a segment
Once you've created a segment, send an email marketing campaign to that group to encourage them to perform a specific action. This counts towards your monthly email marketing balance (both campaign and email limits).
To send an email campaign to a segment:
- Go to Contacts in your site's dashboard.
- Click Manage Segments at the top of the page.
- Hover over the segment you want to manage and click the More Actions icon
 .
. - Click Send Email Campaign.
Note: If no contacts currently match a segment's filters, you cannot send a campaign.

- Add elements to your campaign such as text, images, buttons and more. Learn how to add elements to your campaign.
- Click Next at the top right.
- (Optional) Add other recipients or contacts in the To: field and click Next.
Note: The segment you selected in Step 2 is automatically included in the To: field. - Edit the sender details of your campaign including the subject line, 'From name' and reply-to email.
- Click Send now to send your campaign to the segment.
Tip: You can also send a test email to see how the campaign appears, or click Schedule to schedule your campaign.
FAQs
Click a question below to learn more about creating and managing contacts segments.
How often are segments updated?
How do I add new contacts to an existing segment?
Can I create a segment that excludes certain contacts?
What happens if a contact no longer meets the criteria for a segment?


