Wixel: Managing an RSVP Event
5 min
In this article
- Editing event details
- Updating an event's RSVP settings
- Managing your guest list
- Cancelling an event
This article refers to the new Wixel, released in December 2025. If you're unsure whether you’re using the new or previous Wixel, view more information here.
Stay on top of your event’s RSVP process with Wixel’s built-in management tools. You can update settings, keep track of guest responses, edit event details, and handle changes or cancellations - all in one place. Whether you’re hosting an intimate gathering or a large celebration, these tools help you stay organized before, during, and after your event.
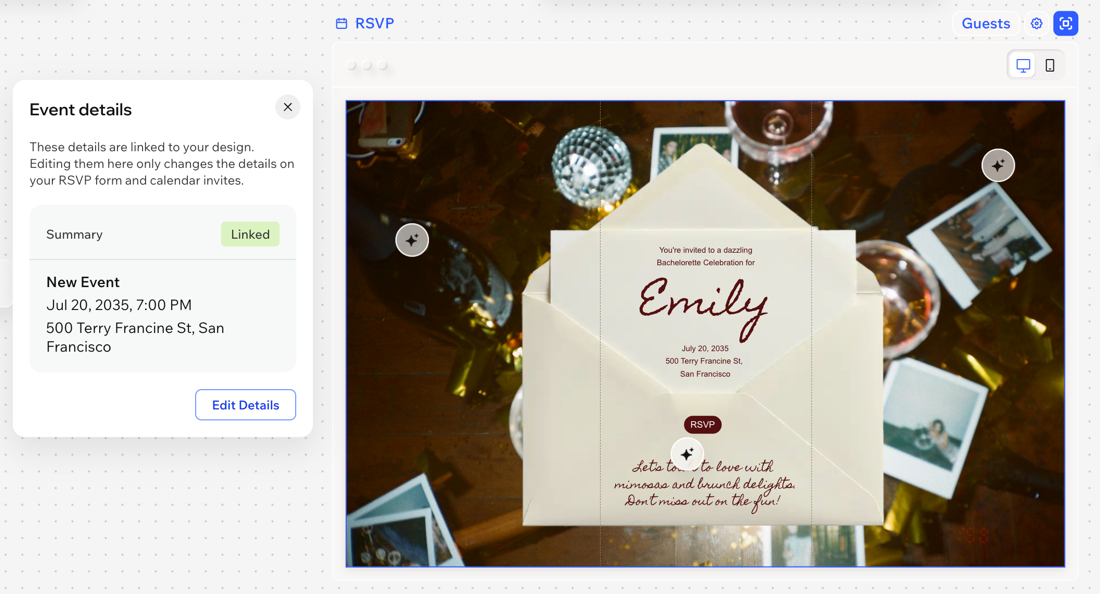
Editing event details
Stay organized by keeping your event details up to date. The information you set here appears in RSVP emails and calendar invites for your guests, and helps you manage everything behind the scenes.
Editing these settings doesn’t affect the text on your invitation, so you can make the invitation exciting and memorable while keeping the event details clear and organized. For example, on a birthday invitation you could write "Come for the cake, stay for the fun", while the event details show "Linda's Birthday".
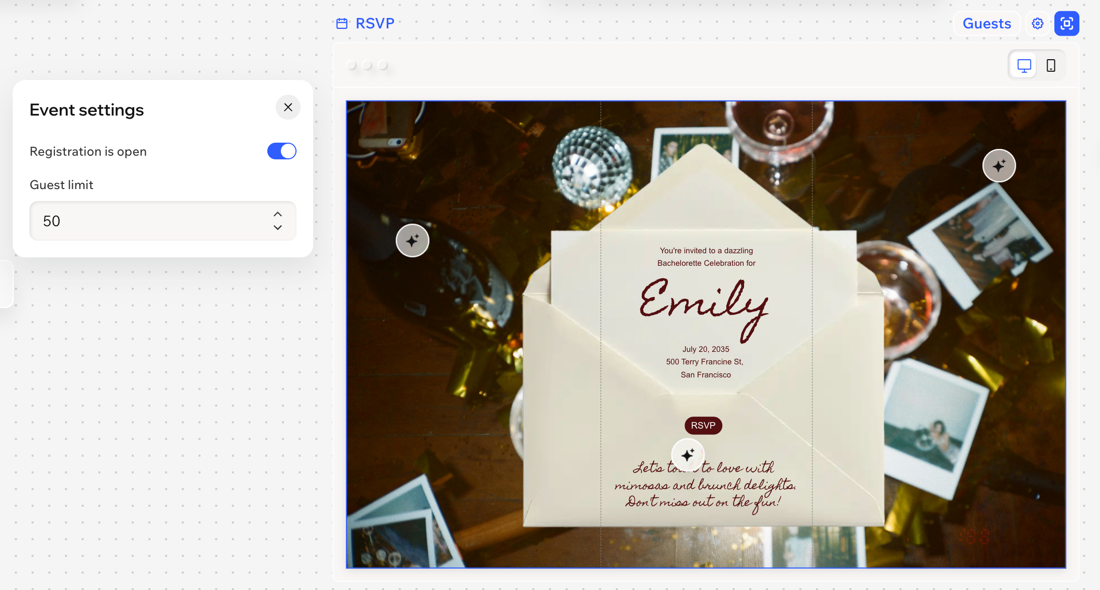
Updating an event's RSVP settings
Fine-tune your event’s registration process and notifications to match your needs. Decide when guests can RSVP and set a clear guest limit so you do not overbook.
Managing your guest list
The guest list allows you to view all individuals attending your event. Review the information guests provided when they RSVP'd, add or remove guests, resend confirmation emails, and track attendance.
To manage your guest list:
Desktop browser
Wixel app
- Go to your project in Wixel.
- Click Guests above the relevant invitation.
- Choose what to do:
Check in guests
Edit guest details and RSVP status
Add a guest
Remove guests
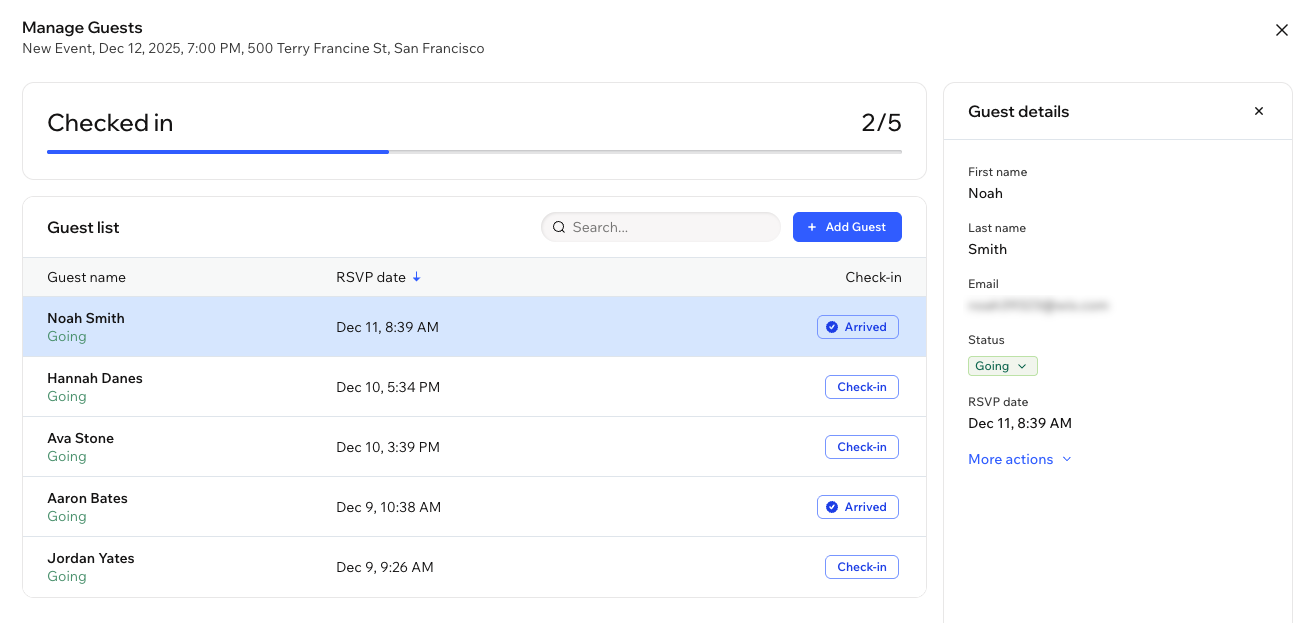
Tip:
Sort your guest list by their RSVP date by clicking the arrow on the RSVP date column.
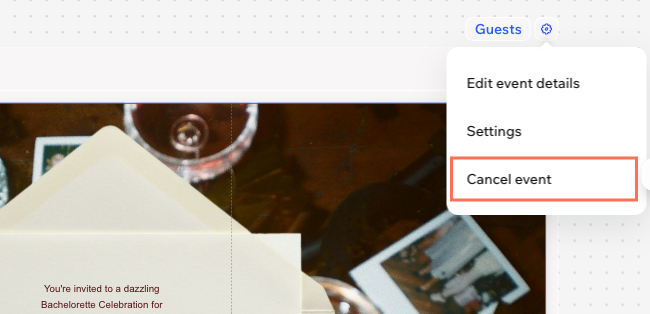
Cancelling an event
If you need to cancel a shared event, you can do so from the event's invitation in your project. When you cancel an event, the invite will show that registration is closed.
Before you cancel:
You cannot restore an event once you cancel it. However, you can duplicate the canceled event and share it again.
To cancel an event:
Desktop browser
Wixel app
- Go to your project in Wixel.
- Click the Settings icon
 above the relevant invitation.
 - Select Cancel event.
- Click Cancel Event to confirm.