

Wix Video: Adding and Setting Up Wix Video
7 min
In this article
- Step 1 | Add Wix Video to your site
- Step 2 | Add videos to your library
- Step 3 | Organize your videos into channels
- Step 4 | Choose what to display on your site
- FAQs
As a video content creator or business owner, you know the importance of showcasing your videos in a way that captures your visitors' attention.
That's where Wix Video comes in. With Wix Video, you can display your videos on your site, engage your visitors with customizable features, and even monetize your content.
In this article, we'll walk you through the process of adding and setting up Wix Video so you can start sharing your videos with the world.
Step 1 | Add Wix Video to your site
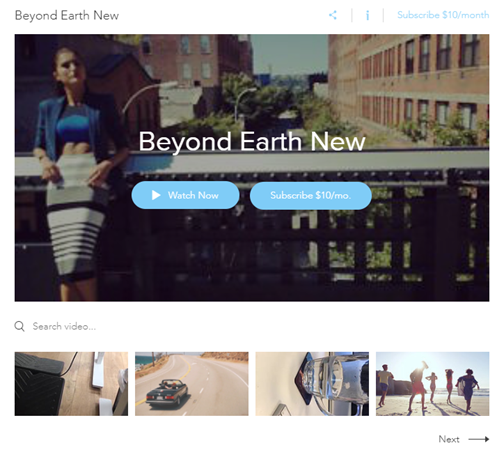
Before you can begin using Wix Video on your site, you'll need to add it to your editor. You can choose from 6 stunning layouts, each designed to showcase your video content in the best possible way. Try them all out and choose the one you love most.
Wix Editor
Studio Editor
Wix Harmony Editor
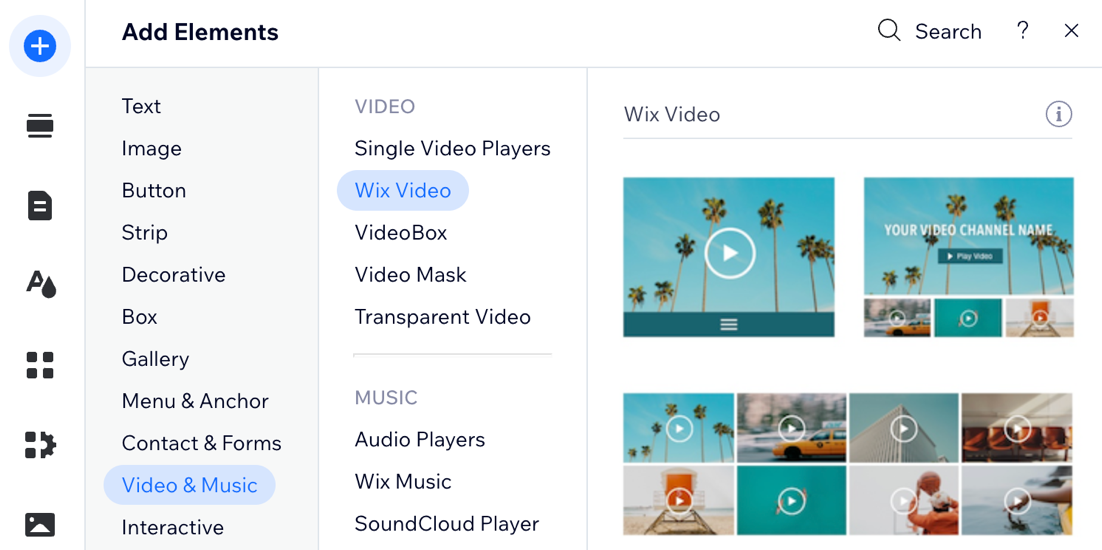
- Go to your editor.
- Click Add Elements
 on the left side of the editor.
 - Click Video & Music.
- Select Wix Video.
- Drag the relevant video player onto your page.
Step 2 | Add videos to your library
After adding Wix Video to your site, you can begin uploading your videos to your video library. Storing your videos in your video library is an excellent way to keep your content in one centralized location, making it easier to manage and showcase your videos on your site.
Wix Video storage:
Every video you upload to Wix is hosted securely on Wix's servers. These files count towards your site's total storage limit. From Manage Storage in your site's settings you can view how much storage your site is using in total.
If you need more storage, you can upgrade your site to include storage space, in addition to uploading more videos and accessing additional options to monetize your content.
To add videos to your Video Library:
- Go to your Video Library.
Tip: Working in the editor? Select the Wix Video element and click Manage Videos to get here. - Choose how you want to upload your video(s):
Upload from your computer, Dropbox or Google Drive
Paste a link from YouTube, Vimeo or Facebook
 to confirm.
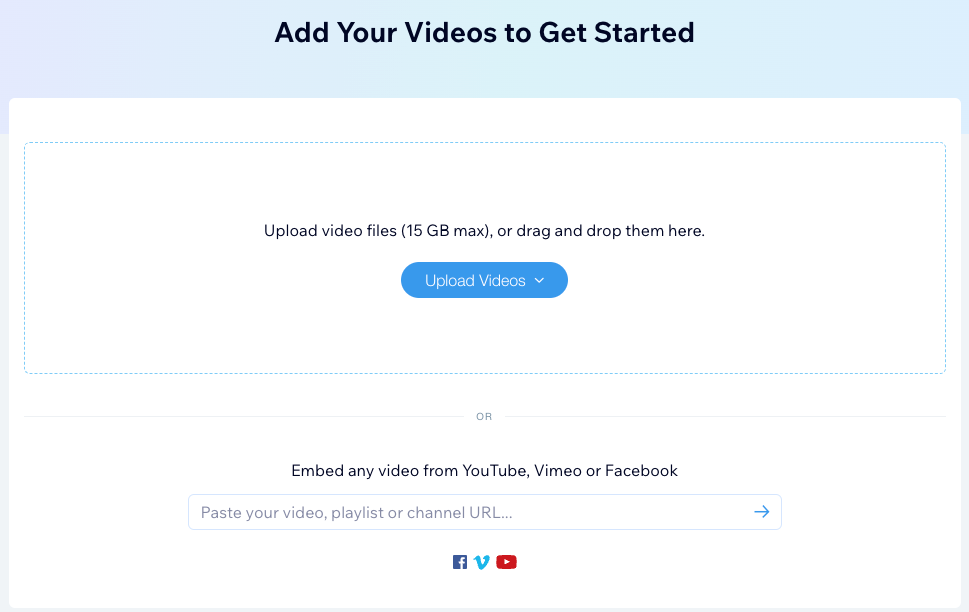
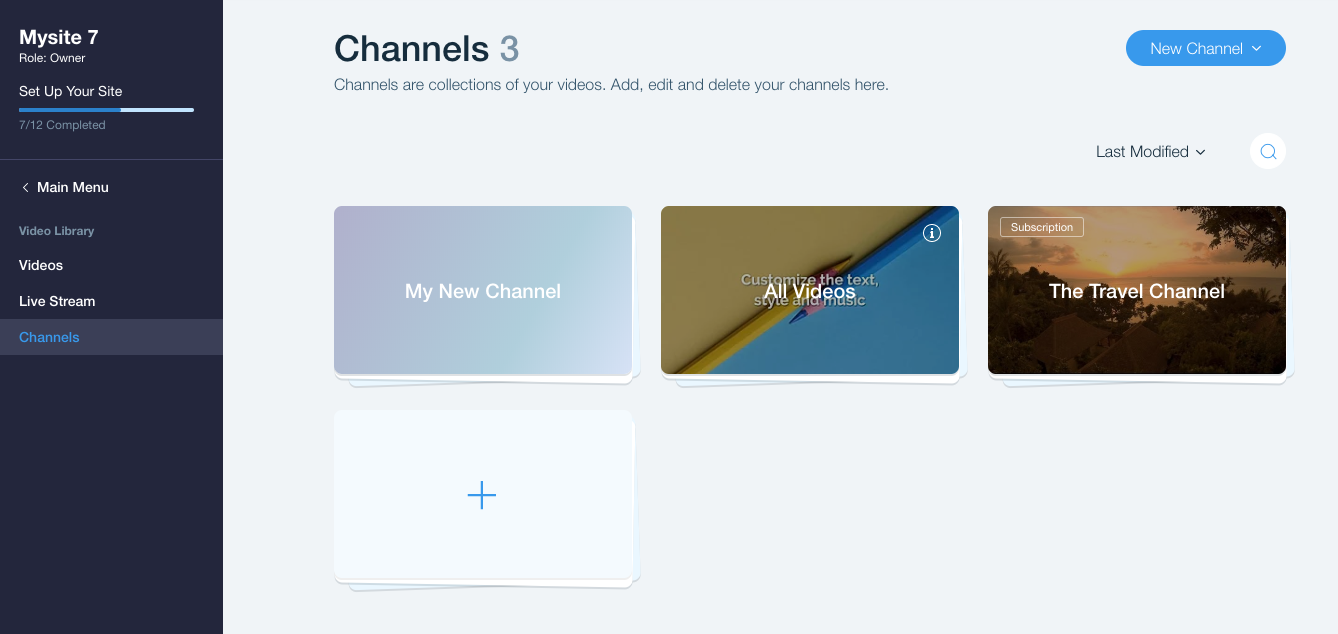
Step 3 | Organize your videos into channels
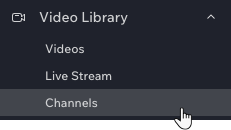
Creating channels for your videos is a great way to keep your content organized and make it easier for viewers to find the topics they're interested in. By creating specific channels, viewers can quickly navigate to the content they want to watch, improving their overall experience on your site.
To organize your videos into channels:
- Go to your Video Library.
- Click the Channels tab on the left.
- Create your first channel:
- Click New Channel at the top right.
- Click Channel.
- Click Edit next to Channel Info and set the channel's name, description, etc.
- Click Add Videos next to Videos in Channel.
- Select the video(s) you want to add to the channel.
- (Optional) Drag the videos to reorder them.
Step 4 | Choose what to display on your site
With Wix Video, you have complete control over what content is displayed on your site. Whether you want to showcase a specific video at a particular time or highlight a new channel to your visitors, you can customize your site to suit your needs.
Wix Editor
Studio Editor
Wix Harmony Editor
- Click the Wix Video element in your editor.
- Click Settings.
- Click the Videos tab.
- Choose what you want to display:
A single video
A channel
FAQs
Click a question below to learn more.
Are there any statistics or reports for my videos?
How do I delete the video player?
Are transcripts available for Wix Video?
Can I add subtitles to videos in Wix Video?
