

Wix Studio: Creating and Sending Email Marketing Campaigns
5 min
In this article
- Step 1 | Choose a template or create your email
- Step 2 | Customize your email campaign
- Step 3 | Preview and send a test email
- Step 4 | Add recipients
- Step 5 | Review and send your campaign
Create and send professional email marketing campaigns in Wix Studio. Choose a template or design your own, preview and test your campaign, select your recipients, and send it out. After a compliance review, your campaign is sent to your recipients.
Tip:
After sharing your campaign, check out the stats to see how recipients interacted with your email.
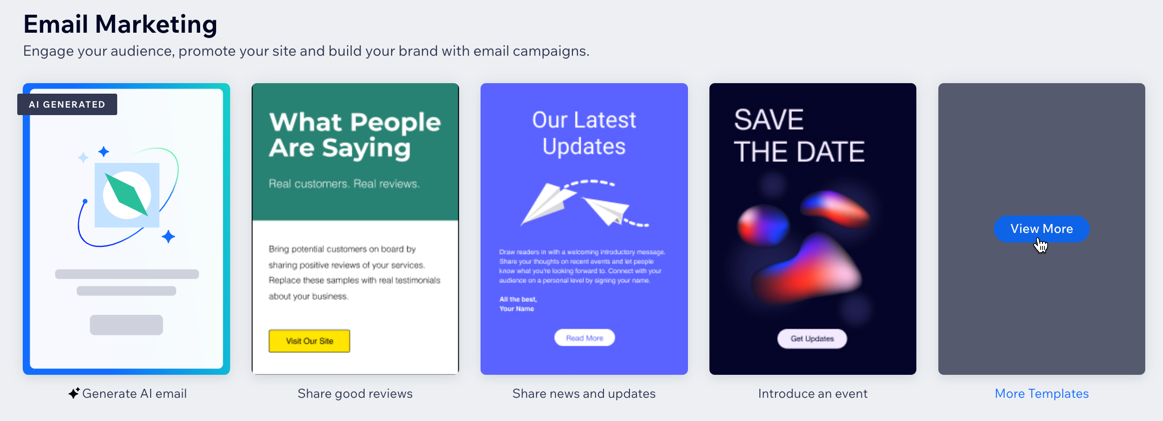
Step 1 | Choose a template or create your email
Get started by choosing a template or creating your own email from scratch.
To create an email campaign:
- Go to CRM & Client Billing in your Wix Studio workspace.
- Click the Email Marketing tab on the left.
- Choose what to do:
- Use a template: Choose a template for your campaign.
- Create your own email: Click More Templates on the right, then click + Create Email at the top right.
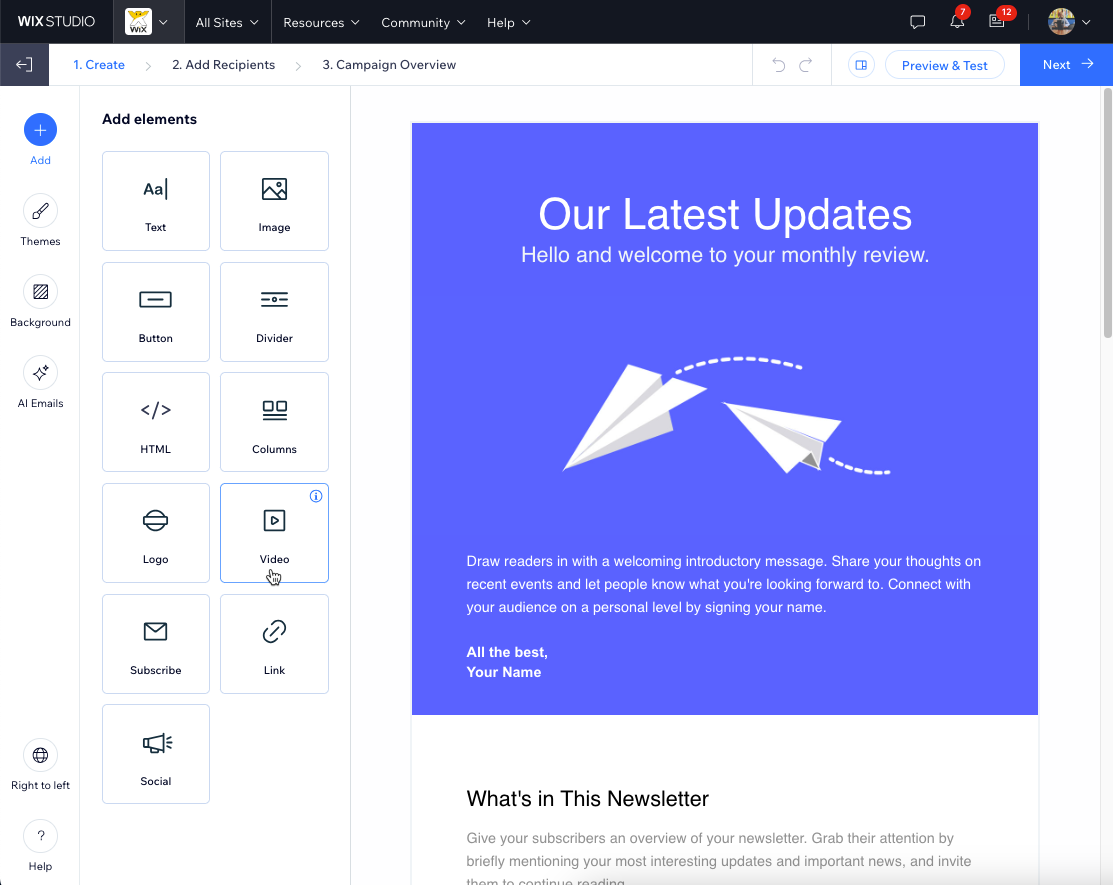
Step 2 | Customize your email campaign
Design an engaging email using the campaign editor. Add elements, customize the layout, and adjust colors and text to create a professional look that matches your brand.
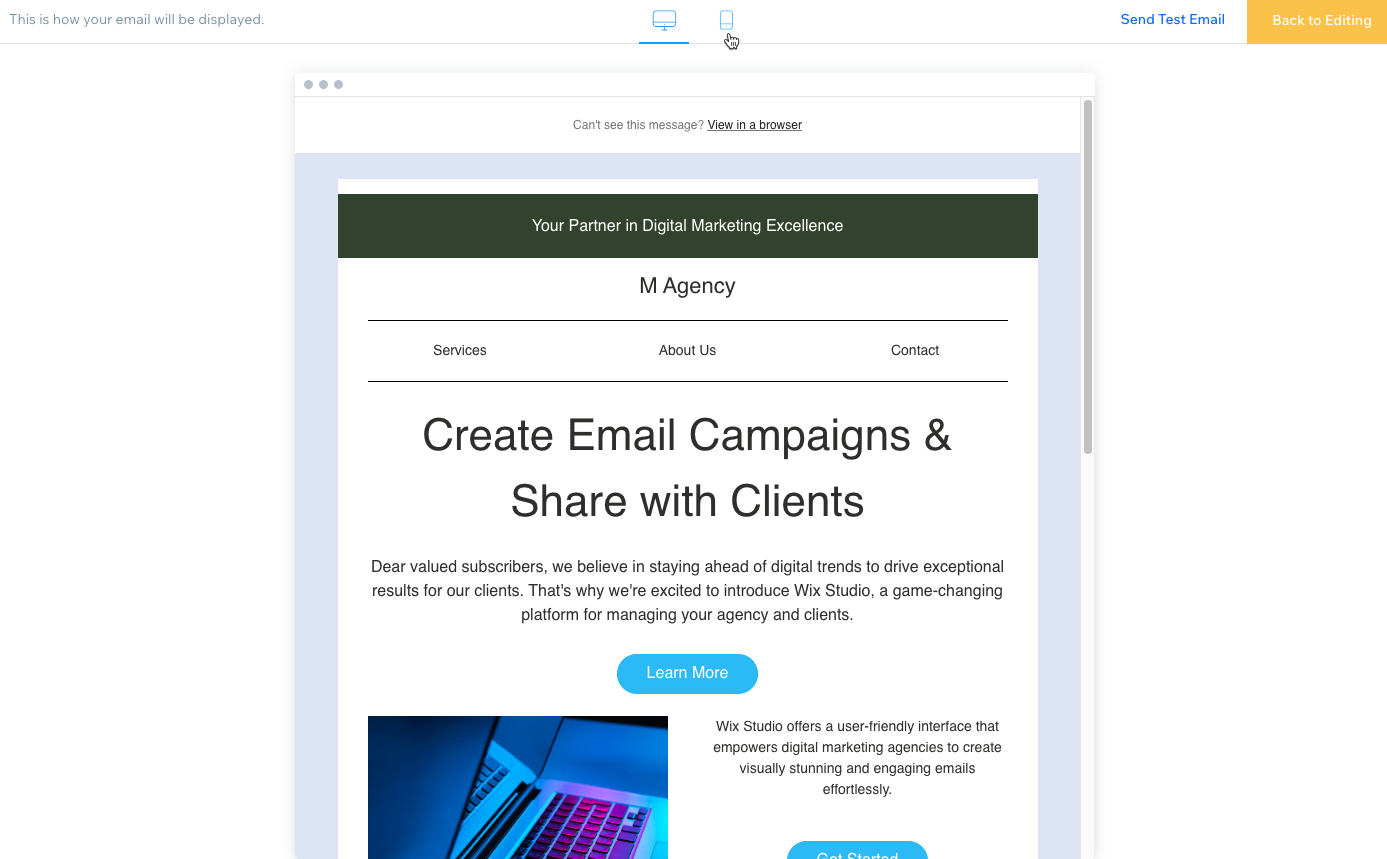
Step 3 | Preview and send a test email
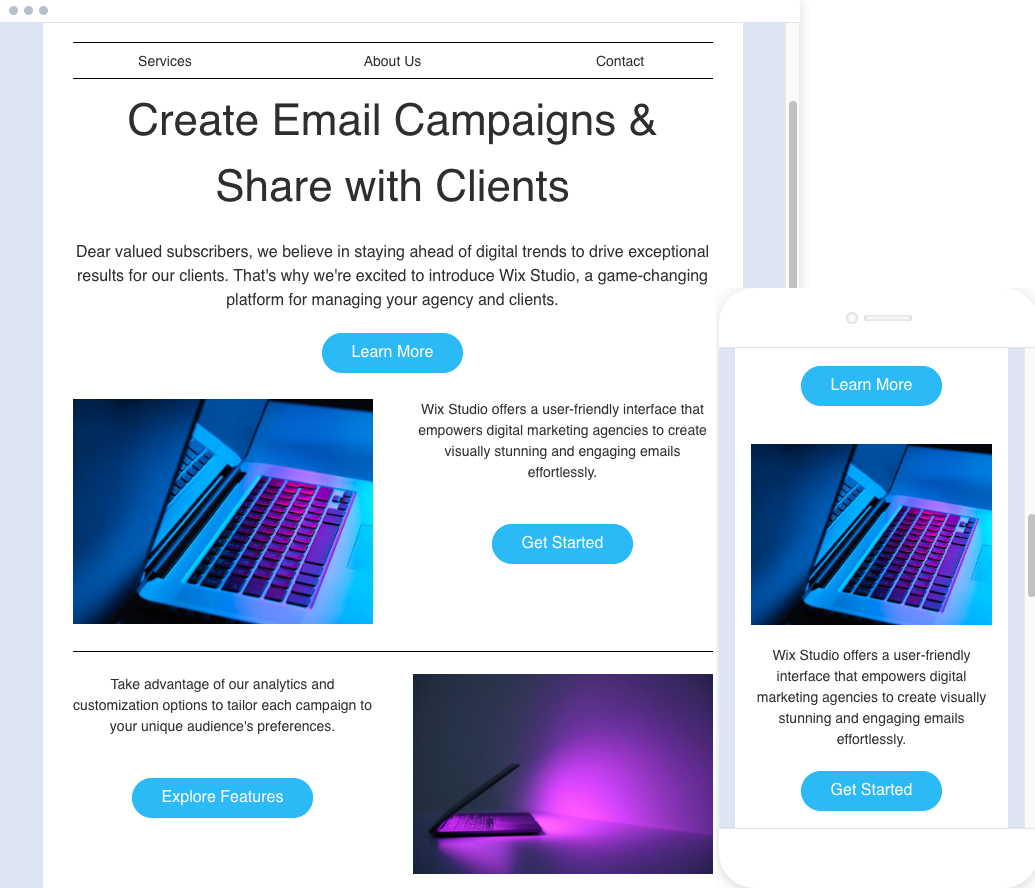
Preview your email and send yourself a test to make sure it looks great on both desktop and mobile before sending it to your clients.
To preview and test your campaign:
- Click Preview & Test at the top right.
- View your campaign on:
- Mobile: Click the Mobile icon
 .
. - Desktop: Click the Desktop icon
 .
.
- Mobile: Click the Mobile icon
- Send a test email:
- Click Send Test Email at the top.
- Enter the email address you want to send a test email to in the Send to field.
- (Optional) Edit the subject line, sender's name, and reply-to email fields.
- Click Send.
- Click Done.
- Click Back to Editing at the top right to return to the campaign editor.
Step 4 | Add recipients
Add the recipients you want to send your campaign to. Select individual contacts or use labels and segments to quickly add contact groups. If you have a list of recipients not yet in your contacts, import them from a CSV file or Gmail account.
Important:
Make sure to follow Wix Email Marketing best practices when sending your campaign.
To add recipients:
- Click Next at the top right of your campaign editor.
- (Optional) Import contacts:
- Click Import Contacts at the bottom right.
- Click Import Contacts in the popup to confirm.
- Choose between CSV file or Gmail account and follow the steps on-screen.
- When ready, click Back to Email Marketing at the top.
- Select recipients:
- Click Next.

Step 5 | Review and send your campaign
Finalize your campaign details and choose to send it immediately or schedule it for a future date.
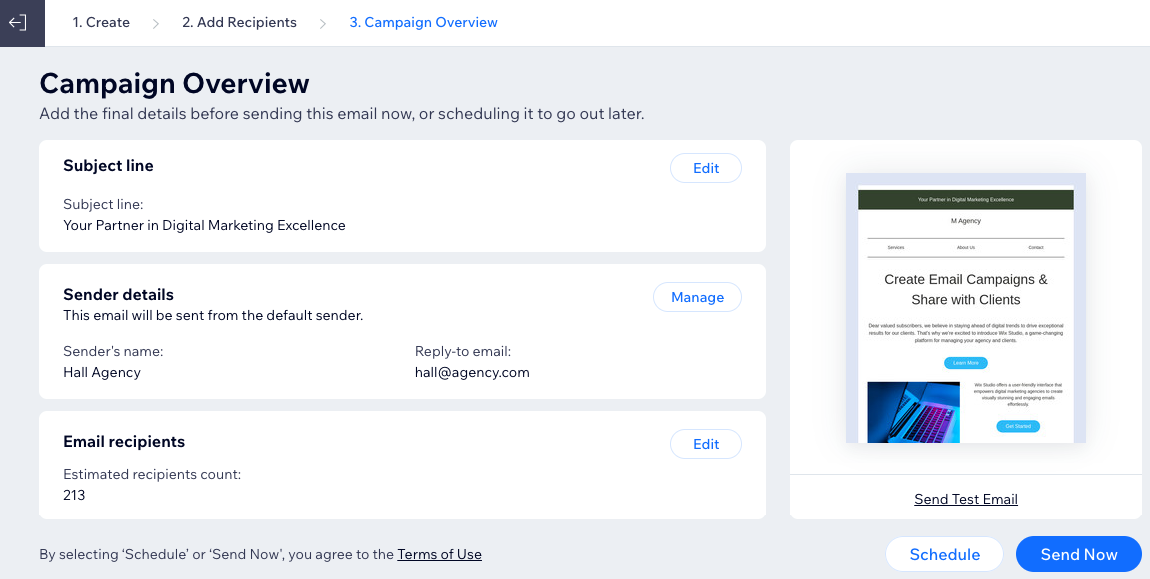
To review and send your campaign:
- Add the final details before sending your campaign:
- Subject line: Click Edit to update the subject line and preview text.
Tip: Click + Personalize to add dynamic values. - Sender details: Click Manage to edit the sender’s name and reply-to email.
- Email recipients: Click Edit to add more recipients.
- Subject line: Click Edit to update the subject line and preview text.
- Choose when to send your campaign:
- Schedule: Choose the date and time to send your campaign out. You can edit and reschedule your campaign before the scheduled time.
- Send Now: Add your campaign to the queue for review and immediate sending.
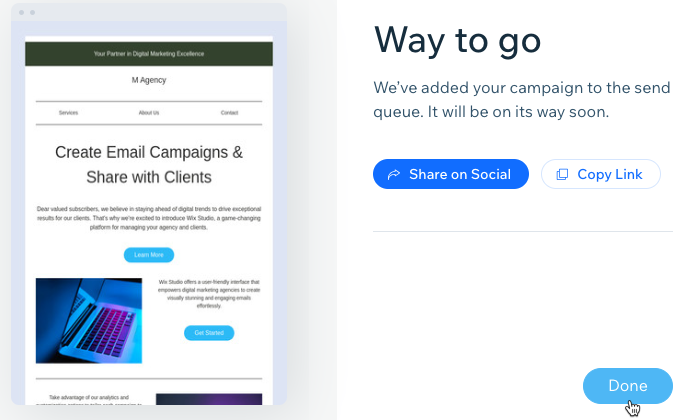
- (Optional) Click an option to share your campaign on social media or with a direct link:
- Share on Social: Choose the social media platform you want to share your campaign on. Then, draft your message and click Publish.
- Copy Link: Copy and paste a link to your campaign anywhere you'd like.
- Click Done.
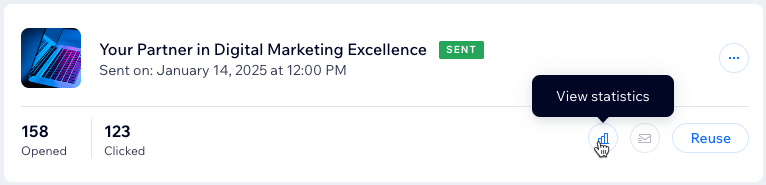
What's next?
After sending your campaign, track its performance by clicking the View statistics icon  . Access detailed stats, including open rates, clicks, and delivery rates. Use these insights to optimize your campaigns and enhance client engagement.
. Access detailed stats, including open rates, clicks, and delivery rates. Use these insights to optimize your campaigns and enhance client engagement.