Wix Stores: Setting Up Dropshipping with Printful
5 min
In this article
- Step 1 | Add the Printful app
- Step 2 | Connect your store and start creating products
- Step 3 | Set up shipping
- Step 4 | Add a billing method in Printful
- FAQs
Tip:
You can now create Printful dropshipping for print on demand products right in the Wix dashboard. Learn how to create POD products in Wix.
After you connect your store to Printful, you can start creating products to sell in your Wix store.

Printful is a print on demand service. This means that you can add products to your store with no subscription fees, no minimums, and no need to purchase inventory. You only pay when a customer places an order.
Step 1 | Add the Printful app
Wix Editor
Studio Editor
Harmony Editor
Dashboard
- Go to your editor.
- Click Add Apps
 on the left side of the editor.
 - Search for the Printful: Print on Demand app in the search bar.
- Click Add to Site.
- Review the permissions and click Add to Site.
- Select an option:
- Create a new account
- Connect an existing account
- Click to connect your Wix Store to the email address associated with your Printful account.
- (For new accounts) Follow the instructions in the email you received to confirm your email address.
Step 2 | Connect your store and start creating products
Log in to Printful and select the Stores tabs in the Printful dashboard. If not already connected, click Add next to your Wix store.
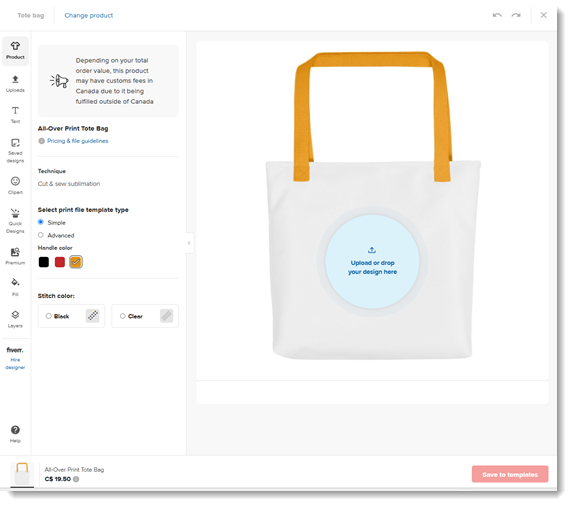
You're now ready to create your first product and set pricing. Watch Tutorial
Watch tutorials:
Learn how to:
Step 3 | Set up shipping
Printful ships worldwide. Make sure you set up shipping in your Wix dashboard, and take into consideration Printful shipping costs. You can charge for shipping separately or you might want to increase the product price so that it covers the shipping cost and then offer free shipping - the choice is yours.
If you prefer to charge different shipping rates for your Printful products than for other products, you can set that up using delivery profiles.
Step 4 | Add a billing method in Printful
After a customer pays for a purchase of a Printful product, (or when you mark an order as "Paid"), the next step is to pay Printful so they can fulfill the order. You can handle payments to Printful in a number of ways.
Automatically charging your billing method for each order
You can save one or more credit cards and/or PayPal as billing methods. Each order that comes in is automatically billed. The advantage of this method is that it happens automatically, without you having to take any action after setup. The disadvantage is that you may prefer not to have each order billed separately in your billing method, if you have a high volume of orders.
To set up automatic payment, add a billing method in the Printful dashboard.
Learn more about the Printful Wallet
Manually depositing to your Printful wallet
If you prefer not to have your billing method charged for each order that comes in, you can manually deposit funds into the wallet. Printful then withdraws funds from the wallet for each order.
As you make more sales and the funds draw down, you will eventually need to deposit funds into the wallet. To get started, add the first sum to your wallet.
Automatic deposits to your Printful wallet
After manually depositing to your Printful Wallet and saving your billing method for future orders, you can make sure your wallet doesn't run out of funds by setting up auto recharge.
You set how much you want to add to your wallet (e.g. $200). When an order comes in that can't be paid with the money left in the wallet, the amount you set is charged (in this case $200).
This method has the advantage of being automatic so each order is paid for as soon as it comes it, but without charging each order separately.
Learn more about the Printful's auto-recharge
FAQs
Click a question below to learn more about Printful.
How do I fulfill print on demand products?
Can I order a sample product?
What are the recommended image sizes and file types?
Can I sell a POD product as is - without adding my design?
What is Printful's return policy for POD orders?


