

Wix Stores: Displaying Categories on your Site Pages
3 min
In this article
- Displaying a category on your site
- Changing the category displayed on a site page
- Displaying a category page
Important:
We're releasing a new version of product categories that is not yet available for all users. If your category creation page doesn't match the image and instructions below, click this link, and the links inside the article to learn how to add and display categories.
This article shows you how to display store categories (previously called collections) on different pages. To learn how to create store categories, click here.

Tip:
To display all your products on one page, you do not need to create a category.
Displaying a category on your site
- Go to Categories in your site's dashboard.
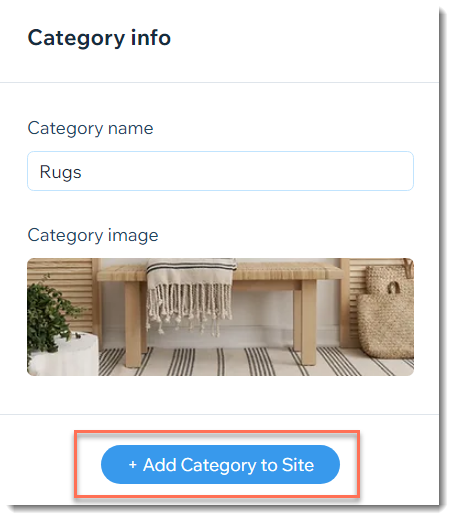
- Click the first category you want to display.
- Click Add Category to Site on the right.
- Click Add Now.
- Do one of the following:
- Create a new page for your Category: Adds a new page to your site to display the category.
- Select Create a new page for this category.
- (Optional) Enter a page name.
- Click Create Page.
- Add this category to an existing page: Displays the category on a page you already have on your site.
- Expand the Which Page icon
 and select the relevant page.
 - Click Add Category.
- Click the category gallery and drag it to where you want to display it on the page.
- Expand the Which Page icon
- Create a new page for your Category: Adds a new page to your site to display the category.
- (Optional) Repeat steps 1 - 5 to display additional categories.
Changing the category displayed on a site page
- In the editor, click the product gallery whose category you want to change.
- Click the Settings icon
 .
. - Click to select the category you want to display on this page.

Tip: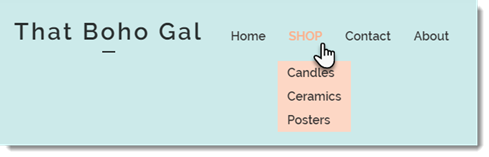
You can edit your site menu to display category pages in a drop-down menu.
Displaying a category page
You can create a page that showcases all of your categories. Learn how

