

Wix Restaurants: Switching to the New Table Reservations App
4 min
In this article
- Step 1 | Add and set up the Wix Table Reservations app
- Step 2 | Disable the old Wix Restaurant Reservations app
- Step 3 | Add your existing reservations to the new app
- Step 4 | Enable the new Table Reservations app
- Step 5 | Delete the old Wix Reservations app from your site
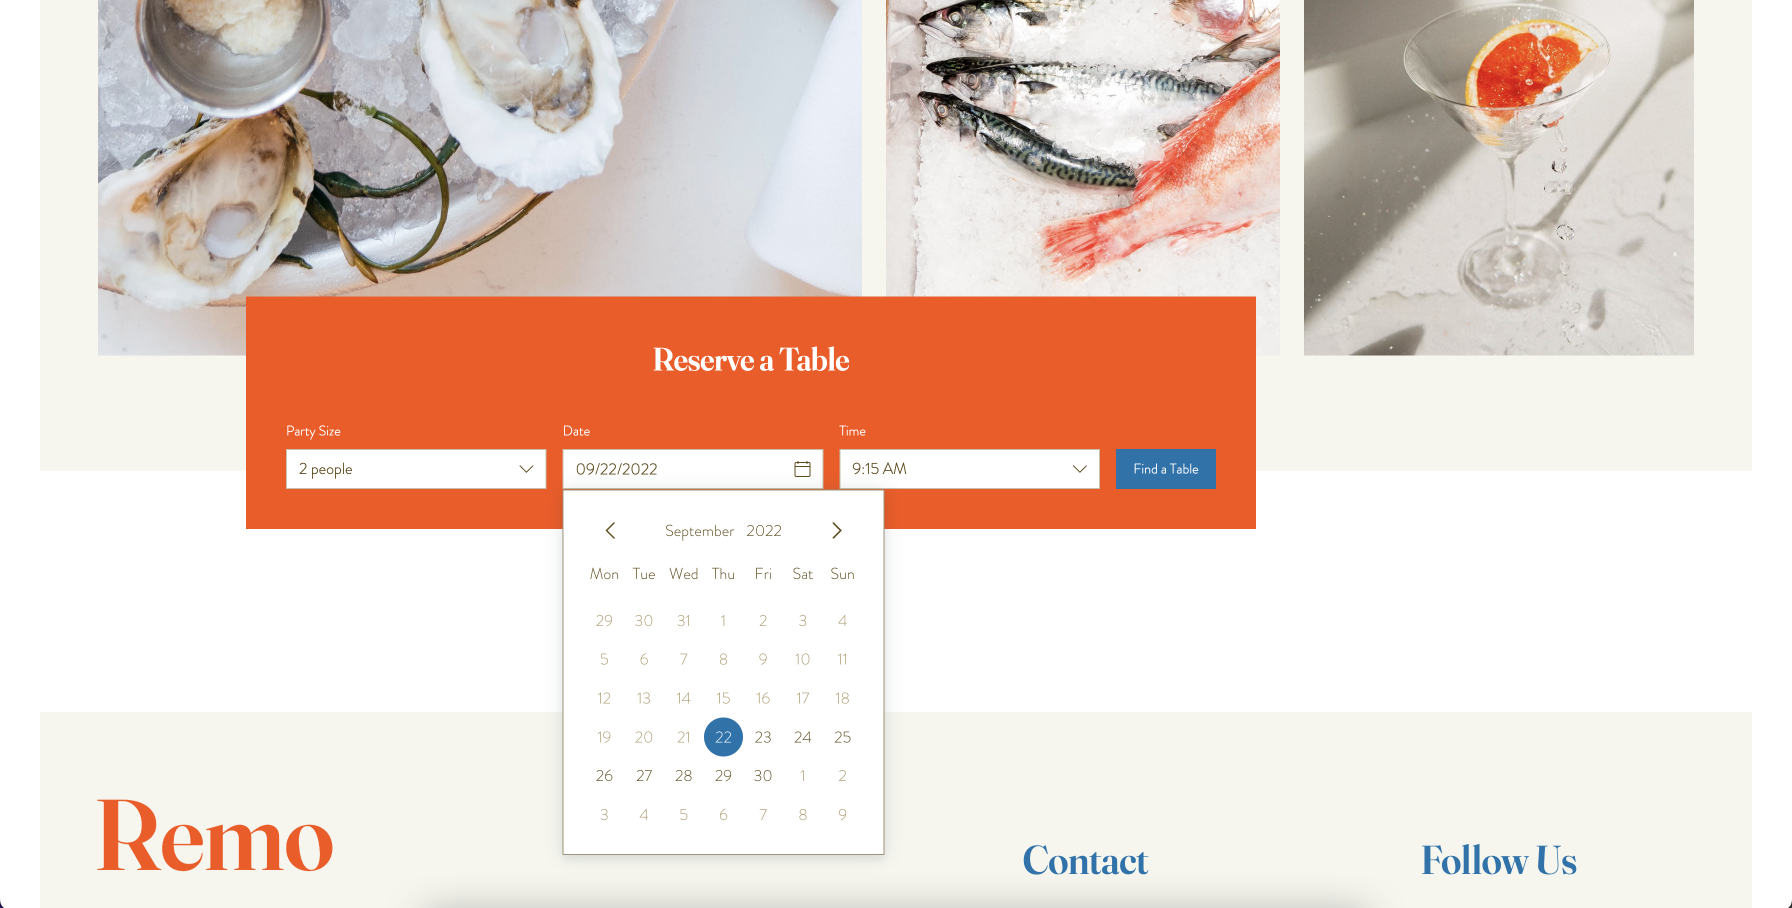
Add the new Wix Table Reservations app to your Wix Restaurant site and manage all your restaurant's reservations from your site's dashboard.
To switch from the old to the new app, first add the new Wix Table Reservations to your site and set it up. Once the new app is set up, disable the old Wix Restaurant Reservations app to stop accepting reservations with it on your site. Then, add all your existing reservations to Wix Table Reservations before deleting the old app.
Step 1 | Add and set up the Wix Table Reservations app
Add your restaurant's tables, party sizes and turnover time, when guests can book a table and how long for. You can also set the total number of guests or parties that can reserve a table within a 15 minute time frame to avoid a rush.
Once you add and set up the app, you can manage all your restaurant reservations from your site's dashboard.
Step 2 | Disable the old Wix Restaurant Reservations app
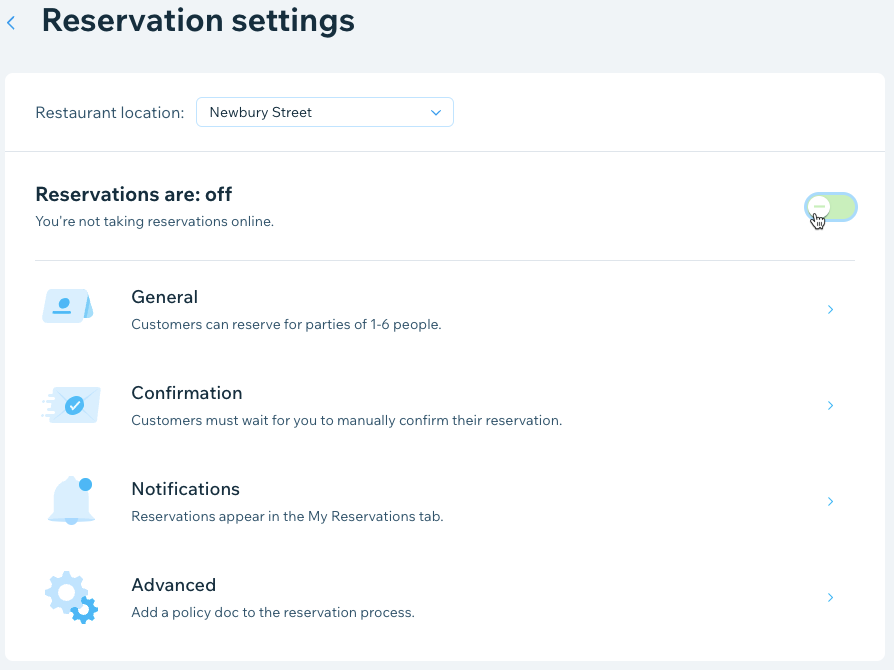
Once you've added and set up the new Wix Table Reservations app, disable the old app to stop accepting reservations with it on your site.
To disable the Wix Reservations app:
- Go to Reservations in your site's dashboard.
- Click Settings on the top right.
- Disable the Reservations are toggle to disable online reservations. The reservations app still appears on your site but guests won't be able to book a table.
Tip:
Save contacts from past reservations by exporting them from Reservations and then importing them to your contacts.
Step 3 | Add your existing reservations to the new app
Next, add all your reservations from the old Wix Restaurant Reservations app to the new Wix Table Reservations app. Review all of your reservations in the old app, and then manually add them to the new app.
Important:
Before adding existing reservations to the new app, deactivate email confirmations so that guests won't get an additional notification about their reservation.
- Go to Table Reservations in your site's dashboard.
- Click Settings at the top right.
- Click Notifications.
- Click Manage Notifications by Notifications you send.
- Click the More Actions icon
 by Email confirmation - new reservation by user and deactivate it.
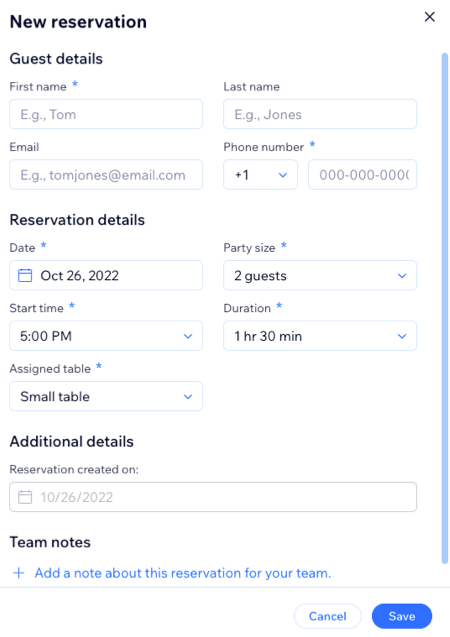
To add table reservations to the new app:
- Go to Table Reservations in your site's dashboard.
- Click + Add Reservation.
- Enter the guest and reservation details, assign a table and add notes for your team about this reservation.
- Click Save.
- Repeat steps 2-4 for all your reservations.
Step 4 | Enable the new Table Reservations app
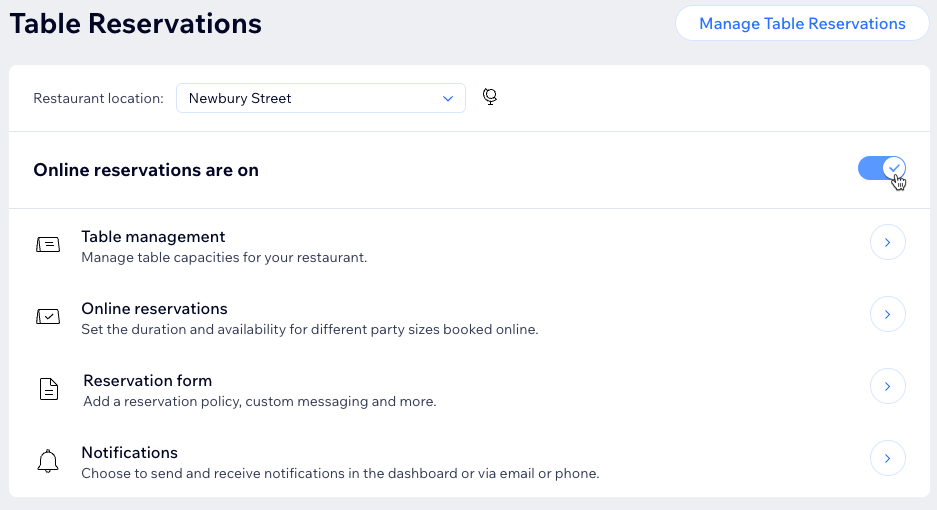
Once you've added all of your existing reservations, you can enable the new Wix Table Reservations app to let guests book tables on your site.
To enable Wix Table Reservations:
- Go to Table Reservations in your site's dashboard.
- Click Settings at the top right.
- Enable the Online reservations are on toggle so guests can book a table on your site.
Important:
If you deactivated the email confirmation you send to guests in the previous step, make sure to reactivate it.
Step 5 | Delete the old Wix Reservations app from your site
Now that Wix Table Reservations is set up and live on your site, delete the old Wix Reservations app from your site.
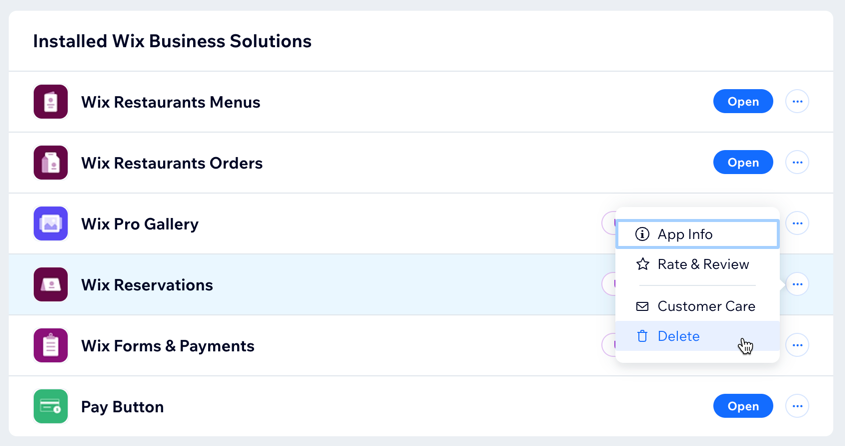
To delete Wix Reservations:
- Go to Manage Apps in your site's dashboard.
- Click the More Actions icon by Wix Reservations app.
- Click Delete.
- Click Go to Editor.
- Choose a reason for deleting the app under Why are you deleting this app?.
- Click Delete App.
