

Wix Restaurants: Managing Your Menus on the Wix App
8 min
In this article
- Building your menu
- Editing your menu
- FAQs
From the Wix app you can create and manage your Wix Restaurants menus directly from your mobile device. You can add menu sections and menu items, customize labels for menu items, and more.
Important:
Currently, the new Wix Restaurants Menus app doesn't support multi-location, online ordering, or POS integration. Learn more about the differences between the old and new Online Ordering apps.
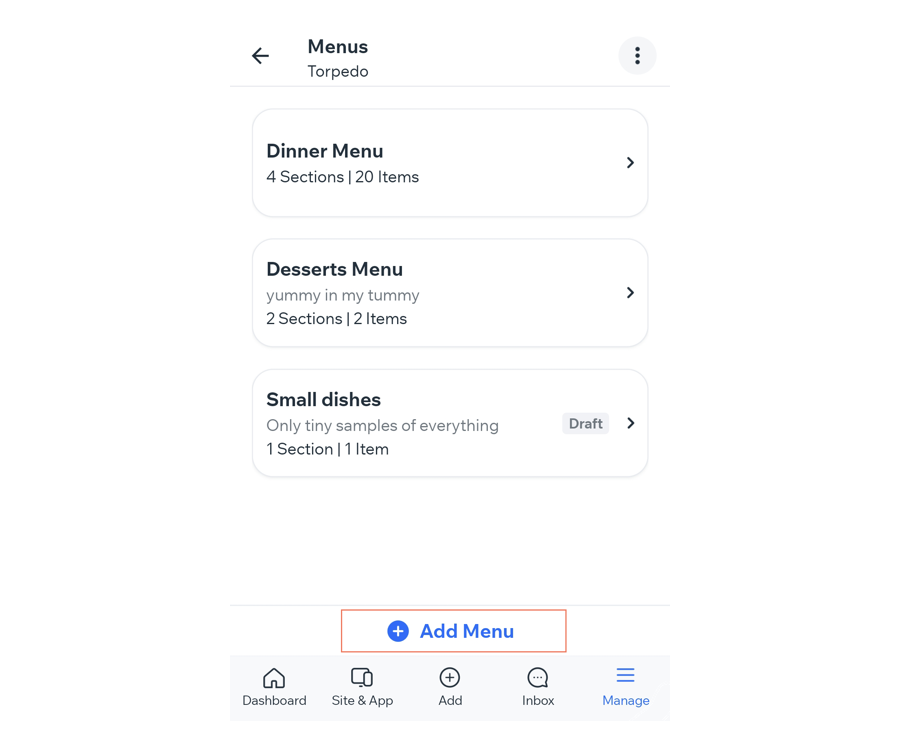
Building your menu
Before you begin:
Download the Wix app to your mobile device.
Each menu is made up of sections and menu items. Before building your menu, it's a good idea to decide which sections you need, for example, its common for restaurants have an Appetizers, Main Course, Desserts and a Drinks section.
The app includes a default menu with sections and items for you to customize and make yours.
You can create as many menus as you want. Create separate menus for breakfast, lunch, dinner and other offerings tailored to your needs, and help customers can easily navigate to the menu they're interested in.
To build your menu:
- Go to your site in the Wix app.
- Tap Manage
 at the bottom.
 - Tap Catalog.
- Tap Restaurant Menus (New).
- Tap the + Add Menu button.
- Menu name: Enter a name for the menu, for example: Specials.
- Menu description: Enter a description for the menu. For example: "Dive into our specials menu, where our chef's creativity shines! Discover delightful seasonal treats and delicious innovations that'll make your taste buds dance with joy."
Note: You can add line breaks to your descriptions. - Mark as a draft: Select the checkbox to mark the menu as a draft while you make changes. When a menu is marked as a draft, it won't show in the Editor or your live site.
- Menu description: Enter a description for the menu. For example: "Dive into our specials menu, where our chef's creativity shines! Discover delightful seasonal treats and delicious innovations that'll make your taste buds dance with joy."
- Tap Save.
- Tap the menu you just created.
- Tap the Add Section button:
- Section name: Enter a name for the menu section. For example: Vegan.
- Description: Enter a brief description of the menu section for customers to see on your live site. For example: "Indulge in our plant-based wonders, where every bite of our vegan dishes embodies the perfect balance of deliciousness and healthy nourishment."
- Tap the section you just created.
- Tap Save.
- Repeat steps 9-10 for all of the menu sections. Tap + Add Section to add another section to this menu.
- Tap Add Item:
- Item name: Enter the name of the menu item.
- Item description: Describe the menu item so that customers know what they're ordering.
- Item labels: Add labels to help customers identify key information about the dish (Vegan, Gluten Free, Extra Hot, etc.). Tap the checkbox near the label to select it.
- Price: Enter either a single price or a varying price to your menu item. The currency is set based on your settings in business info.
- Image: Select or upload an image to your item.
Note: You have to enter a name and price for your menu item. You can choose to hide prices in the Editor.
- Tap Save.
- Repeat steps for all of your menu items.
Editing your menu
In the Wix app, you have the tools to efficiently edit your menu. Follow these step-by-step instructions to customize sections, add menu items, and maintain a well-organized menu for your restaurant. Keep your menu up-to-date and tailored to your customers' preferences.
To make changes to your menu:
- Go to your site in the Wix app.
- Tap Manage at the bottom.
- Tap Catalog.
- Tap Restaurant Menus (New).
- Select the menu you want to edit.
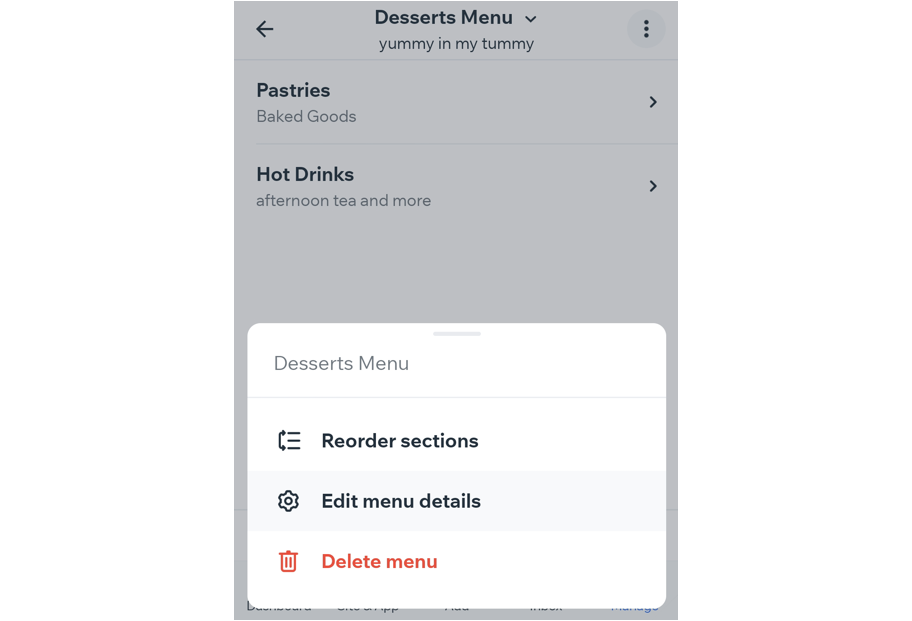
- Choose what you want to do:
Edit your menu
 on the top right.
Edit section details
Edit items
FAQs
Click a question below to learn more about editing your menu.
Can I hide a menu?
Can I reorder sections in my menu?
 and drag a section to reorder it in the list.
How to add a section to my menu after I have created it?
How to add items to my menu after I have created it?
Can I delete a menu or parts of a menu?
