When you
add a Wix Loyalty Program to your site, two new site pages are automatically generated: a Loyalty Program page and a My Rewards page. Customize these pages to match the style of your site.
Your new Loyalty Program page shares details of your program with visitors. Your new My Rewards page is where program members keep track of their points and rewards.
Customizing your Loyalty Program page
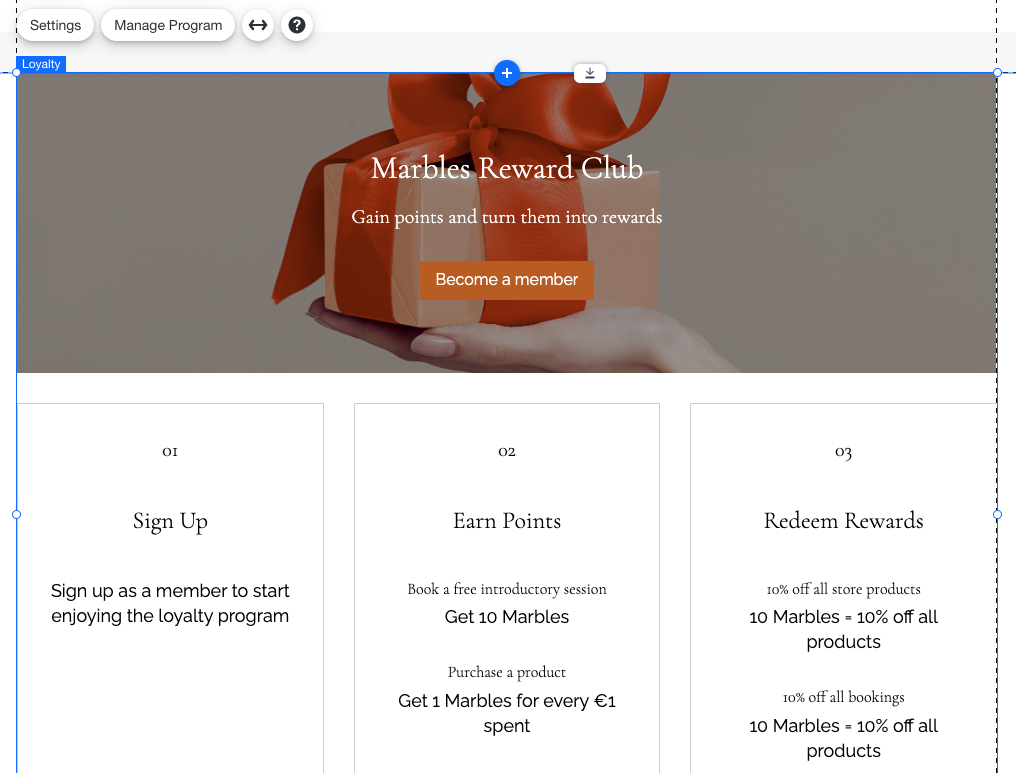
From your editor, make your mark on your new Loyalty Program page. Customize the design and layout to inform your visitors of your program perks and encourage them to sign up.
To customize your Loyalty Program page:
- Go to your editor.
- Click Pages & Menu
 on the left side of the editor.
 - Click Site Menu.
- Click your Loyalty page.
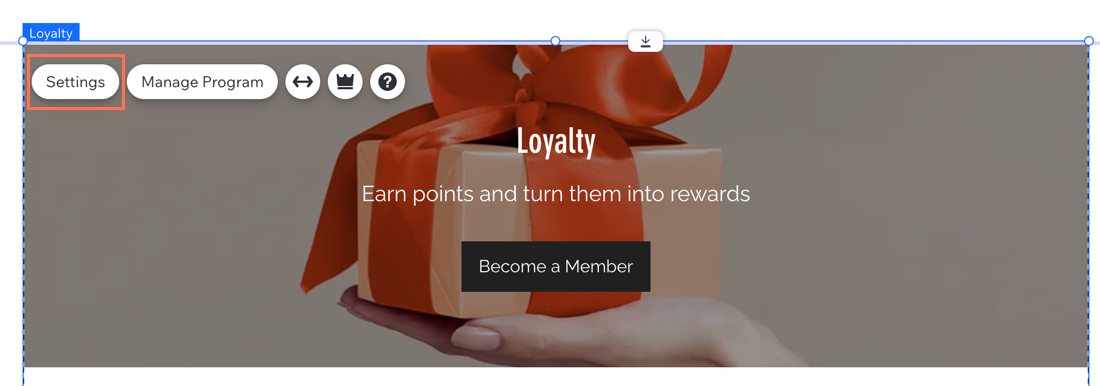
- Click the Loyalty element on your page.
- Click Settings.
- Choose what you want to customize:
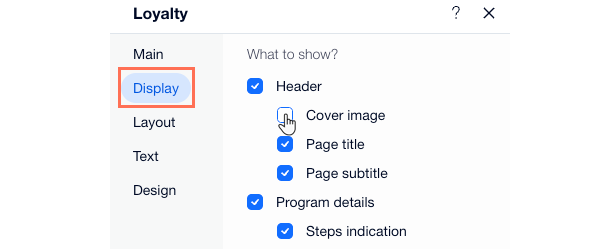
- Click the Display tab.
- Select the checkboxes next to any elements you want to display on your Loyalty Program page.
Tip: If you've added tiers, you'll be able to choose the tiers info displayed as well.
Note: You must include a header or program details. Deselecting one will select the other by default.
- Click the Layout tab.
- Click Header, Program Details, or Tiers (if applicable).
- Choose what you want to customize:
- Header: Adjust the height, side padding, and content alignment of your header. You can also upload an image and choose its position on the page.
- Program details: Adjust the layout, spacing, and content alignment of the program details.
- (If applicable) Tiers: Adjust the layout, spacing, and alignment of the tiers and their descriptions.
Tip: Personalize your points and tiers icons from your program dashboard. To get there, click the Main tab and click Manage Program.
- Click the Design tab.
- Click Header, Program Details, or Tiers (if applicable).
- Choose what you want to customize:
- Use the sliders to adjust the background color, opacity, border width and radius of the elements.
- Click a color box to set the color for any element.
- Click the Font icon
 to set the font for any piece of text.
- Click the Text tab.
- Click Header, Program Details, or Tiers (if applicable).
- Choose what you want to customize:
- Header: Set the Loyalty page title and page subtitle. Set the button text before and after your clients sign up for your Loyalty program by switching between the Button tabs (Before Sign Up, After Sign Up). For example, "Become a member" before sign up and "View points," after clients become Loyalty Program members.
- Program Details: Enter the titles and descriptions for Sign up, Earn points and Redeem points information cards.
- (If applicable) Tiers: Edit the section title and description.
Customizing your My Rewards page
From your editor, design your new My Rewards page. A visitor signing up to be member of your site or loyalty program will have access to their own personal My Rewards page when logged in. Make sure it clearly presents rewards information to your loyalty program members.
To customize your My Rewards page:
- Go to your editor.
- Click Pages & Menu
 on the left side of the editor.
 - Click Members Area.
- Click the My Rewards page.
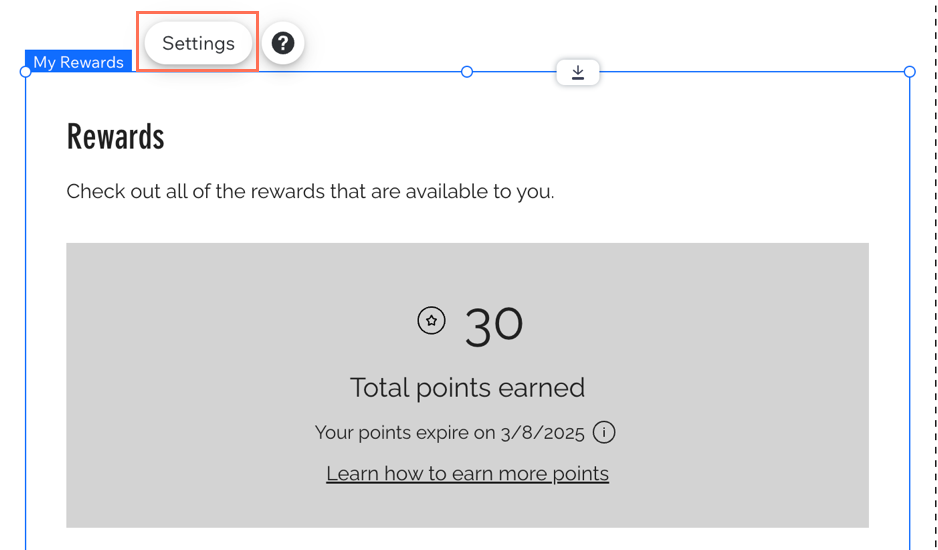
- Click the My Rewards element on your page.
- Click Settings.
- Choose what you want to customize:
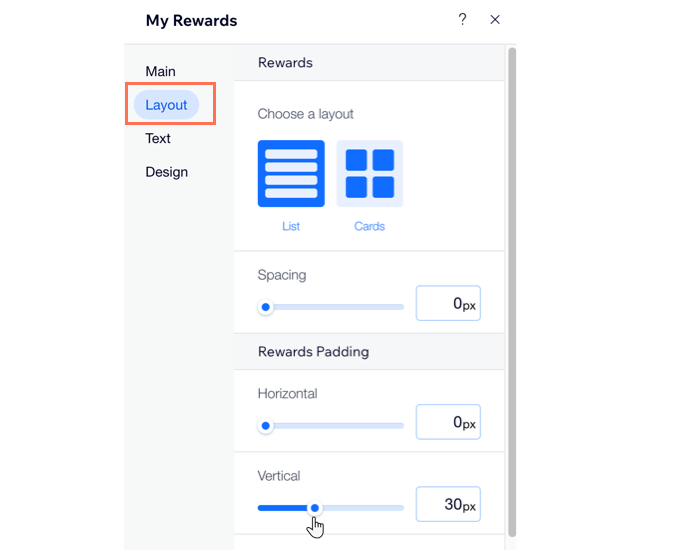
- Click the Layout tab.
- Choose what to customize:
- Rewards: Choose between the List or Cards layout.
- Rewards Padding: Adjust the spacing and padding between your rewards using the sliders.
- Click the Text tab.
- Choose what to customize:
- Page Header: Set the My Rewards page title and description.
- Rewards List: Set the text for each element. Site members will see up to three buttons depending on the rewards available to them.
- 'Copy code' button: This button appears next to an activated coupon. It allows members to copy a discount code to use at checkout.
- Redeem points button: This button appears next to an available coupon. It allows members to redeem points for that coupon.
- 'Start Browsing' button: This button appears next to an available reward.
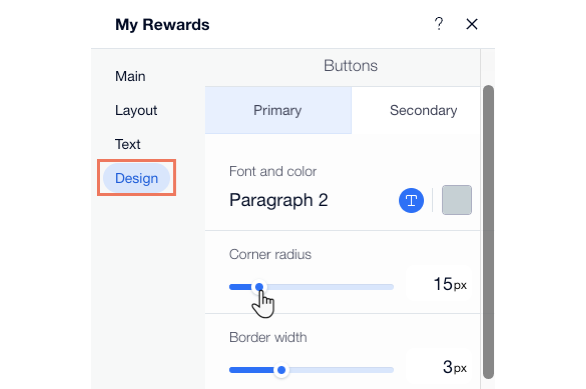
- Click the Design tab.
- Click Text Style, Background and Borders, or Buttons and Progress Bar.
- Choose what to customize:
- Text Style: Adjust the text colors and fonts for the page header, total points widget, and rewards list. Customize the text that members see when they have and haven't got rewards under the Rewards list tabs (With rewards/Without rewards).
Note: If you've added tiers, customize the text design of the widget that displays your customer's current tier. - Background and Borders: Adjust the color, opacity, border width and radius of the page background, points background, rewards background, and dividers.
- Buttons and Progress Bar: Adjust the color, opacity, border width and radius for the page's buttons, progress bar, and tags.
Note: If you installed the Referral Program app, it shows Other Elements instead.
Tip: Click the tabs under Buttons to customize the font, color, and opacity for each:
- Primary: This refers to rewards waiting to be activated (e.g. the member has the number of points required to redeem an award).
- Secondary: This refers to rewards already activated (e.g. copying the code of an activated coupon).
If you installed the
Referral Program app, you have a primary and secondary tab for tags as well. The primary tab refers to the 'Redeem at checkout' text and the secondary tab refers to the 'Referral program' text.
 on the left side of the editor.
 on the left side of the editor.


 to set the font for any piece of text.


