

Wix Harmony Editor: Adding and Setting Up a Social Bar
6 min
In this article
- Step 1 | Add a social bar
- Step 2 | Choose the icons for your social bar
- Step 3 | Add your social links to your icons
- Step 4 | Change the layout of your social bar
- FAQs
Add a social bar to your site so your visitors can instantly jump to your social profiles and share what they love. All it takes is a click to boost your visibility and keep your followers engaged.
You can choose which social media platforms you want to link to and select the icons that best suit your site.
Step 1 | Add a social bar
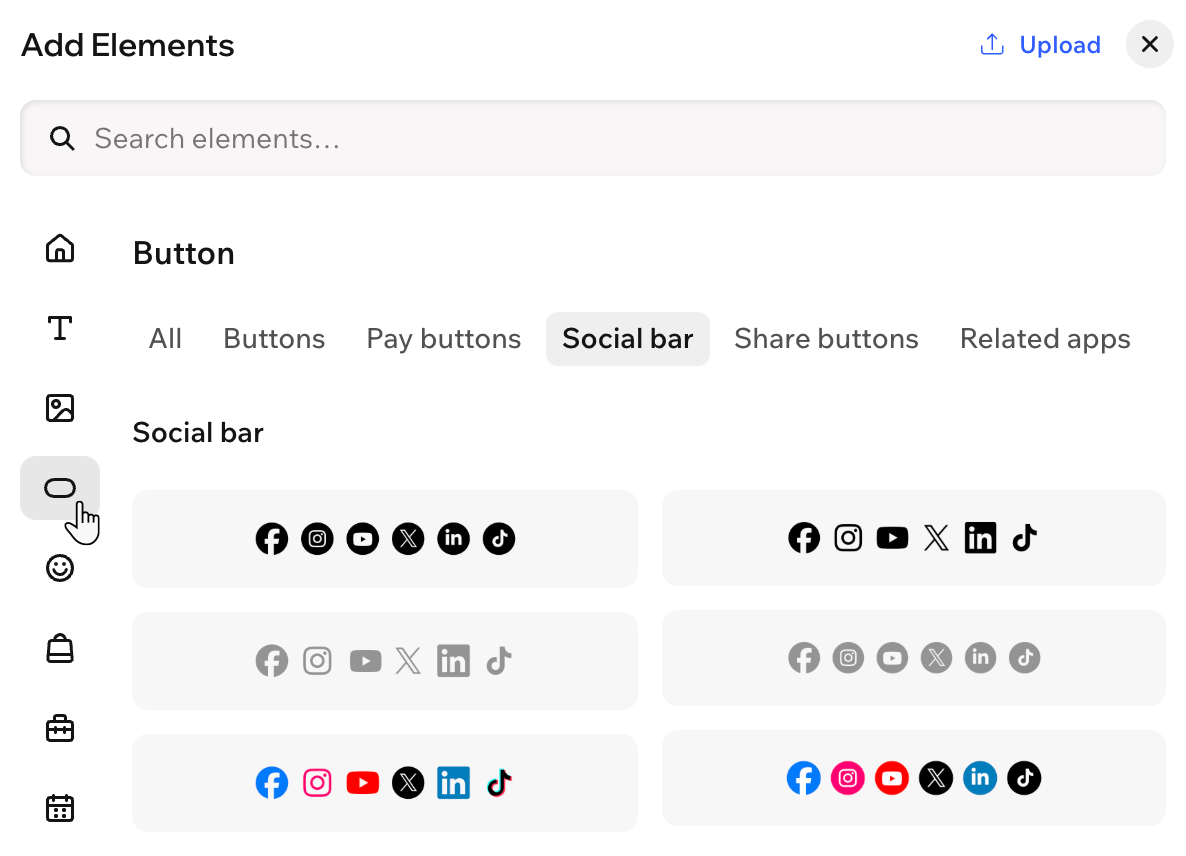
To get started, head over to the Add Elements panel. We offer a variety of designs to match your site's look. You can then customize your bar to your exact needs.
To add a social bar:
- Go to your editor.
- Click + Add at the top left of the editor.
- Select Elements.
- Click the Buttons icon
 on the left.
 - Select the Social bar tab.
- Drag a design you like onto your page.
Step 2 | Choose the icons for your social bar
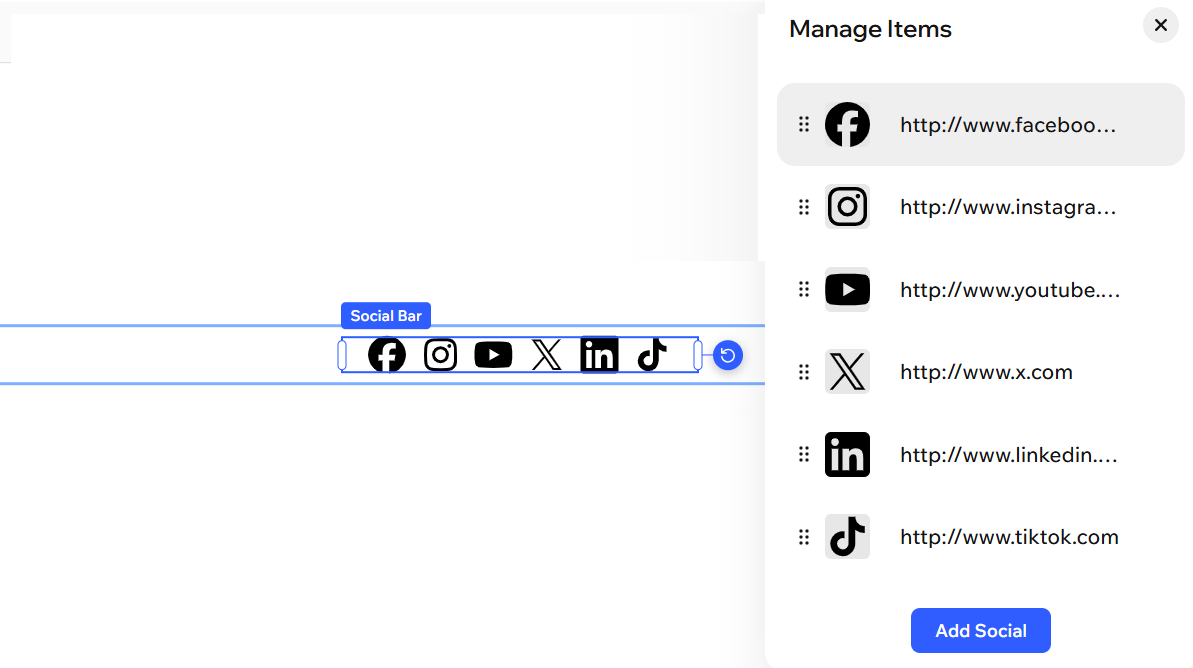
The social bar comes with predefined icons. You can add, replace, delete or reorder the icons as you wish.
To choose the icons for your social bar:
- Click the social bar in your editor.
- Click Manage Items on the action bar.
- Choose what you want to do:
Add another icon
 under Icon.
Replace an icon
 under Icon.
Delete an icon
Step 3 | Add your social links to your icons
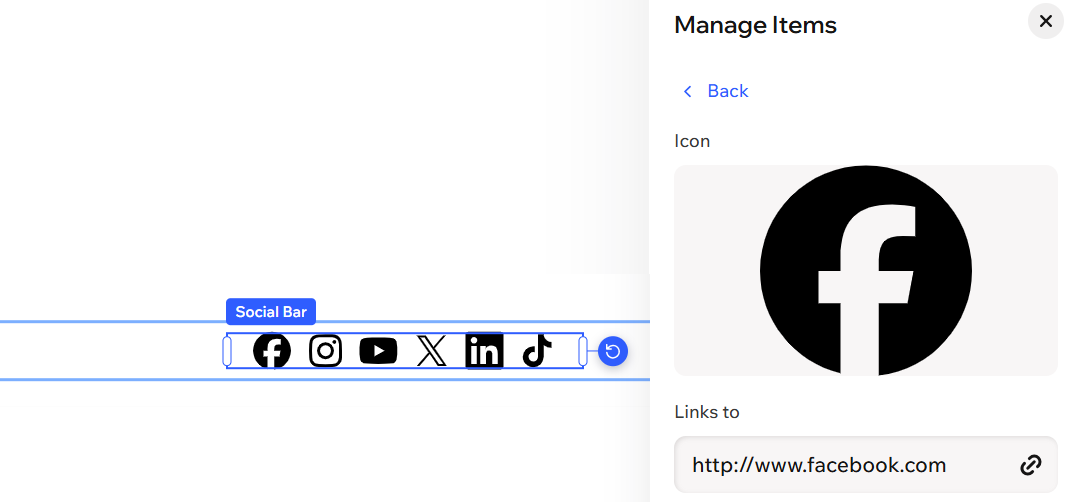
Add links to your social media pages so that when your visitors click an icon, they are taken to the relevant social page.
To add links to your icons:
- Click the social bar in your editor.
- Click Manage Items on the action bar.
- Hover over the relevant social network and click the More Actions icon
 .
. - Click Edit.
- Click the link field under Links to.
- Select Web address.
- Enter the link to your social media page into the text field.
- Click Done.
Step 4 | Change the layout of your social bar
Customize your social bar to look how you want. You can choose to display it vertically or horizontally on your page, and set the size and spacing of your social network icons.
To change the layout:
- Click your social bar in the editor.
- Choose what you want to change:
Format
Spacing
 on the action bar.
Design
 on the action bar.
Animation
 on the action bar.
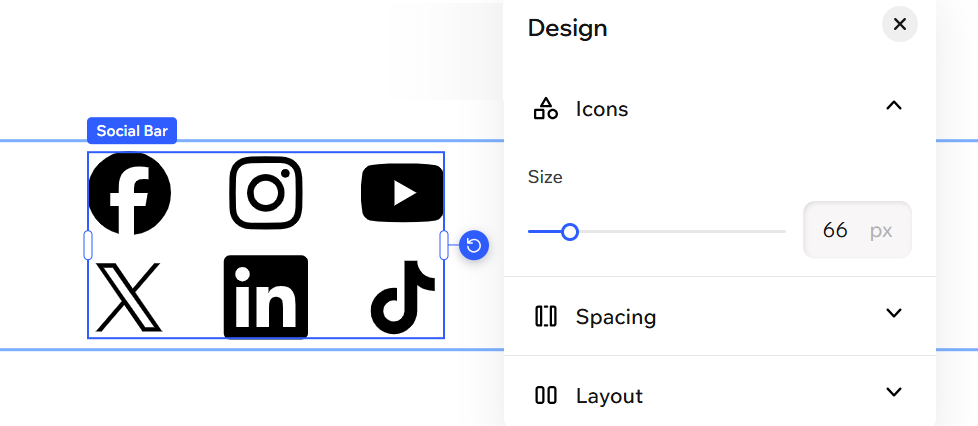
FAQs
Click a question below to learn more about adding and setting up a social bar.
Can I link my social bar icons to any type of social platform?
How do I upload a custom icon if my social network isn’t listed?
Can I have more than one social bar on my site?
Can I reorder the icons in my social bar?
Will changes I make to my social bar appear across all pages?
