

Wix Harmony Editor: Generating an Element with AI
5 min
In this article
- Generating an element
- Adding a custom element to your page
- Editing an element
- Tips for describing your idea
- FAQs
This article refers to the new Wix Harmony Editor, released in January 2026. If you're unsure whether you’re using the Wix Harmony Editor or the Wix Editor, view more information here.
The AI Element Generator lets you create site elements that perfectly match your creative vision. Create anything from a glowing call-to-action button that bursts with confetti, to a dynamic event calendar or a weather widget with real-time updates.
Whether you have a one-of-a-kind idea or just need something not found in the Wix library, you can describe it in your own words and let AI bring it to life as a ready-to-use, editable custom element.
Important:
This feature is powered by AI and as such may produce unexpected or inaccurate results. Always review the AI's suggestions or changes before finalizing your site.
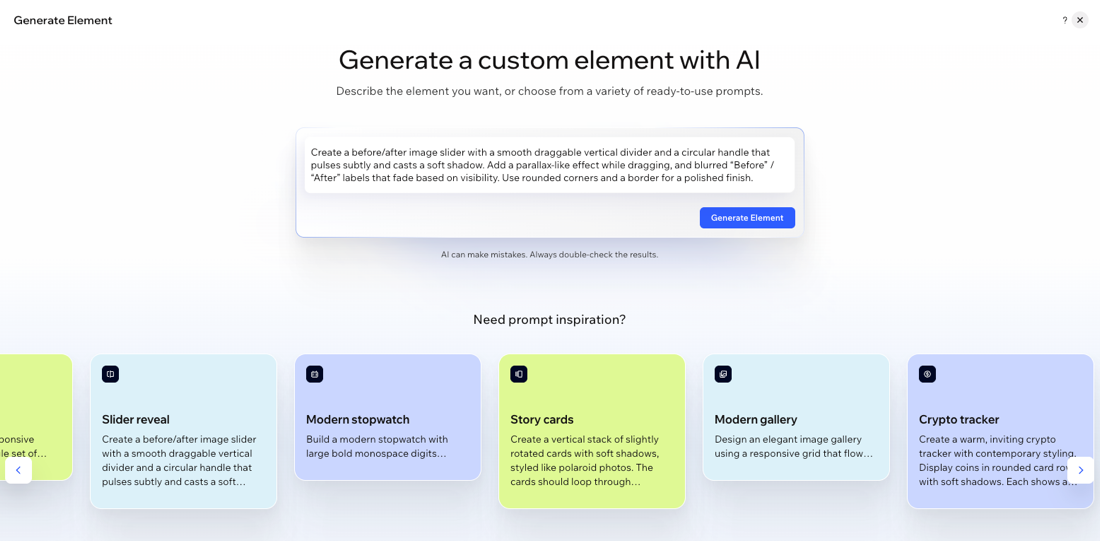
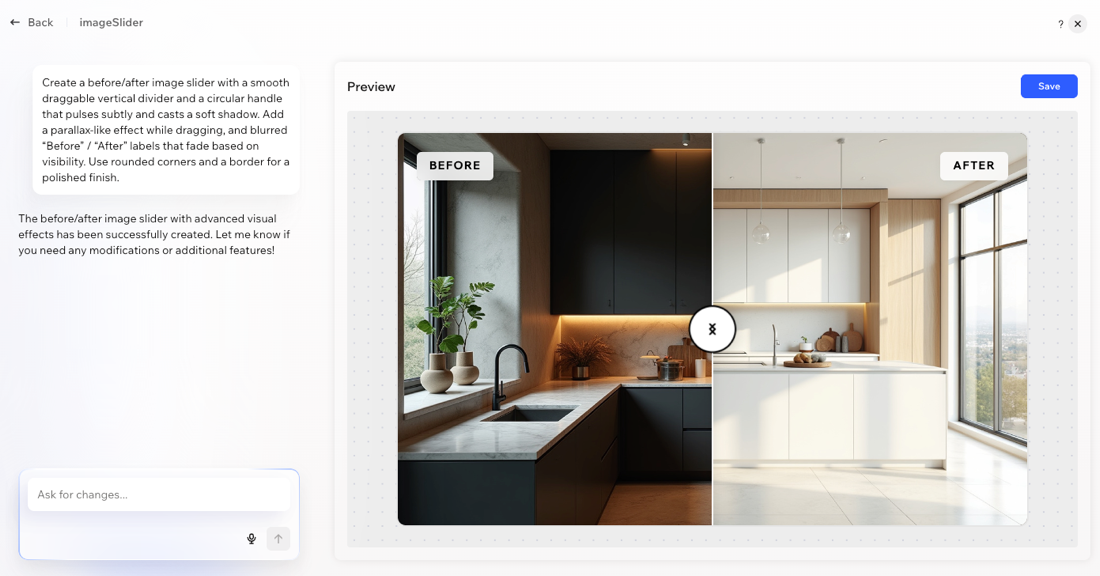
Generating an element
Start from a blank prompt or use the provided ideas for extra inspiration. Describe exactly what you want, then customize, preview, and save the element to use anywhere on your site.
To generate an element:
- Go to your editor.
- Click + Add at the top left of the editor.
- Click the Generate with AI icon
 .
. - Describe the element you want in the text box and click Generate Element.
Tip: You can also explore the suggested ideas below. Hover over any example and click Edit prompt to copy and tweak the description as you like or click Generate to use it right away. - Once the AI generates your element, review the element and description. If you want to make any changes, type instructions into the chat box and refine your idea as many times as you need.
- When you're happy with the output, click Save to add the new element to your AI Elements library.
Note:
Custom elements are saved per site, not per account.
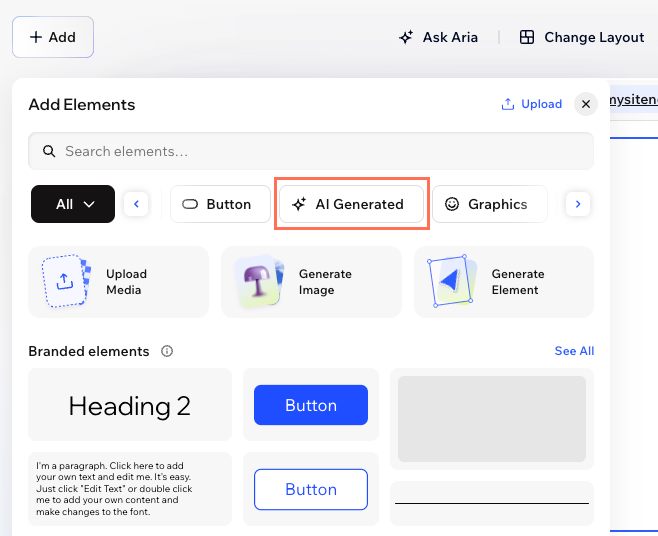
Adding a custom element to your page
Once you’ve generated a custom AI element, you can add it to any page on your site.
To add a custom element to a page:
- Go to your editor.
- Click + Add at the top left of the editor.
- Find your saved element under AI Generated, then drag and drop it onto your page.
- (Optional) Customize the element by using the design options in the action bar or use the AI chat to further tweak the design, functionality, or style.
Editing an element
Custom AI elements are always editable, even after adding them to your site. You can update their look, behavior, or content any time.
To edit an element:
- Go to your editor.
- Click the relevant custom element in the editor.
- Choose what you want to do:
Edit in the editor
Edit with the AI chat
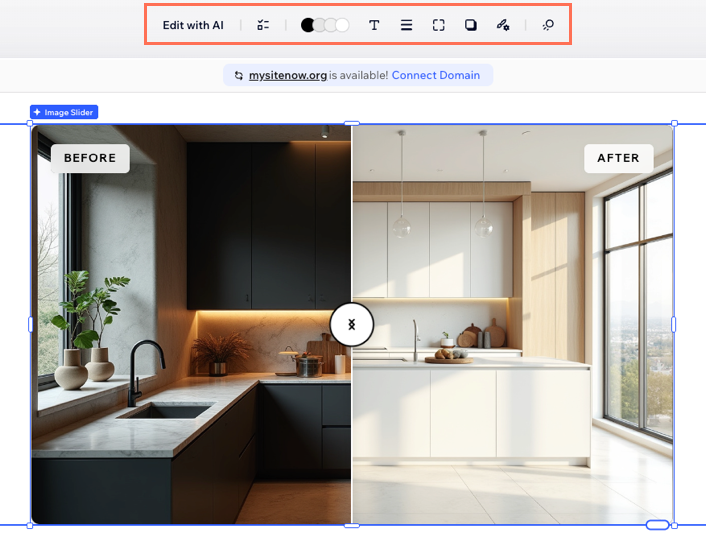
Notes:
- If you update a custom element from the chat, the changes apply to every instance of that component placed on your site. If you edit a custom element directly from the editor, those changes only apply to that instance on the page. Edits made in the editor always override chat-based changes.
- Some elements within the component (e.g. objects or text boxes) can only be edited, moved, or redesigned through the chat.
Tips for describing your idea
When you describe your idea to the AI Element Generator, think of it as a creative conversation. The more details you share about how your custom element should look, feel, and function, the closer the result will be to your vision. Here’s how to get great results:
- State your goal: What do you want this element to do? For example, “I want a price comparison table with highlight colors,” or “Build a poll that displays instant visual results.”
- Describe the vibe: Should it be modern, playful, bold, elegant? Mention colors, animations, or any style inspiration.
- Specify interactive features: Do you want users to click, sort, vote, expand, or see live updates? Tell the AI about any effects or interactive options.
There’s no one “right” way to write your prompt, but being specific helps. If you’re not sure where to begin, start with one of the suggested prompts and adjust it to fit your own vision. You can always edit or refine your idea after you see the first version.
FAQs
Click a question below to learn more about the AI Element Generator.
Can I edit an AI-generated element after I add it to my site?
Are custom AI elements SEO-friendly and accessible?
Can I reuse my generated elements on different pages or sites?
Why are design options different for some custom elements?
