Wix Editor: Creating a Full Screen Popup Menu
4 min
In this article
- Step 1 | Add a popup to your site
- Step 2 | Set up your popup menu
- Step 3 | Add a button to open the menu
- Step 4 | Hide the button from your mobile site
Use the popup element to create a stunning full screen popup menu. When visitors click the 'Menu' button, it opens on top of your site's content.

Step 1 | Add a popup to your site
Start by adding any popup from the Add Elements panel to your site. You will re-design it later on.
To add a popup:
- Go to your editor.
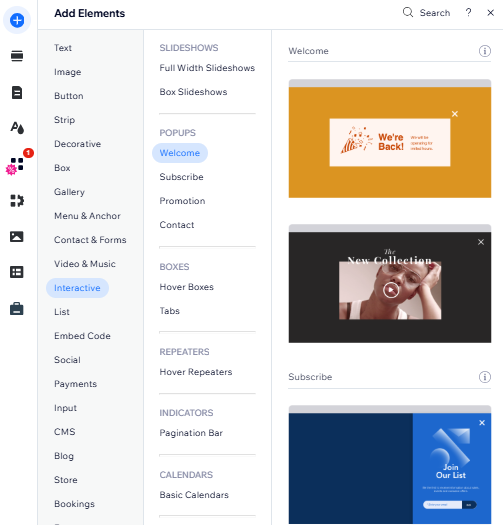
- Click Add Elements
 on the left side of the editor.
 - Click Interactive.
- Select a popup to add it to your site.
Step 2 | Set up your popup menu
After adding a popup, set it up so that it isn't automatically displayed every time visitors access your site. Then, design the popup to your liking and add a vertical menu.
To set up the popup:
- Click the popup in your editor.
- Click the Settings icon
 .
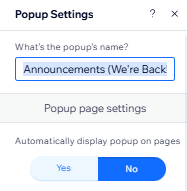
. - Rename your popup to something recognizable such as "Menu".
- Select No under Automatically display popup on pages.
- Delete all of the elements inside the popup. Do not delete the 'X' icon.
- Add a vertical menu to the popup.
- Design your menu. We recommend that your menu fonts are large and centered.
- When ready, click Exit Mode at the top.

Tip:
You can also customize the background of the popup and the background overlay to match your site. Make the backgrounds slightly transparent for a cool effect.
Step 3 | Add a button to open the menu
Now that your popup and menu are ready, add the button that visitors click to access the menu. Then, link the button to the popup.
To add a button:
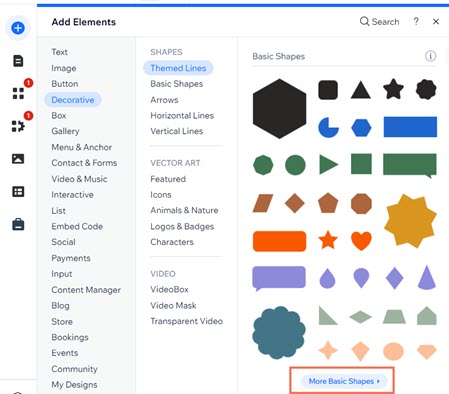
- Click Add Elements on the left side of the editor.
- Select Decorative.
- Select Basic Shapes.
- Click More Basic Shapes.
- Type "menu" in the search bar and press Enter.
- Select a menu button design and click Add to Page.
- Click the menu button in your editor.
- (Optional) Click the Design icon
 to design your menu button.
 - Click the Link icon
 .
. - Select Popup on the left.
- Choose your popup from the drop-down menu.
- Click Done.
Tips:
- Place the menu button in a prominent location on your site. This could be in the header, or you might want to use the Pin to Screen feature to pin it to the top of your site. If your menu button is not placed in the header, then make sure you set it to show on all pages.
- You can also design your own menu button. It can be a text button, icon button or a different shape; it's up to you. See some examples below:

Step 4 | Hide the button from your mobile site
Hide the button you've just created from your mobile site, which already has a full screen menu preset.
To hide the button:
- Access your mobile editor.
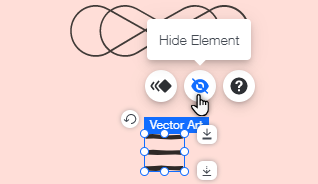
- Click the menu button that is linked to your popup.
- Click the Hide icon
 .
.