

Wix Bookings: Displaying a Health Waiver in Your Mobile Apps
3 min
In this article
- Adding a health waiver in your mobile apps
- FAQs
Intake forms app:
The Wix Health Waiver app will soon be replaced by the Wix Intake Forms app. Learn how to set up the Intake Forms app and add a waiver to business.
A health waiver protects your business and makes sure members understand important policies before joining activities or services.
You can add a health waiver to your mobile app, such as Spaces by Wix or your own mobile app, so members can view and sign it right from their phone.
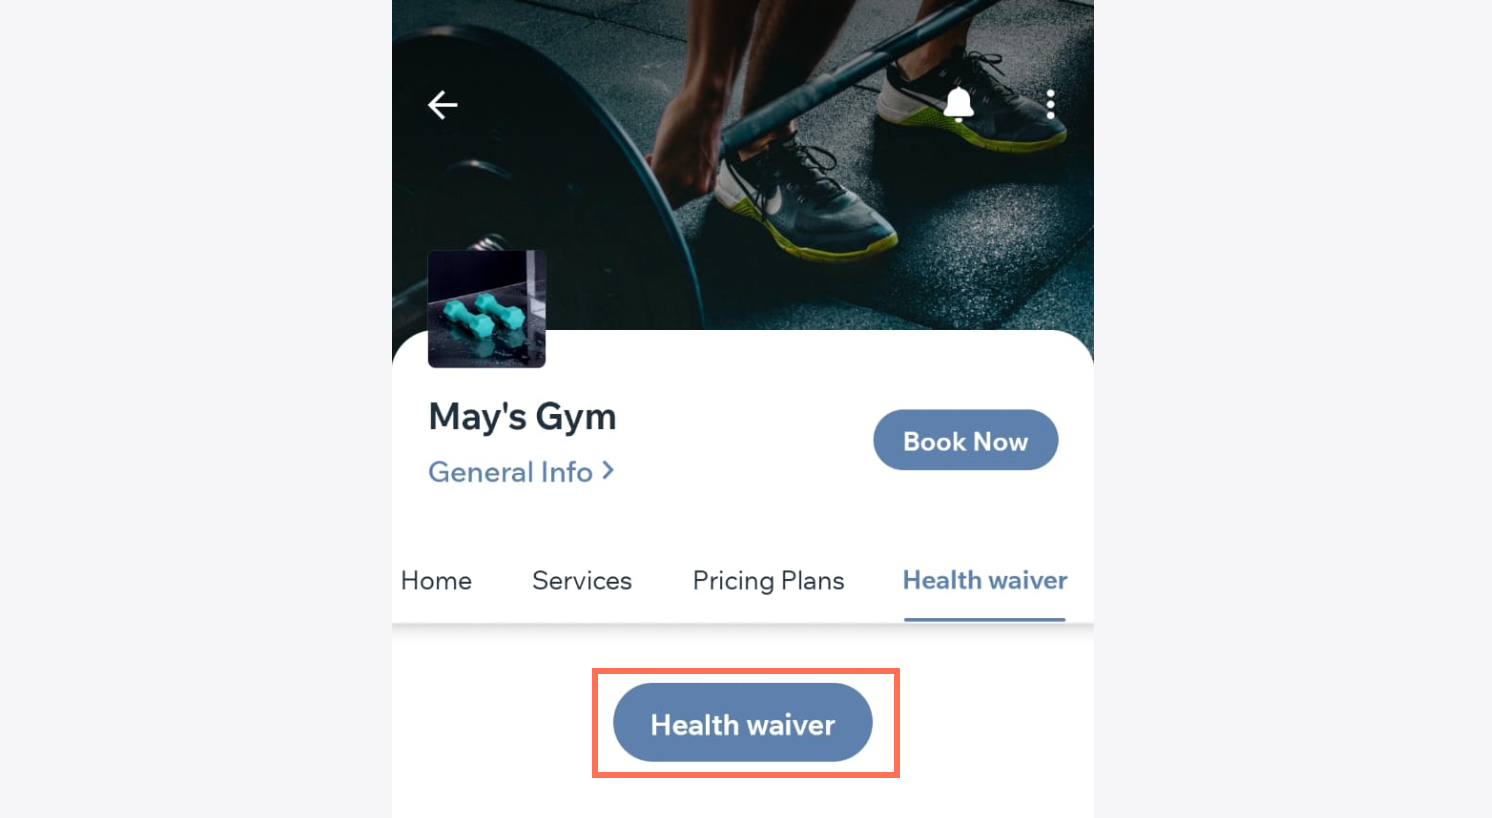
Adding a health waiver in your mobile apps
Add a button for your health waiver in your mobile app so app users can access and fill out the form. Enter the URL of your waiver form and customize the button’s appearance to match your brand.
Dashboard
Wix app
Wix Studio app
- Add a health waiver to your site and copy the URL link of your health waiver.
- Go to Mobile App in your site's dashboard.
- Select the relevant tab (e.g. Spaces by Wix app, Your own mobile app).
- Click Edit Mobile App.
- Click the Screen drop-down at the top and choose the screen you want to edit.
- Click Elements on the left.
- Select Button, then drag the relevant button into place.
- (Optional) Customize your button.
- Scroll down to the Behavior section, click the Select action drop-down and select Open URL.
- Paste the URL of your health waiver form under Button URL.
- (Optional) Enter the text you want displayed on your button under Button text.
- Click Publish.
FAQs
Click below for answers to common questions about displaying health waivers.
Can I add the health waiver button to a new screen in my app?
Can I add more than one waiver or multiple buttons to the app?
Is there a way to make the waiver mandatory before using the app or booking?
