Wix Bookings: Single Service Calendar
8 min
In this article
- Select the service you want to display
- Customize the layout of your single service calendar
- Choose which elements you want to display
- Adjust the design of the single service calendar
- Customize the text content on the single service calendar
To make your site more accessible for all visitors, the single service calendar widget is no longer available to add to your site. Instead, you can add the featured service widget to your site.
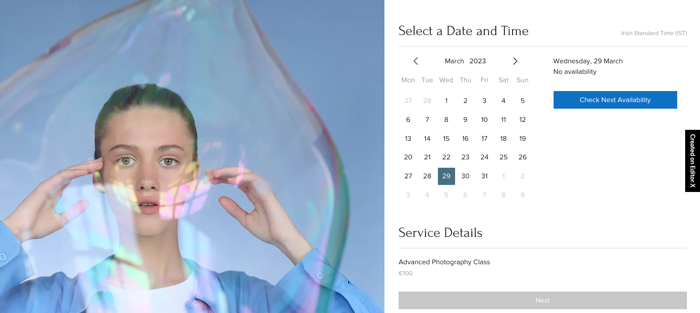
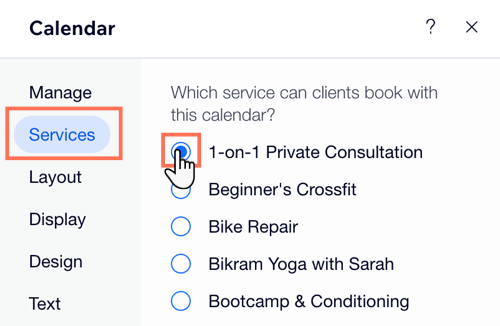
Select the service you want to display
Choose which service you want to display on your calendar.
Wix Editor
Studio Editor
- Click the single service calendar element in your editor.
- Click Settings.
- Click Services.
- Select the checkbox next to the service you want to display.
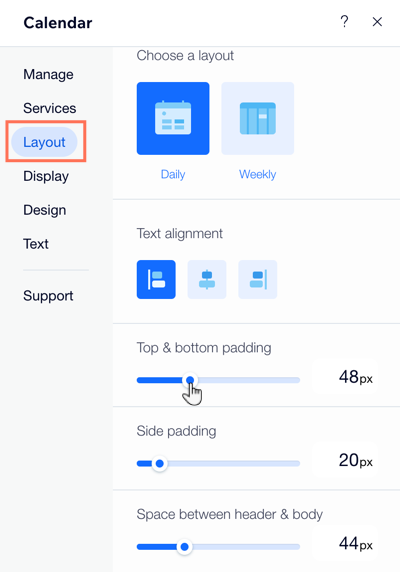
Customize the layout of your single service calendar
With the service connected to the single service calendar, you can customize the layout, so it suits the page in the background.
Wix Editor
Studio Editor
- Click the single service calendar element in your editor.
- Click Settings.
- Click Layout.
- Choose from a daily or weekly layout.
- Use the available formatting options to adjust the alignment of the calendar widget text.
- Use the sliders to adjust the amount of padding between elements in the single service calendar widget.
Choose which elements you want to display
Choose which elements you want to include in the single service calendar, such as the title or location and staff filters.
Wix Editor
Studio Editor
- Click the single service calendar element in your editor.
- Click Settings.
- Click Display.
- Enable the Show header toggle to display a header.
- Select the checkbox next to each element you want to display in the single service calendar: Title, Subtitle, Location filter and Staff filter.
- Select the checkbox next to the relevant option for the subtitle:
- Custom text: Add a custom subtitle in the text tab of the Settings panel.
- Service subtitle: Use the subtitle you added when creating the service.
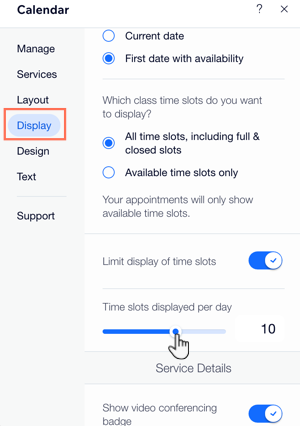
- Select the relevant checkbox to choose what clients see when they first try to book the service:
- Current date: Display today's date by default.
- First date with availability: Display the first date with available slots for clients to book.
- Select the relevant checkbox to choose which class time slots you want to display:
- All time slots, including full & closed slots: Choose this option to display all class sessions.
- Available time slots only: Choose this option to display only classes with available spaces.
- Enable the Limit display of time slots toggle to show only a specific number of available slots on the calendar widget. Select the number of time slots you want to display using the slider.
- Enable the Show video conferencing badge toggle for online services.
Adjust the design of the single service calendar
With all the relevant elements now displaying in the single service calendar widget, adjust the design so it suits your site properly.
Wix Editor
Studio Editor
- Click the single service calendar element in your editor.
- Click Settings.
- Click Design.
- Choose what you want to design:
Styles - Backgrounds & borders

Text - Fonts & colors

Selections - Button & interactive elements


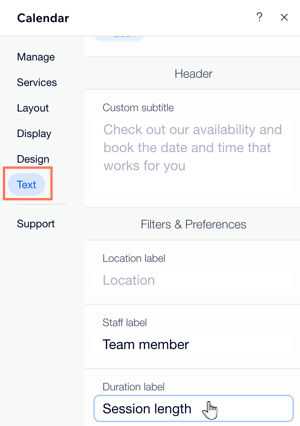
Customize the text content on the single service calendar
Customize any piece of text in the single service calendar to suit your site design. This includes making the text bold, adjusting the size or color, and changing the font.
Wix Editor
Studio Editor
- Click the single service calendar element in your editor.
- Click Settings.
- Click Text.
- Click to select the relevant section where you want to customize the text content.
- Enter the custom text content in the relevant fields.