

Wix Blog: Editing and Resizing Blog Images
2 min
In this article
- Resizing images in a post
- Additional edits to an image
Images are really important to your blog posts as they draw your visitors' attention. You can make sure they look and fit on the page perfectly by editing them within the post.
Tip:
Learn more about adding an Image, GIF or Video to a post.
Resizing images in a post
Resize images in a blog post, improving loading time, user experience and the overall look of your post.
To resize images in a post:
- Go to Blog in your site's dashboard.
- Open an existing post or create a new one.
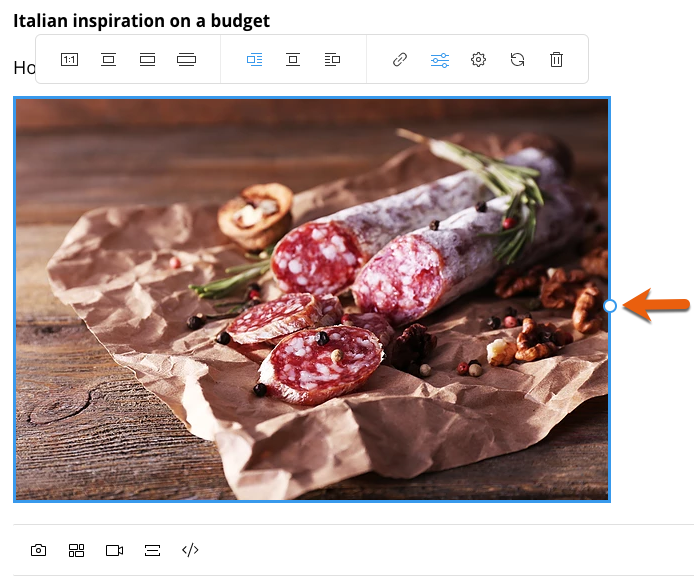
- Select the image you wish to edit.
- Drag the side handles on the image to resize it.
Additional edits to an image
You can make further edits to images using the Wix Photo Studio. Quickly access the Wix Photo Studio by clicking on the Image Editor icon  . Try the Wix Photo Studio for its easy drag-and-drop feature, dynamic content options, and a variety of professional templates.
. Try the Wix Photo Studio for its easy drag-and-drop feature, dynamic content options, and a variety of professional templates.To make further edits to an image:
- Go to Blog in your site's dashboard.
- Open an existing post or create a new one.
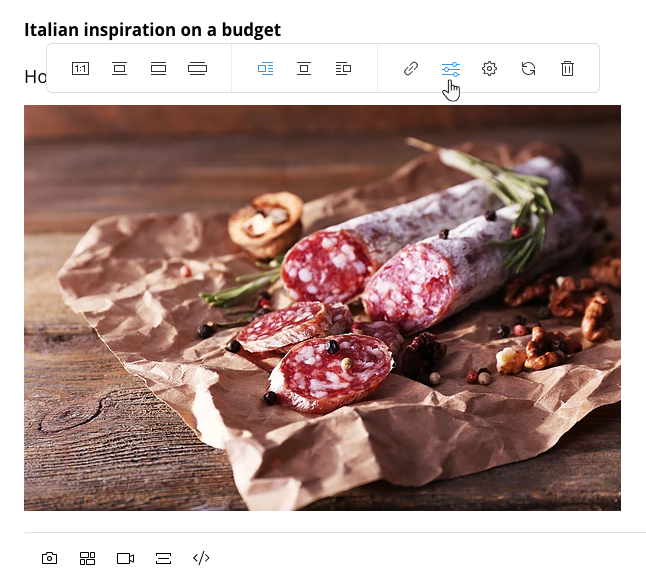
- Select the image you wish to edit.
- In the toolbar above the image, click the Image Editor icon
 .
.
- Use the available tools in the Photo Studio to edit your image.
- Click Save to implement the changes you made.
Hire a Professional WriterGet the content you need for your website. Hire a writer from the Wix Marketplace to create text that fits your message and brand.
