

Wix Blog: Linking to Other Site Pages From Your Blog Posts
7 min
In this article
- Adding links to a blog post
- Adding a link to a button in your blog post
- FAQs
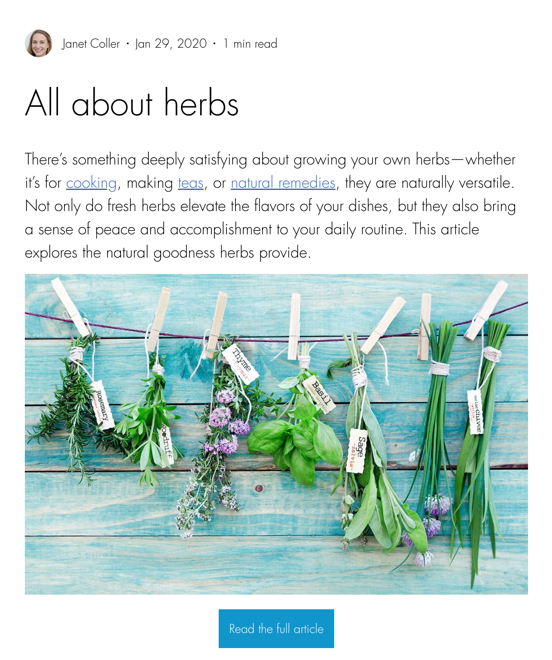
Connecting your posts to other relevant pages helps guide your audience, keeps them engaged and makes it easier for them to find the information they need. You can link to site pages by adding hyperlinks to text, inserting buttons, or placing links on images within your blog content.
Adding links to a blog post
Make your blog posts more interactive by adding links to text or images. You can direct readers to other site pages by hyperlinking a specific word or phrase, or by turning an image into a clickable link.
For example, you could link words like 'buy now' or 'view store' or you could add a link to an image of a pair of shoes allowing visitors to click the image and go directly to the product listing in your store.
To add a link:
- Go to Blog in your site's dashboard.
- Click + Create New Post or open an existing post.
- Choose what you want to do:
Add a link to a piece of text
 icon.
icon. Add a link to an image
 icon.
icon.  icon.
icon.Adding a link to a button in your blog post
Add a clear call-to-action to your blog post by inserting a button that links to another page on your site. Buttons stand out visually and make it easy for readers to take the next step. For example, you can add 'shop now' or 'view store' text to your button that prompts visitors to visit your store and start shopping.
To add link to a button:
- Go to Blog in your site's dashboard.
- Click + Create New Post or open an existing post.
- Add a new button or edit an existing one:
- New button:
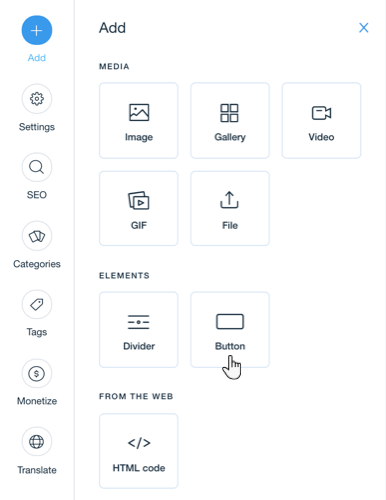
- Click the Add icon
 in the panel on the left.
 - Click Button.
- Click the Link
 icon.
icon.
- Click the Add icon
- Edit an existing button:
- Click the relevant button.
- Click the Link icon.
- New button:
- Choose what you want to link to:
- Web address: Link to an external page.
- Enter the address (URL) you want to link to.
- Enable/disable the relevant toggles to choose how the link behaves.
- Section: Link to a specific section in the same blog post.
- Click the Filter sections by type drop-down and select how to filter the sections: All, Paragraph, Heading, Image or Button.
- Click the Select a section to link to drop-down and select the section of the blog post you want to link to.
- Page: Link to a specific page on your site.
- Click the Page drop-down and select the page you want to link to.
- Enable/disable the relevant toggles to choose how the link behaves.
- Blog post: Link to a specific blog post.
- Click the Post drop-down and select the post you want to link to.
- Enable/disable the relevant toggles to choose how the link behaves.
- Web address: Link to an external page.
- Click Save.
FAQs
Click a question below to learn more about adding links and buttons to blog posts.
Can I link out to external websites or only pages on my site?
Can I add links or buttons to send readers to other blog posts?
Can I add clickable phone numbers and email addresses in my blog posts?
Can I link from a blog post to a specific section on another page?
Can I customize the button in my post?
 .
.Hire a Professional WriterGet the content you need for your website. Hire a writer from the Wix Marketplace to create text that fits your message and brand.
