


Wix Blog: Adding a Login Bar to Your Blog
In this article
- Adding a Members Area that comes with a login bar
- Adding a blog login bar
- Customizing your login settings
A login bar allows visitors to sign in to your site, enhancing their experience and engagement with your blog. When visitors log in, they can follow, comment on posts, and join your blog community, making your site more interactive and lively.
For example, imagine a cooking blog where readers can share their thoughts and tips in the comments, follow their favorite recipes, and connect with fellow food enthusiasts. This not only builds a sense of community but also encourages repeat visits.
Additionally, if you or other writers want to write a blog post directly from your live site, you need to log in via the login bar.
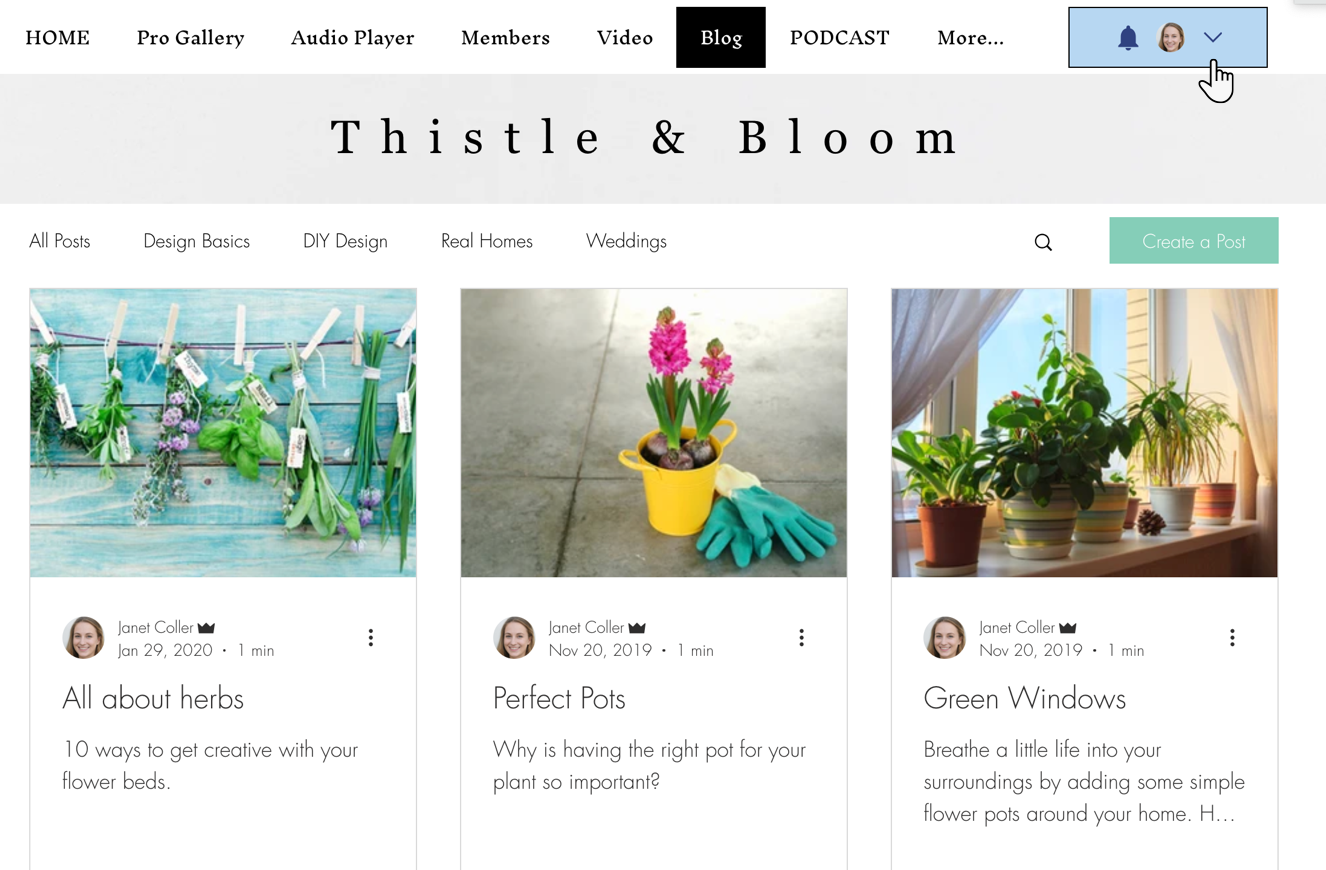
You can add a login bar either by adding a Members Area to your site, or by adding a standalone login bar.
Adding a Members Area that comes with a login bar
When you add the
Wix Members Area to your site, visitors can log in and gain access to all members pages, including special pages for Wix Blog, Wix Stores, and Wix Bookings.
Adding the Members Area also adds a page to your site where blog members can view, follow, and access each other's profile. If you want the Members Area, but without this page, you can
hide it.
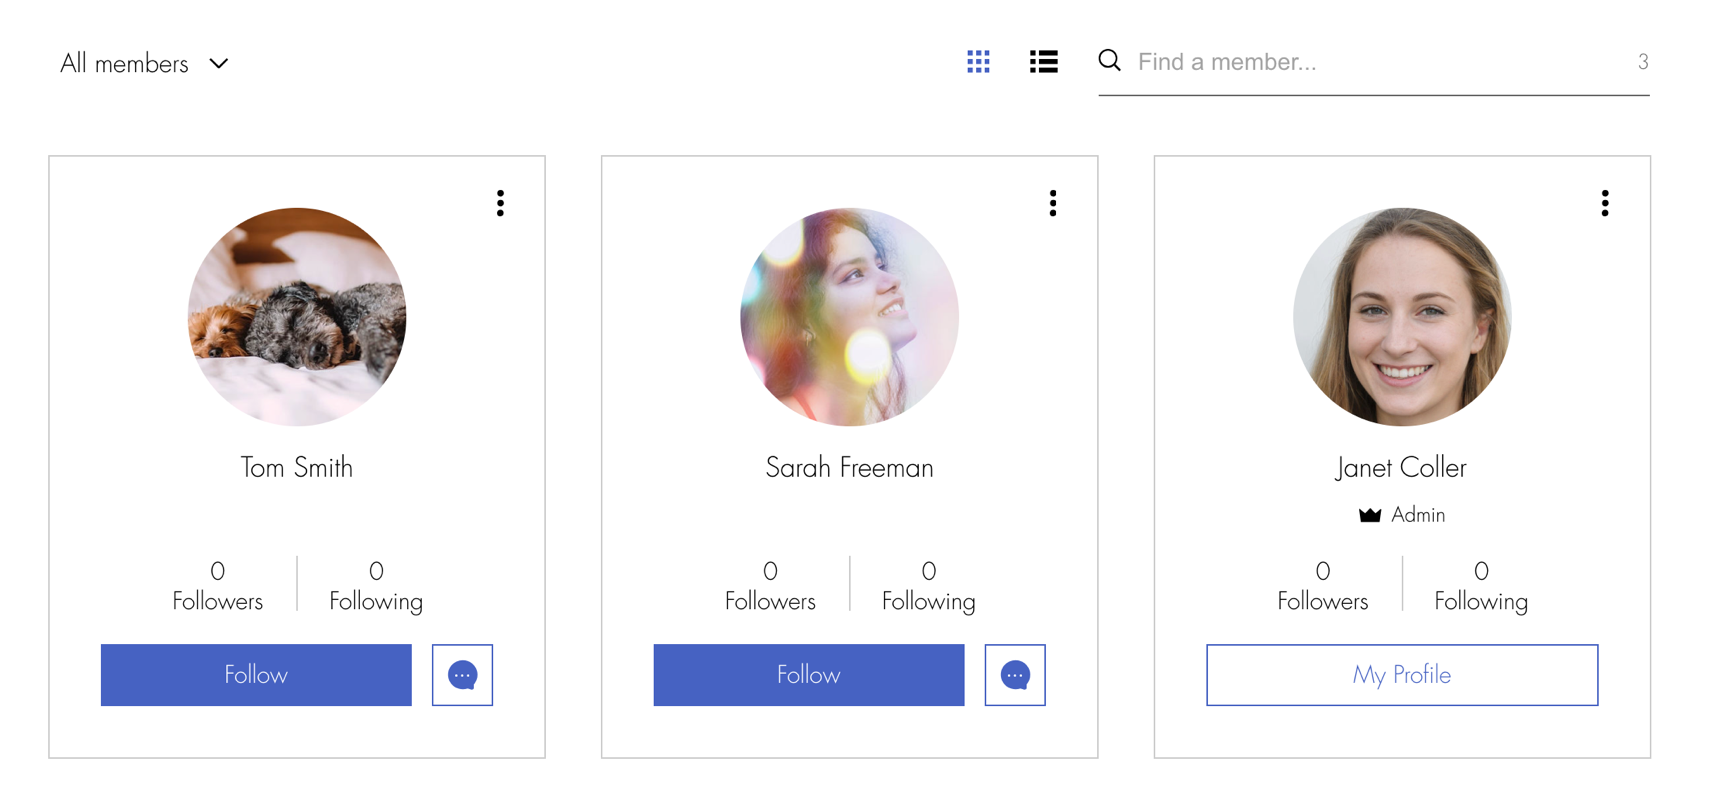
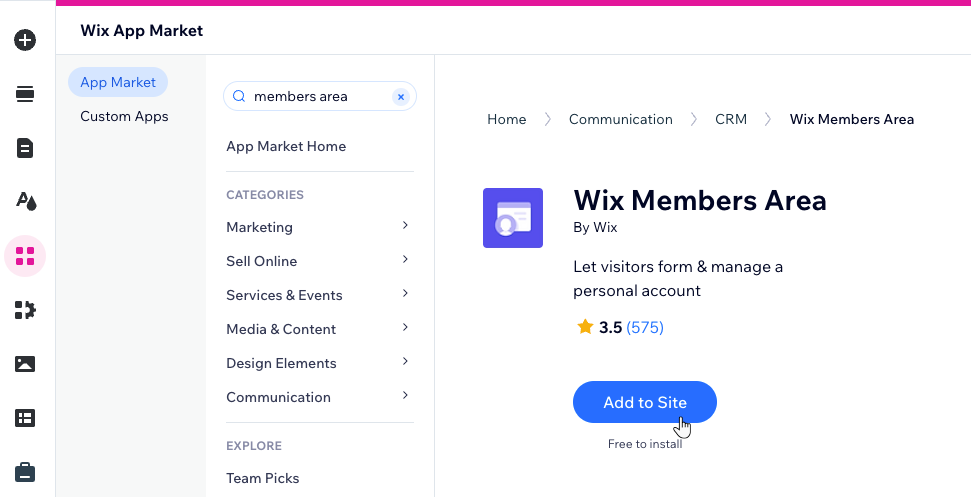
To add a Members Area to your site:
Wix Editor
Studio Editor
- Click Add Apps
 on the left side of the editor.
 - Enter "Members Area" or "Wix Members Area" in the search bar.
- Select the Wix Members Area app.
- Click Add to Site.
Adding a blog login bar
In addition - or instead of - the Members Area login bar, you can add a standalone blog login bar which appears next to your blog menu.
Like the Members Area login bar, it grants visitors access to all members-only pages and blog pages, but not to special pages for Wix Stores, Wix Bookings, etc. In addition, it doesn't add a separate members page to your site.
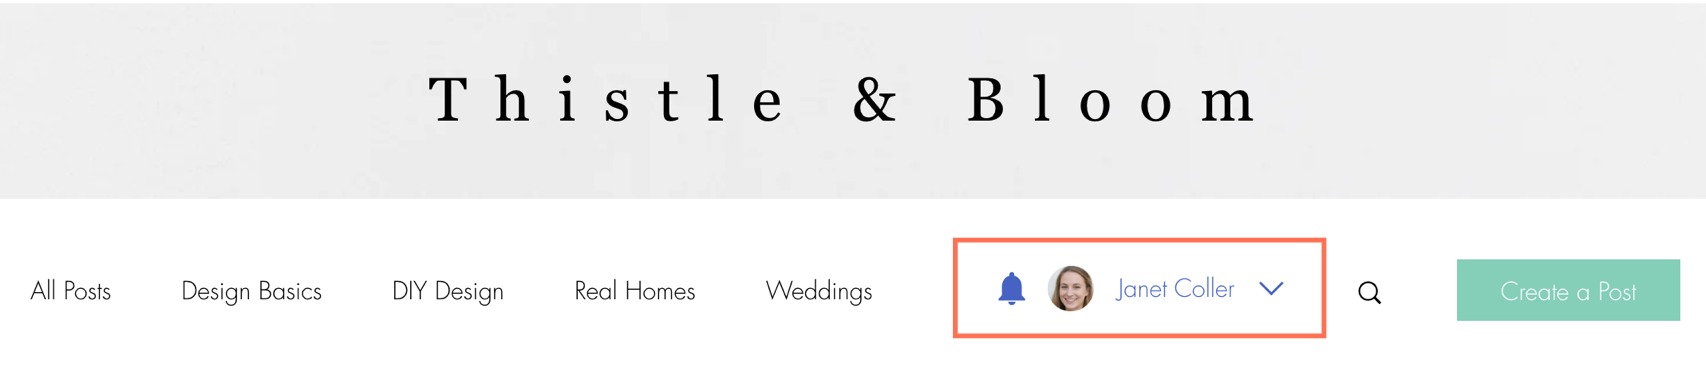
To add a blog login bar:
Wix Editor
Studio Editor
- Click your blog feed in the editor
- Click Settings.
- Click the Display tab.
- Click Blog Menu.
- Enable the Login from blog menu toggle.
Tip:
To edit the login button design, click the blog in the Editor, click
Settings, and in the
Design tab, select
Blog Menu
Customizing your login settings
You can customize your login settings to display sign up/log in first, allow social logins from Google or Facebook, and display links to your terms of use.
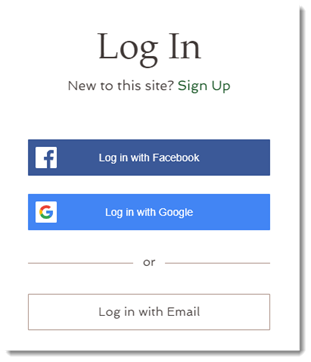
To customize your login settings:
Wix Editor
Studio Editor
- Click Pages
 on the left side of the editor.
 - Click Signup & Login.
- Click Member Signup Form (Default).
- Go through the tabs one by one to set up the signup form:
General tab
Social & Community tab
Policies tab
 to set it up.
Hire a Professional WriterGet the content you need for your website. Hire a writer from the Wix Marketplace to create text that fits your message and brand.
