Testing your Velo Package
5 min
In this article
- Step 1 | Create a Test Version in Blocks
- Step 2 | Install your test version in the Editor
- Step 3 | Publish a site with the test version
All Wix users can create Velo Packages. To create apps for Wix sites with the full version of Wix Blocks, join Wix Studio.
After you create your Velo package, use the Wix Blocks testing feature to test its functionality on a site. The testing feature is useful for a new or existing package:
New package, not yet installed on a site:
- Test a new package, or a new version of a package, before you install it on a live site.
- Quick testing during the development cycle: create multiple versions without impacting the version number of your package when published.
Existing package, already installed on one or more sites:
- Test a version of your package without impacting live sites where an existing version is installed.
- When you are ready, build a new version in Blocks and install your sites.
Important
You can only have one version installed on a site. If you install the test version it overwrites the live version you installed previously (this is why we recommend to install a test version on a test site).
Step 1 | Create a Test Version in Blocks
To create a test version:
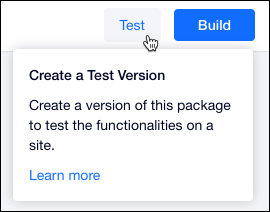
- Click Test in your Wix Blocks package environment (if you have never built this package, complete the name and description fields).
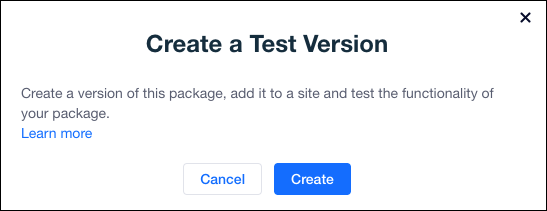
- Click Create to confirm that you want to create a test version.
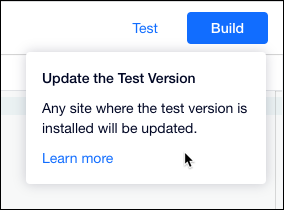
To update your test version after more changes:
- Click Test.
- Click Update Test Version.
The package now automatically updates on any editor (just refresh!) and live site where it's installed.
Automatic test version after first build
Note that when you build your package for the first time, even if you never clicked Test, Blocks creates a first test version for your package. This is true only for the first time. After that, you must click Test to update your test version.
Step 2 | Install your test version in the Editor
- Turn on Dev Mode in a Wix or Editor X site.
- Select
 (Code Files) > Packages > Install a Package.
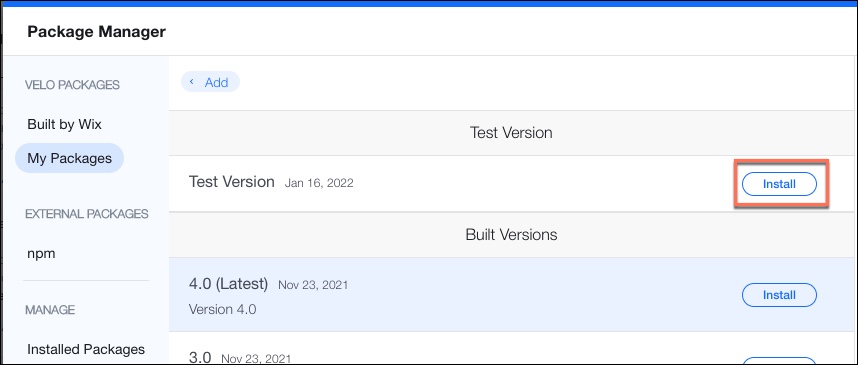
 - Click My Packages.

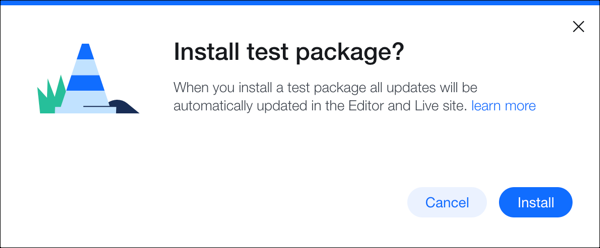
- If you see only the test version, Click Install for the test version of your package, and then confirm that you want to install it.
- If you see another version of your package, click see all versions to find your test version.

- Click Install next to your test version in the package manager.
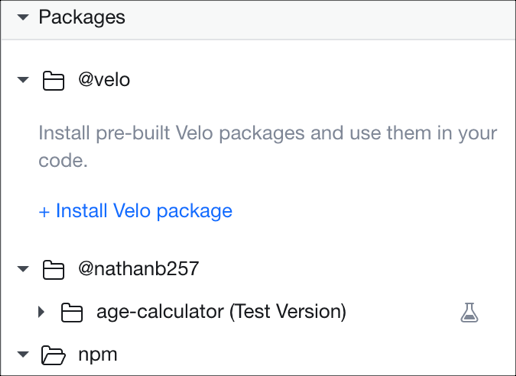
When you install a test version it is clearly labeled in your list of installed packages.
Step 3 | Publish a site with the test version
After you've installed the test version in the editor, it's time to publish your site. Note that the test version only comes into effect when the site is published - nothing will happen before publishing. You can choose whether to publish the site or a test version of the site (recommended). This allows you to check the behavior of the test version discreetly without impacting the live site.
To publish a test site:
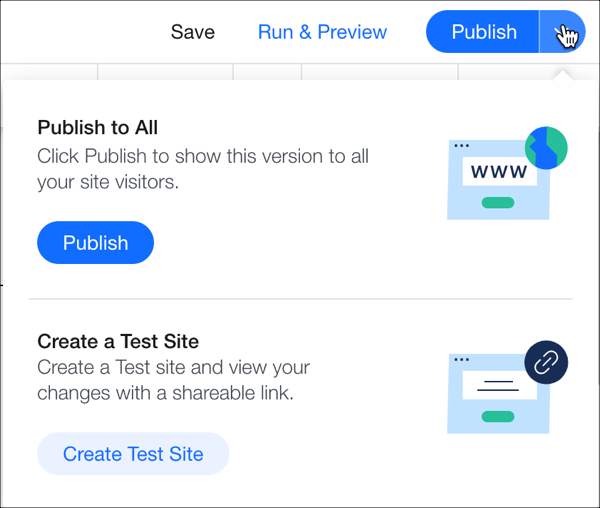
- Click the arrow to the right of the Publish button and from the drop-down menu.
- Click Create Test Sites.
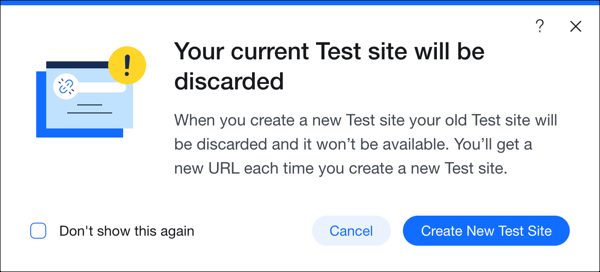
Then, click Create New Test Site to confirm that you want to discard the previous test site, if there is one, and create a new one.
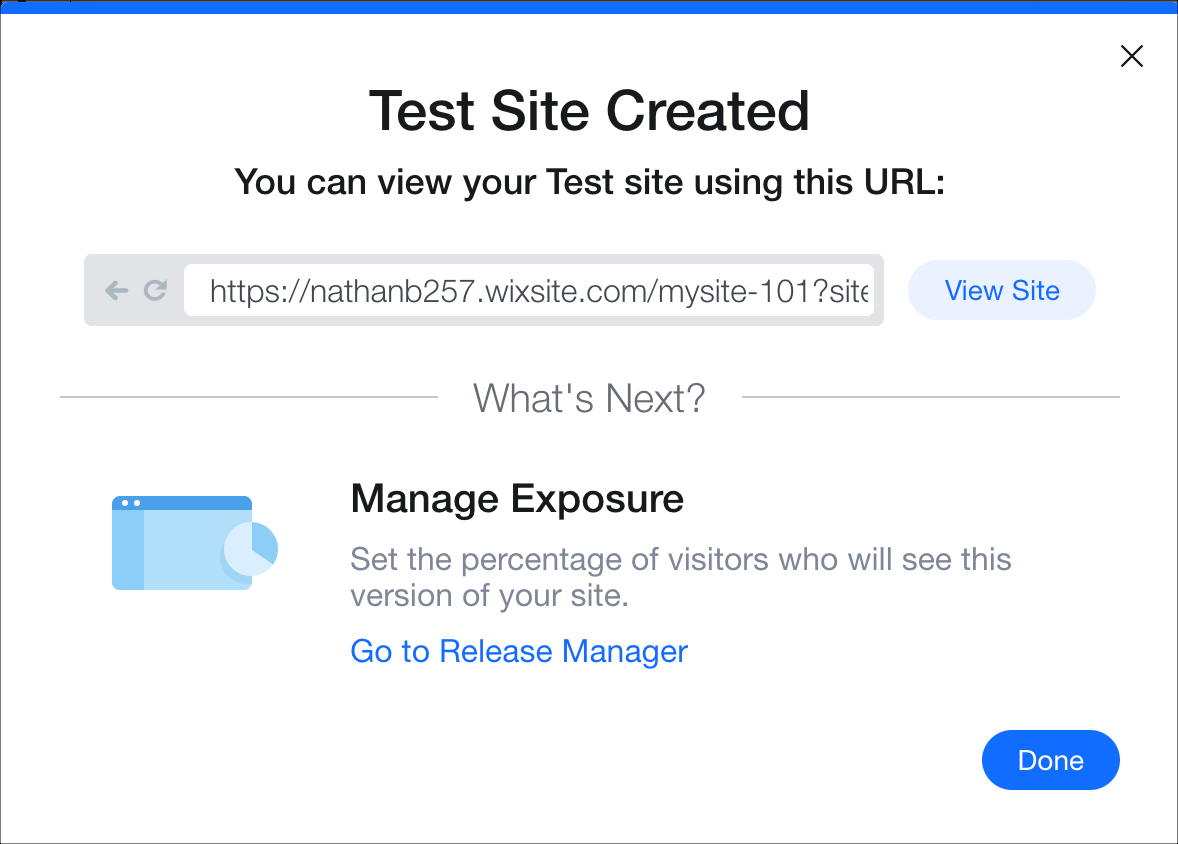
When you create the test site, the editor provides its URL.
The difference between a test version and a regular version
- When a test version is installed in a site and you click Test it in Blocks, the changes will affect both the editor (after refreshing) and the live site.
- When a test version is installed on a site and you click Build in Blocks: the editor gets your latest changes because it has a test version installed on it, but not your live site! The site needs to be published again, and only then the changes are applied to it.
When you are done testing your package, you can build a major or minor version in Blocks and install it on your site.


