Once you've created your post, you need to connect the relevant social media account(s) in order to publish. Choose to connect either one, some or all of your accounts at this stage. You can also disconnect an account or connect to a different account at any time.
Connect to your social media accounts
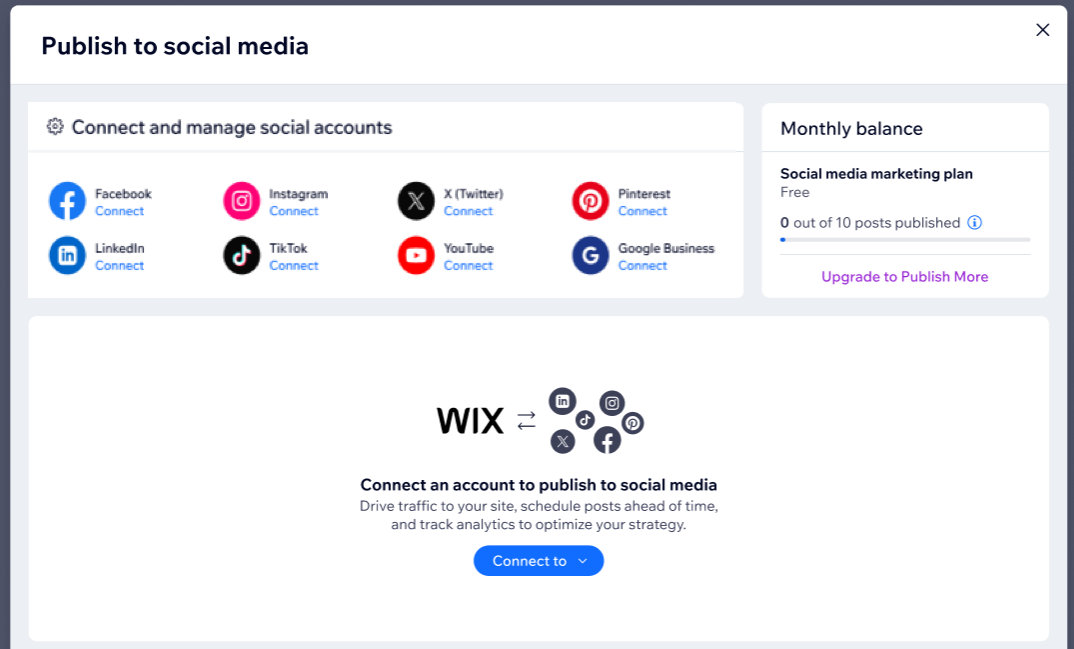
Connecting your social media accounts to your site allows you to publish content directly from your Wix. To get started, head over to the "Publish to Social Media" section of your Wix dashboard.
To connect your social media accounts:
- Go to Social Media Marketing in your site's dashboard.
- Click Your Social Posts tab.
- Hover over a social post and click the More Actions icon
 .
. - Click Edit & Publish.
Tip: You do not have to publish the post. - Choose the platform(s) you want to connect to:
Before you connect:
- Make sure you're connecting a Facebook page that is associated with a Facebook Business account.
- Make sure you have the right admin permissions for the Facebook page.
- Click Connect next to Facebook.
Note: If you previously connected another platform, click the Connect and Manage Social Accounts drop down, then click Connect next to Facebook. - Make sure you meet the connection requirements and click Continue.
- Follow the on-screen instructions to log in to your Facebook page.
- (If you have multiple Facebook pages) Select the page you want to connect and click Select Page.
- Click Continue.
Before you connect:
- You need an Instagram Business account to share your social post. If you currently have an individual or creator account switch to a business account before you continue.
- Make sure your Facebook page is connected to the same Instagram account you want to share a post to.
- Click Connect next to Instagram.
Note: If you previously connected another platform, click the Connect and Manage Social Accounts drop down, then click Connect next to Instagram. - Make sure you meet the connection requirements and click Continue.
Note: Even though you're connecting an Instagram account, a Facebook pop-up opens asking you to connect to the Facebook page associated with the Instagram account. - Click Continue as (your Instagram name).
- Select the Instagram Business account you want to connect and click Select Page.
Don't see your Instagram account? It might be connected to a different Facebook page. - Click Continue.
- Click Connect next to LinkedIn.
Note: If you previously connected another platform, click the Connect and Manage Social Accounts drop down, then click Connect next to LinkedIn. - Follow the on-screen instructions to log in to your LinkedIn account.
- Click Allow.
- Click Continue.
- Click Connect next to Pinterest.
Note: If you previously connected another platform, click the Connect and Manage Social Accounts drop down, then click Connect next to Pinterest. - Follow the on-screen instructions to log in to your Pinterest account.
- Click Allow.
- Click Continue.
- Click Connect next to TikTok.
Note: If you previously connected another platform, click the Connect and Manage Social Accounts drop down, then click Connect next to TikTok. - Follow the on-screen instructions to log in to your TikTok account.
- Click Allow.
- Click Continue.
- Click Connect next to Twitter.
Note: If you previously connected another platform, click the Connect and Manage Social Accounts drop down, then click Connect next to Twitter. - Follow the on-screen instructions to log in to your Twitter account.
- Click Authorize app.
- Click Continue.
- Click Connect next to YouTube.
Note: If you previously connected another platform, click the Connect and Manage Social Accounts drop down, then click Connect next to YouTube. - Follow the on-screen instructions to log in to your YouTube account.
- Make sure you meet the connection requirements and click Continue.
- Click Continue.
Disconnect your social media accounts
If you need to disconnect a social media account from your Wix site, you can do so easily. This might be necessary if you no longer want to manage a particular account through Wix or if you need to connect a different account.
To disconnect your social media accounts:
- Go to Social Media Marketing in your site's dashboard.
- Click Your Social Posts tab.
- Hover over a social post and click the More Actions icon .
- Click Edit & Publish.
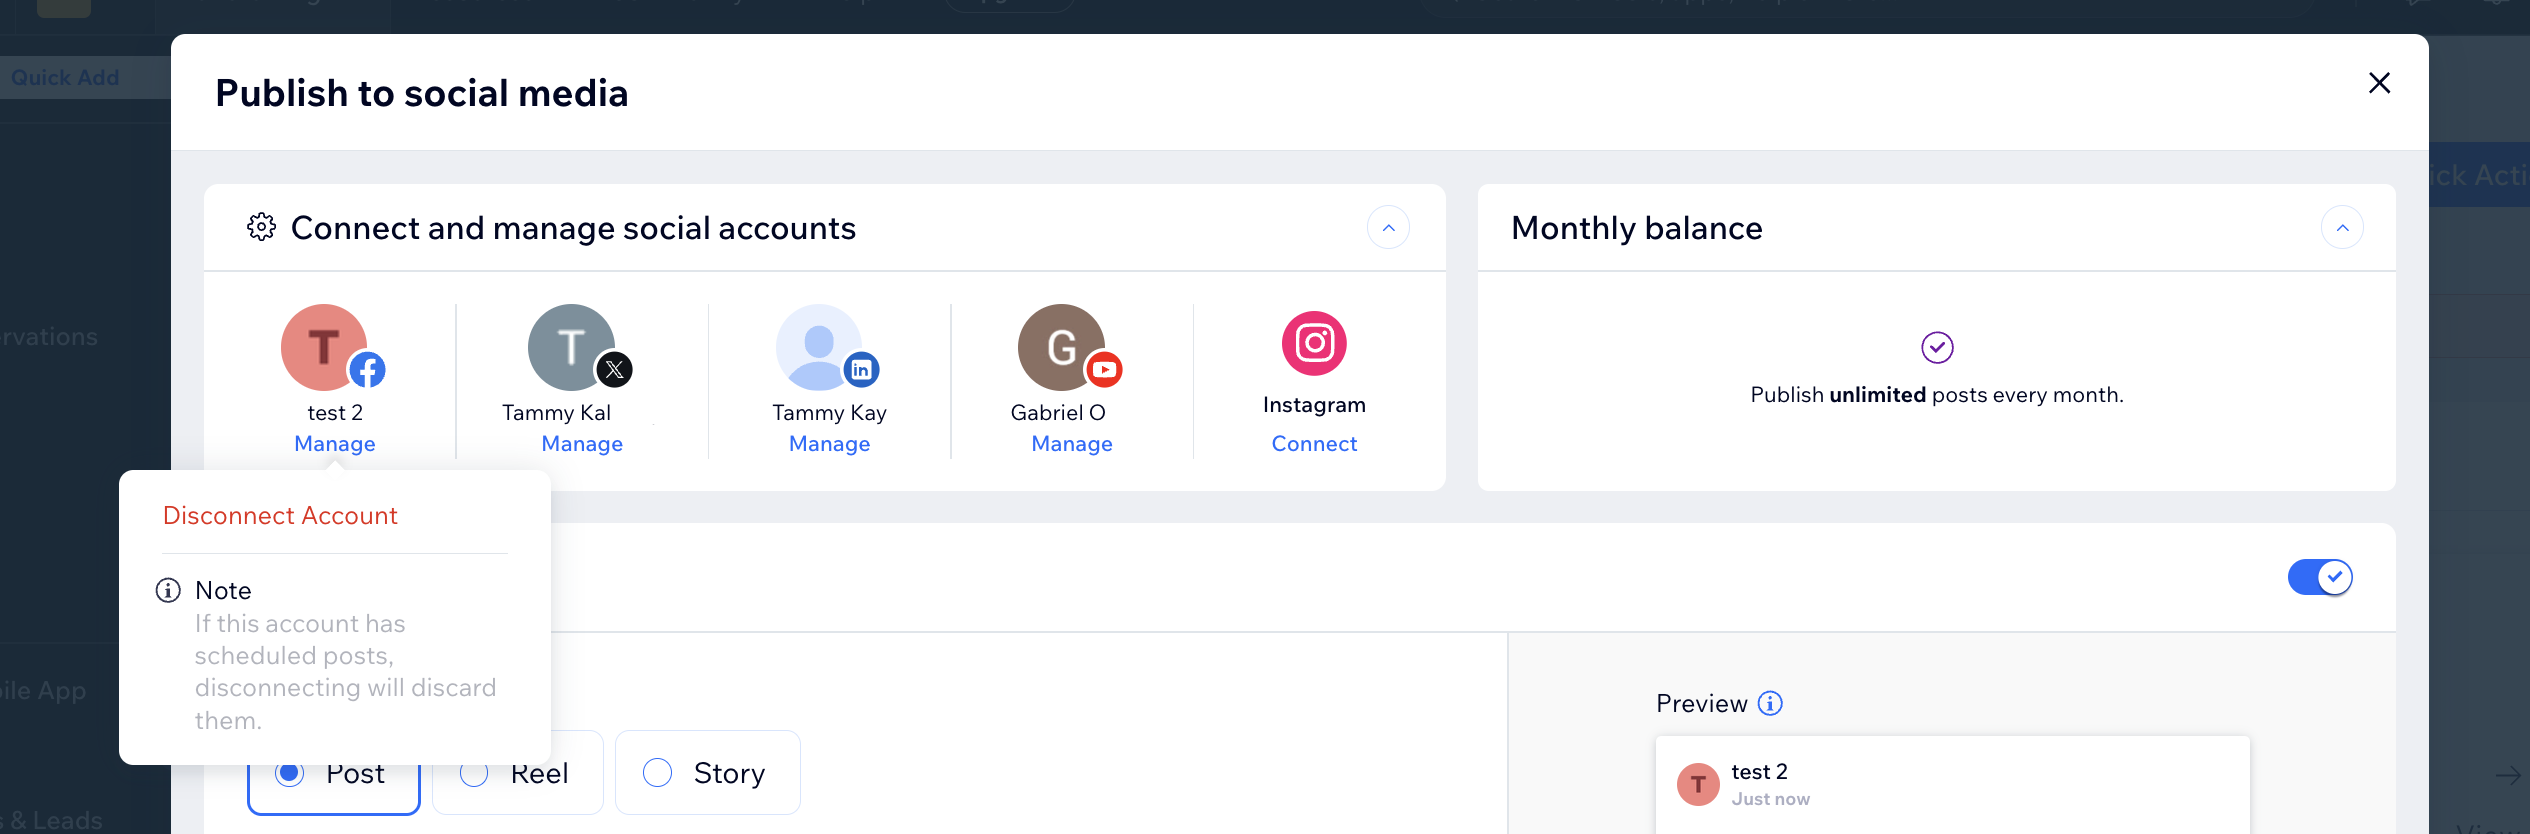
Tip: You do not have to publish the post. - Click Manage under the social media account you want to disconnect.
- Click Disconnect Account.
- Confirm that you want to disconnect the account.