

Wix Media: Sharing Documents on Your Site
4 min
In this article
- Adding a document button
- Linking a document to an element
- Creating a sharing library
Allow visitors to download documents from your site with ease. There are a number of ways of sharing documents on your site. The options range from a variety of apps, to document buttons and linkable elements.
Adding a document button
Let visitors download documents from your site in one click by adding a document button. Once you choose your button, you can connect your document file, change your button's icon and choose whether to display the document's title or not.
Note:
Document buttons are only available in the Wix Editor. In the Studio Editor, you can create a similar button by linking a styled button to a document and adding an icon.
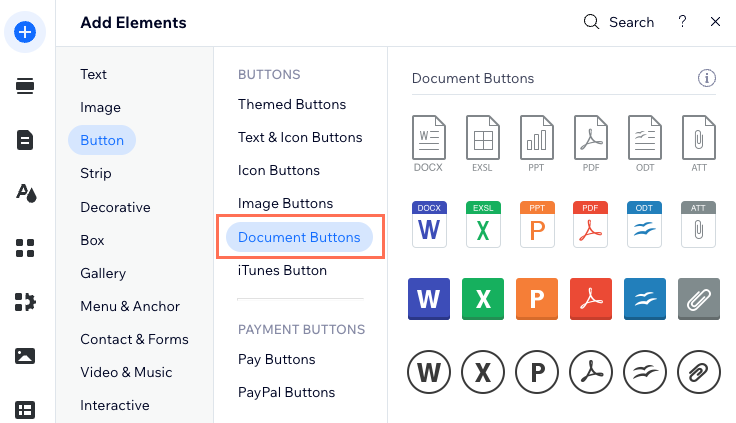
To add a document button:
- Go to your editor.
- Click Add Elements
 on the left side of the editor.
 - Click Button.
- Select a button under Document Buttons, or drag it the relevant location on your page.
- Click the button.
- Click Change File.
- Select a file.
- Click Choose File to connect it to your button.
- (Optional) Customize the button using the available options.
Linking a document to an element
Link your element to a document of your choice. When your visitors click the element, a new browser tab opens with the document.
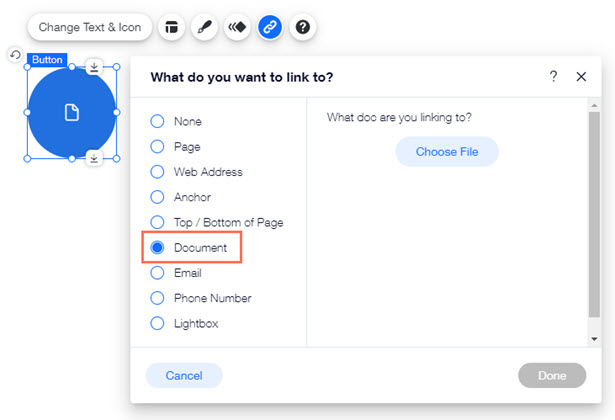
To link a document to an element:
Wix Editor
Studio Editor
Wix Harmony Editor
- Go to your editor.
- Click the relevant element.
- Click the Link icon
 .
. - Select Document.
- Click Choose File.
- Click Upload Media and upload your document to the Media Manager.
- Click Add to Page.
- Click Done.
Creating a sharing library
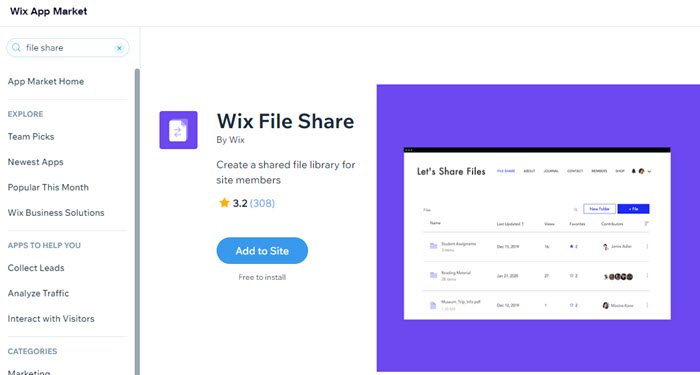
With the File Share app, you can create a file sharing library where people can exchange ideas and collaborate on projects. Whether you manage a school, business, or community, the File Share app is a great way to upload and share documents securely.
To create a sharing library:
Wix Editor
Studio Editor
- Go to your editor.
- Click Add Apps
 on the left side of the editor.
 - Search for "Wix File Share" in the search bar then select the app.
- Click Add to Site.
- Customize the app's permissions and member settings.
- Personalize the app's design.
Tip:
To enable file sharing on your site, use the Anyfile app.
To upload and display PDF files with realistic 3D page-flip animations, use the PDF 3D Flipbook app.
