

Wix Stores: Setting Up Dropshipping with Modalyst
6 min
In this article
- Step 1 | Set up pricing
- Step 2 | Set up shipping
- Step 3 | Add products to your Import List
- Step 4 | Customize products and product options
- Step 5 | Adding products to your Wix Store
- FAQs
After connecting your store to Modalyst, you can set pricing and shipping rules and then start choosing the products you want to sell in your shop.
Choose from the hundreds of thousands of ready-to-sell products that Modalyst suppliers offer.
How do I log into Modalyst?

Important:
Wix now offers 2 ways to connect and add Modalyst products:
- Add the Modalyst app: This article shows you how to choose products, customize, and manage dropshipping products on the Modalyst site. Read more below.
- Wix dashboard: Add products suggested for your store. Pricing, shipping, and more are already set up. You can manage Modalyst products in the Wix dashboard.
Step 1 | Set up pricing
There are two ways to set product pricing in Modalyst:
- Set pricing rules: These are rules that determine your default price markup and margins for products. Learn how to set pricing rules in the Modalyst dashboard
- Set a specific price for a product: You can override your pricing rules by manually setting a product's price. Learn how to set a price for an individual product
Important:
With general pricing rules, the price automatically goes up or down when the supplier changes the price. When you override a product's price, it doesn't adjust automatically.
Step 2 | Set up shipping
Each supplier in Modalyst decides which regions they ship to. While searching for products, you can check out the shipping charges for popular destinations.
For detailed shipping information, click More details, then scroll down and click the Shipping tab.
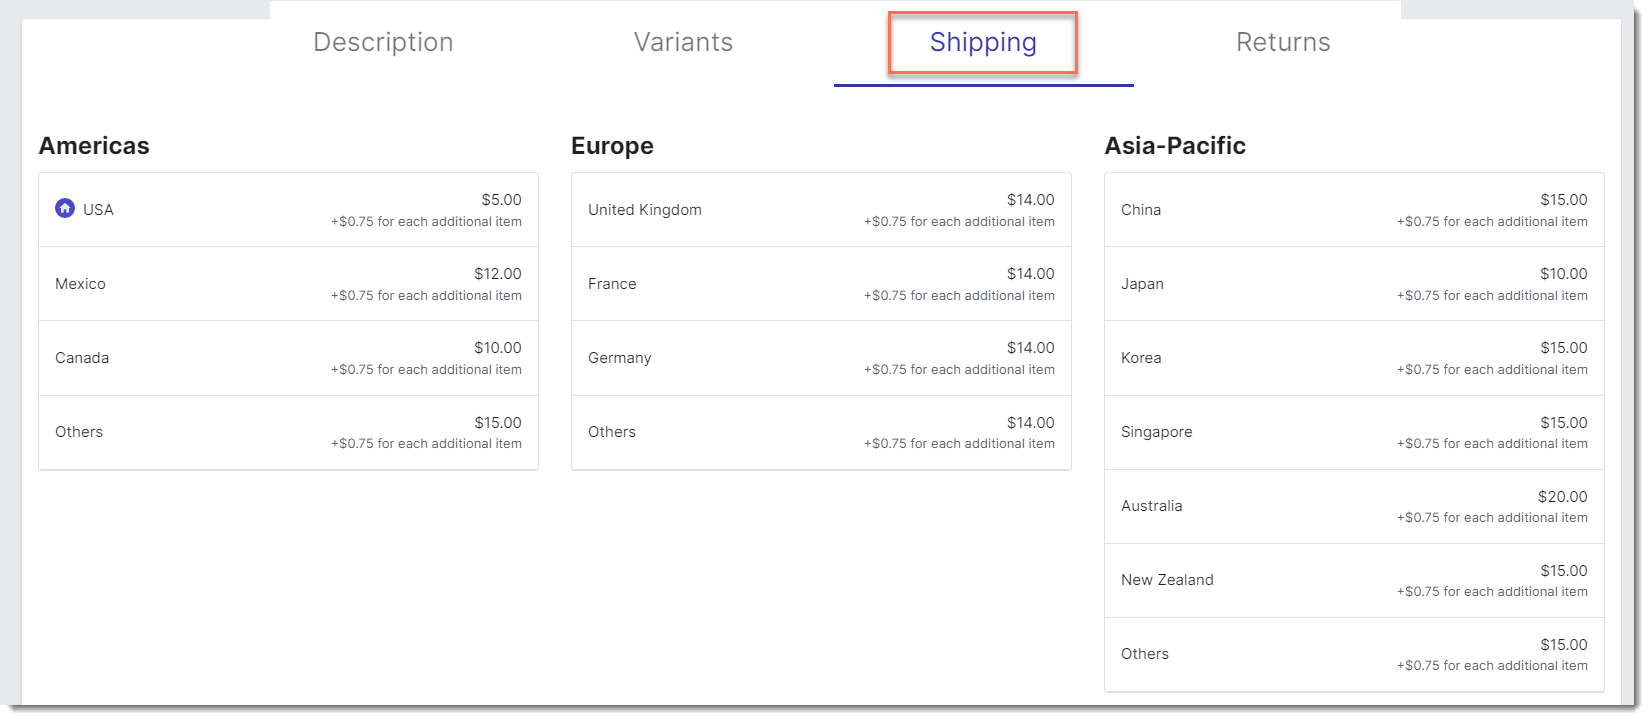
Note that suppliers' shipping rates do not automatically sync with your Wix store, so you'll need to create shipping rules in your Wix dashboard.
You can charge for shipping or you might want to increase the product price so that it covers the shipping cost and then offer free shipping - the choice is yours. You can use the supplier's rates and destinations to help guide you.
To set shipping rules, head over to your Wix dashboard. Learn more about setting shipping rates
Step 3 | Add products to your Import List
Start looking for products you love. Click to add the ready-to-sell products to your Import List.
Note:
Make sure the products you select conform to Wix's terms of use.
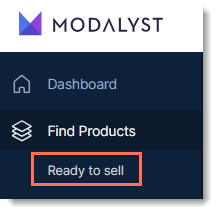
To search for products, click the Ready to sell tab and start shopping.
To narrow your search, select a category or click Filter to limit your search. When you find a product you like, click More Details to learn more about it or Add to Import List to customize it for your store.
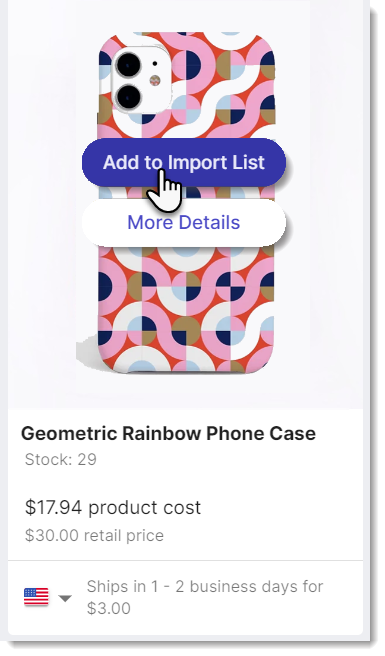
Learn more about selecting and importing products.
Tip:
Products added to the Import List do not yet appear in your Wix store.
Step 4 | Customize products and product options
Ready-to-sell products you selected appear in the Import List. There, you can customize a product's settings before you add it to your store.
To customize products and options:
- Go to the Modalyst dashboard.
- Click the Import List tab.
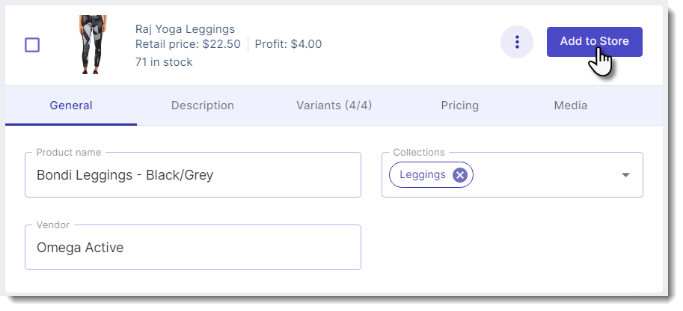
- Update settings in the General tab:
- Edit the product name.
Tip: Names can have up to 80 characters. - Select the category or categories in which you want the product to appear.
- Edit the vendor name.
Tip: Not visible to customers.
- Edit the product name.
- Update text in the Description tab:
- (Optional) Edit the product description.
- Update settings in the Variants tab:
Tip: All Modalyst products have at least one product option.- Click a variant image, select the image connected to this variant, and click Save.
- Edit the variant's SKU.
- Update other variant descriptions.
- Click the Add to store toggle next to a variant to hide it from your site.
- Update settings in the Pricing tab: You can override your general pricing settings.
- Update settings in the Media tab: Deselect the checkmarks on images you don't want to display.
Step 5 | Adding products to your Wix Store
Once you finish customizing a product, you can add it by clicking Add to Store. When you do, the product is added to your Products tab in your Wix dashboard and appears on your live site.
If you prefer, rather than adding a product right after you customize it, you can later add multiple products at once.
To add multiple products to your stores:
- Depending on the products you want to add, follow the steps:
- All products:
- Click the arrow next to the number of product you have.

- Select all products or all products on the current page.
- Click the arrow next to the number of product you have.
- Individual products: Select the checkboxes next to products you want to add.
- All products:
- Click Add to store.
Tip: If this button isn't visible, click the Actions drop-down and select Add to store.
Tip:
Products usually appear in your Wix Store as soon as you add them. Note that products with many images might take a few minutes before they are live.
FAQs
How do I order product samples?

How do I remove Modalyst products from my Wix store?
 and select Remove from Store.
What happens if a supplier discontinues a product?
What is Modalyst's return or refund policy?
How do I collect tax on dropshipping products?
How can I connect to the Modalyst help center?
