Wix Online Programs: Customizing Your Program Pages
25 min
In this article
- About your Program pages
- Customizing your Program List page
- Customizing your Participant page
- Customizing your Visitor page
- FAQs
Your Wix Online Programs site pages include three customizable pages: The Program List page, Visitor page, and Participant page. Another Wix Online Programs page is the payment page, which is not customizable. You can choose to display different details on each page. Think about your site visitor's journey—from visiting your site, to being intrigued, to enrolling. What messages do you want to convey to your site visitors at each step?
About your Program pages
When you add Online Programs to your site, the following pages are installed:
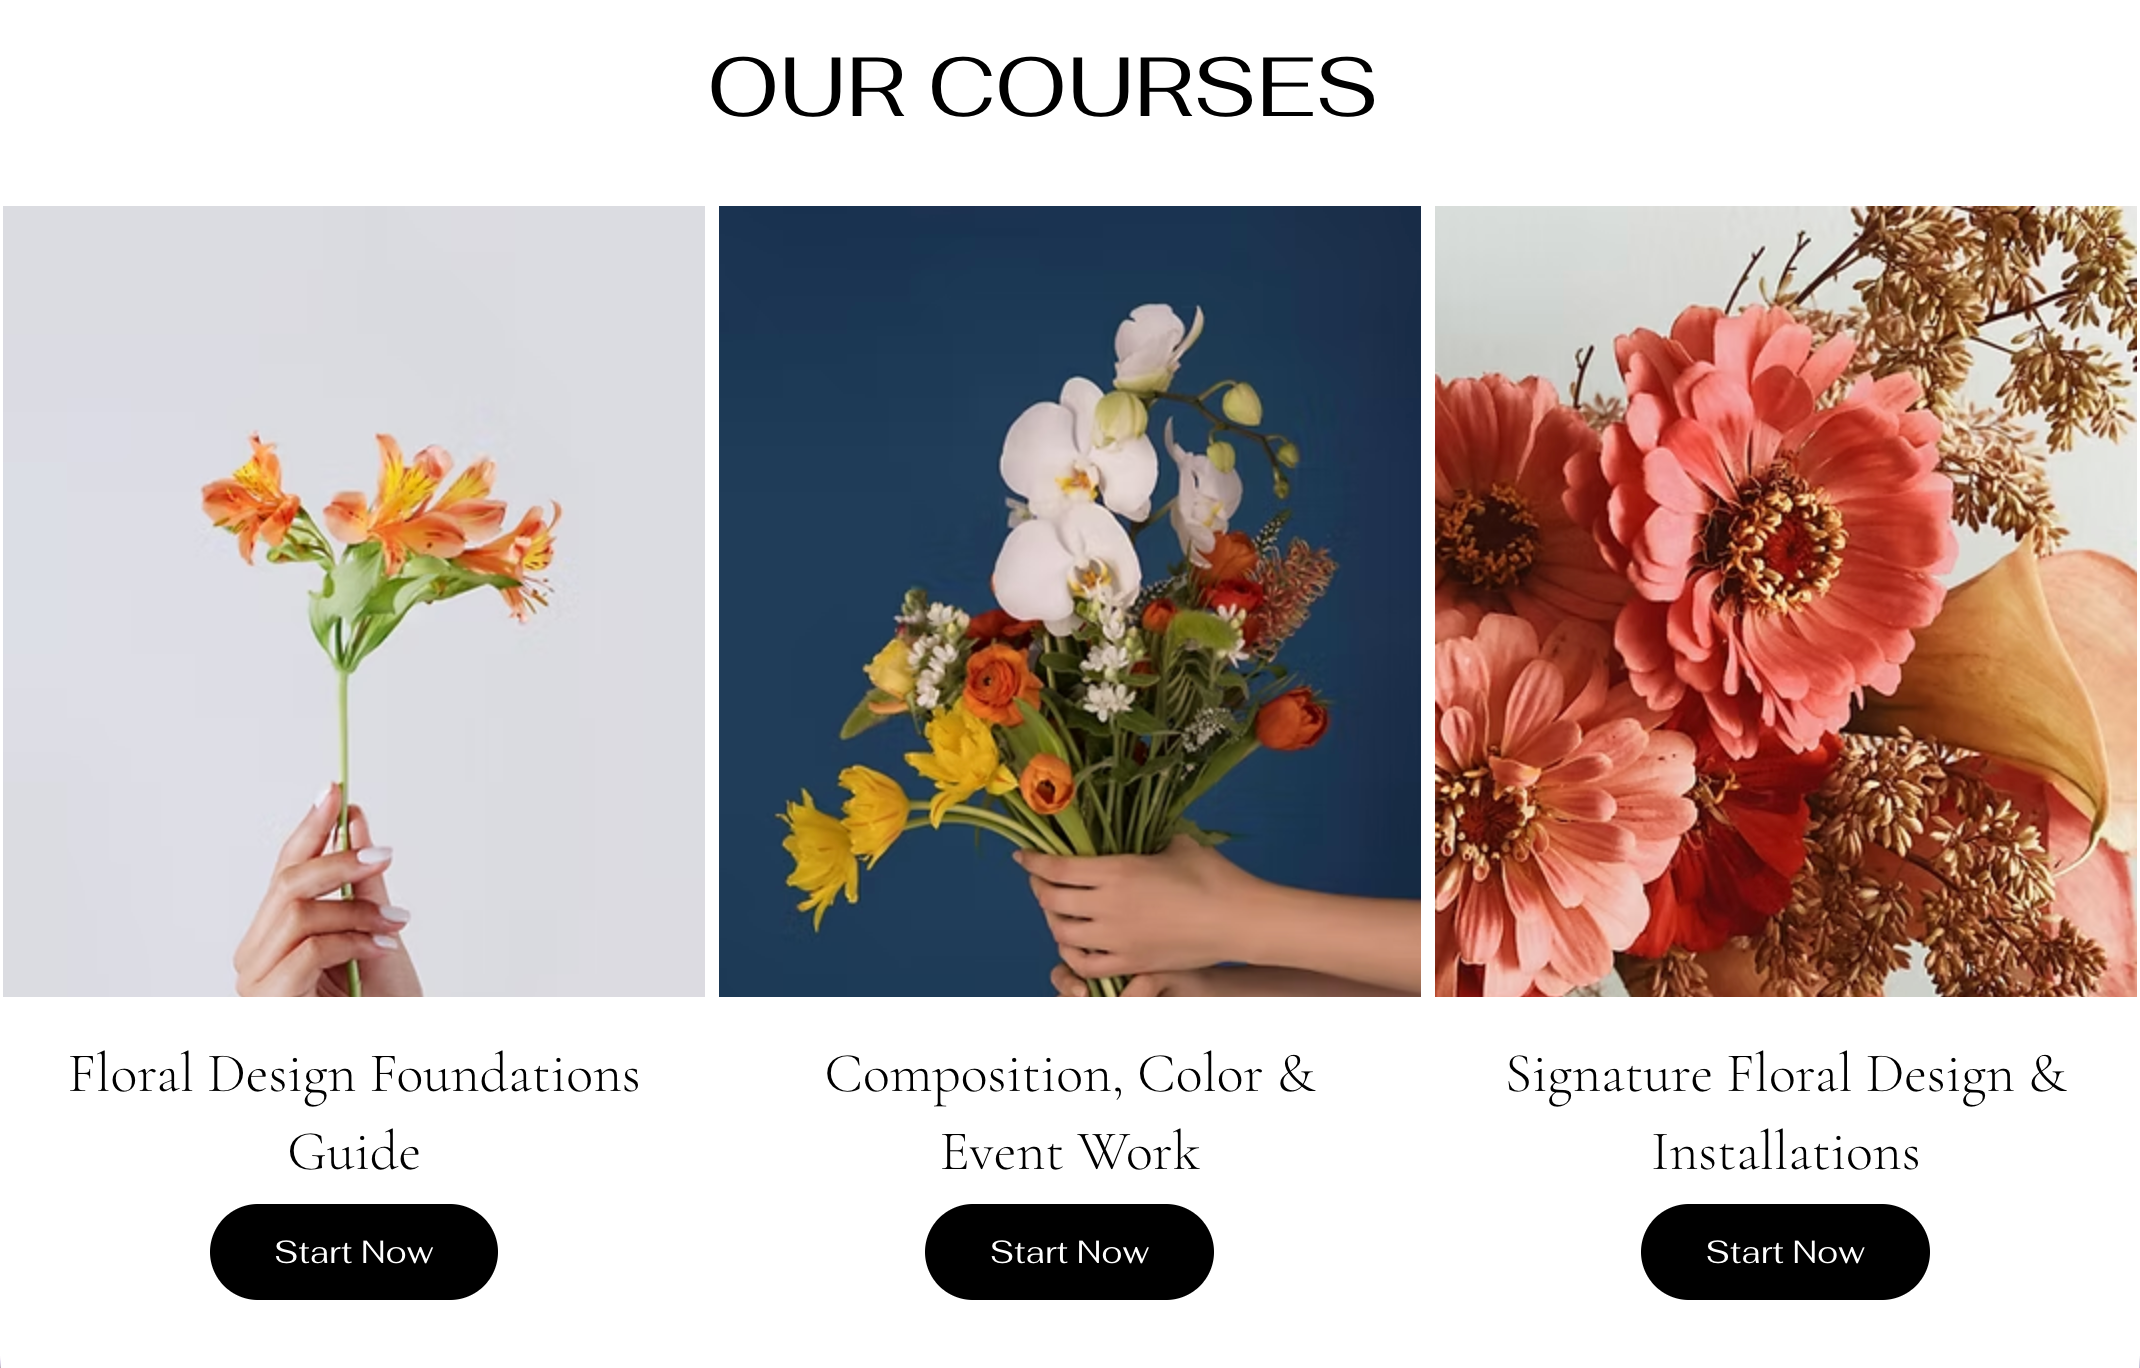
- Program List page: This page displays all available programs on your site, organized by your preferences. It gives a brief overview of each program's details, such as price and number of participants.
- Visitor page: This page offers potential enrollees a program description and sets basic expectations, giving them a clear understanding of what the program entails.
- Participant page: This page includes elements for post-enrollment. These can be group discussions and rewards, to keep participants engaged and motivated.
- Payment page: This page is where site visitors complete their purchase to enroll in your program. This is a dedicated checkout page for Online Programs.
Tip:
You can also create a custom landing page on your site that focuses on a single program.
Customizing your Program List page
Choosing what to display on the Program List page helps you communicate key details to your site visitors. Select essential information such as price, length, instructor, and more to ensure interested visitors have everything they need to enroll.
Wix Editor
Studio Editor
Wix Harmony Editor
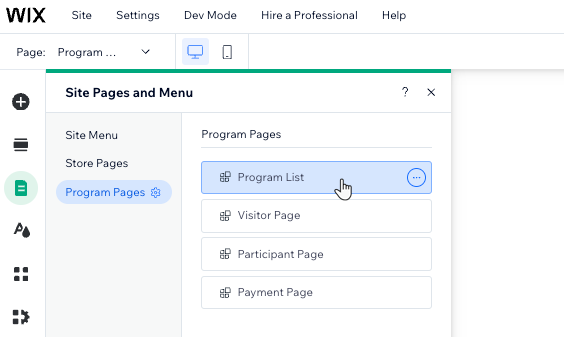
- Go to your editor.
- Click Pages & Menu
 on the left side of the editor.
 - Click Program Pages.
- Click the Program List page.
- Click the Program List element on your page.
- Click Settings.
- Customize the Program List element using the available tabs:
Categories

Programs

Display

Layout

Design

Text

Tips: 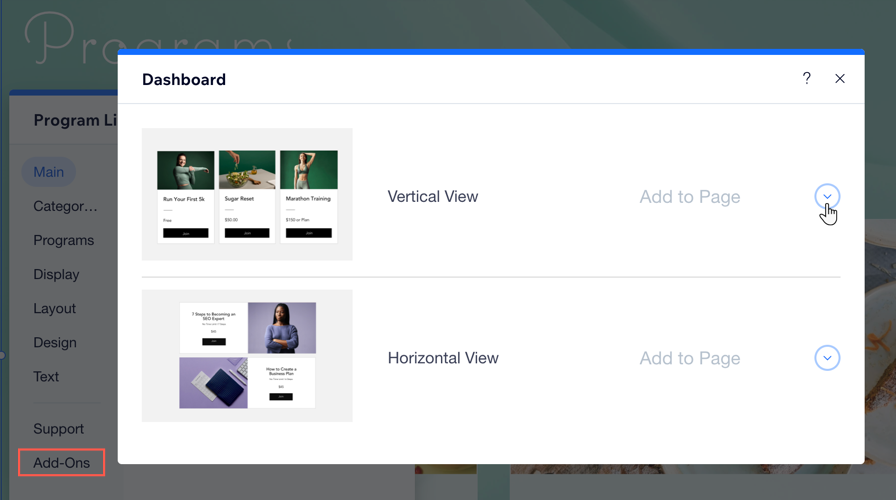
- Go to your dashboard to edit the specific settings of each of program.
- Add your program list to another page in your site by selecting Add-ons.
Customizing your Participant page
The Participant page allows you to display additional information such as the number of participants, group discussions, rewards gained, and steps to complete. These details help provide a more comprehensive and engaging experience for your users.
Wix Editor
Studio Editor
Wix Harmony Editor
- Go to your editor.
- Click Pages & Menu on the left side of the editor.
- Click Program Pages.
- Click your Participant page.
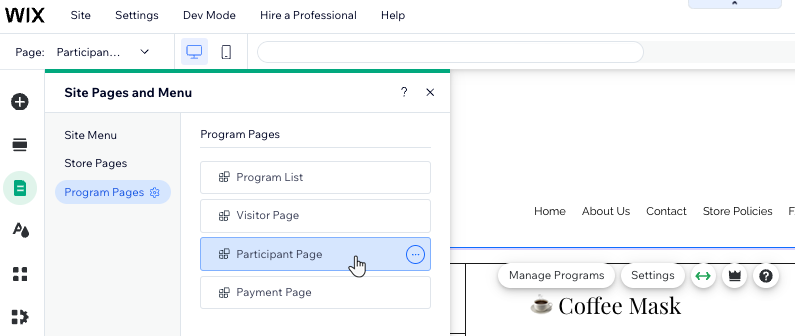
- Click the Participant Page element on your page.
- Click Settings.
- Select the relevant tab:
Display

Layout

Design

Text

Customizing your Visitor page
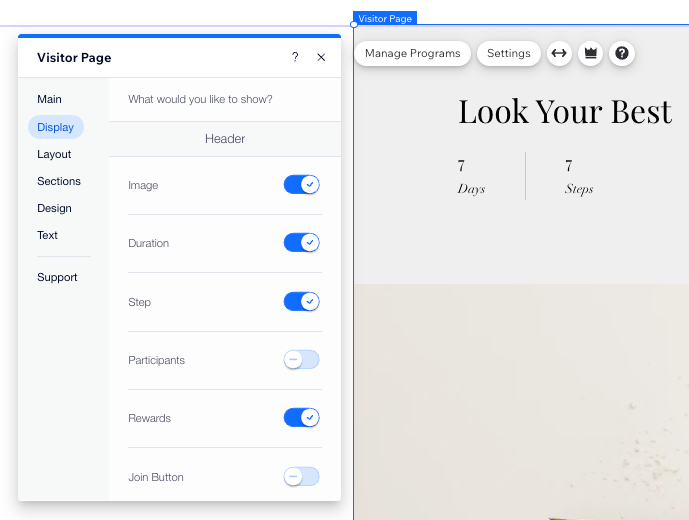
When customizing the Visitor page, you can decide to include information like the content overview or only the first steps of the program. This helps visitors get a quick understanding of the program while keeping them intrigued.
Wix Editor
Studio Editor
Wix Harmony Editor
- Go to your editor.
- Click Pages & Menu on the left side of the editor.
- Click Program Pages.
- Click Visitor Page.
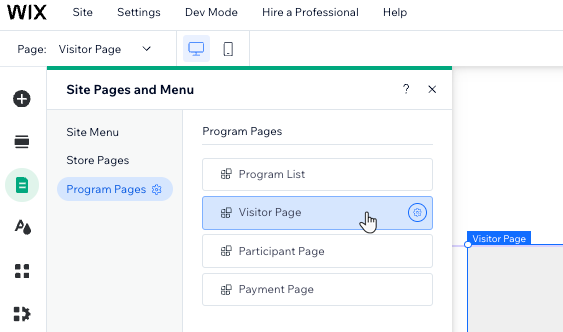
- Click the Visitor page element on your page.
- Click Settings.
- Select the relevant tab:
Display
Layout

Sections
 .
.
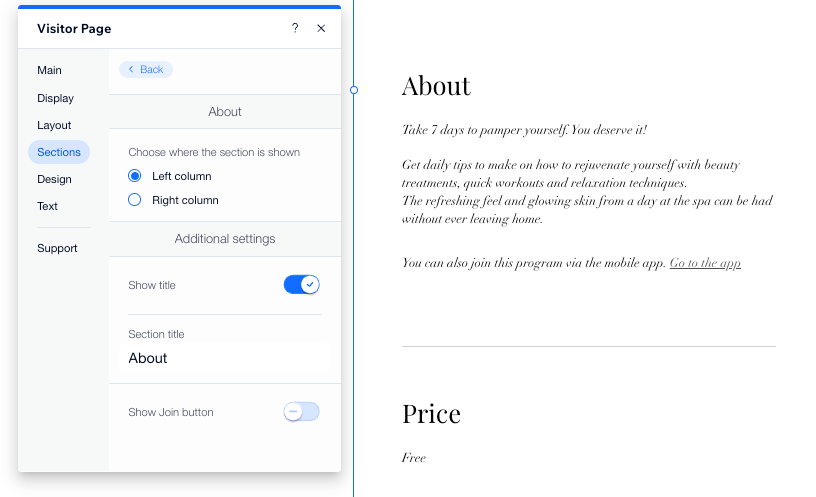
Design

Text

FAQs
Click a question below to learn more about customizing your Program pages.
Can I customize the Program pages using the Wix app?
 at the bottom.
 next to the relevant program.
What are some key details to convey to potential participants?
Can I design each program differently?
How can I link a button directly to a program payment page?

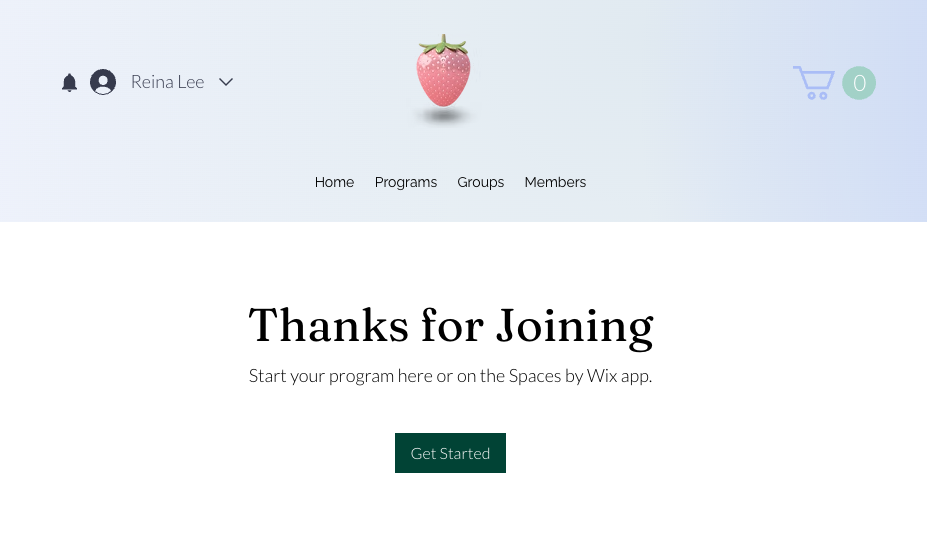
Can I customize the "Thanks for Joining" text that appears once participants purchase a program?