

Wix Editor: Linking an Element to a Gallery Image
2 min
In this article
- Step 1 | Copy the image URL
- Step 2 | Add the link to the element
Link an element to a gallery image to promote exciting and important content on your site. This is especially useful if you use images to showcase news or information, as visitors can access and view the image with just one click.

Step 1 | Copy the image URL
Open and copy the URL of the image on your live site to get started. Make sure that you've published your site first, as you can't retrieve the URL from inside the Editor.
To copy the gallery image URL:
- Open your live site.
- Navigate to the page the with the relevant gallery.
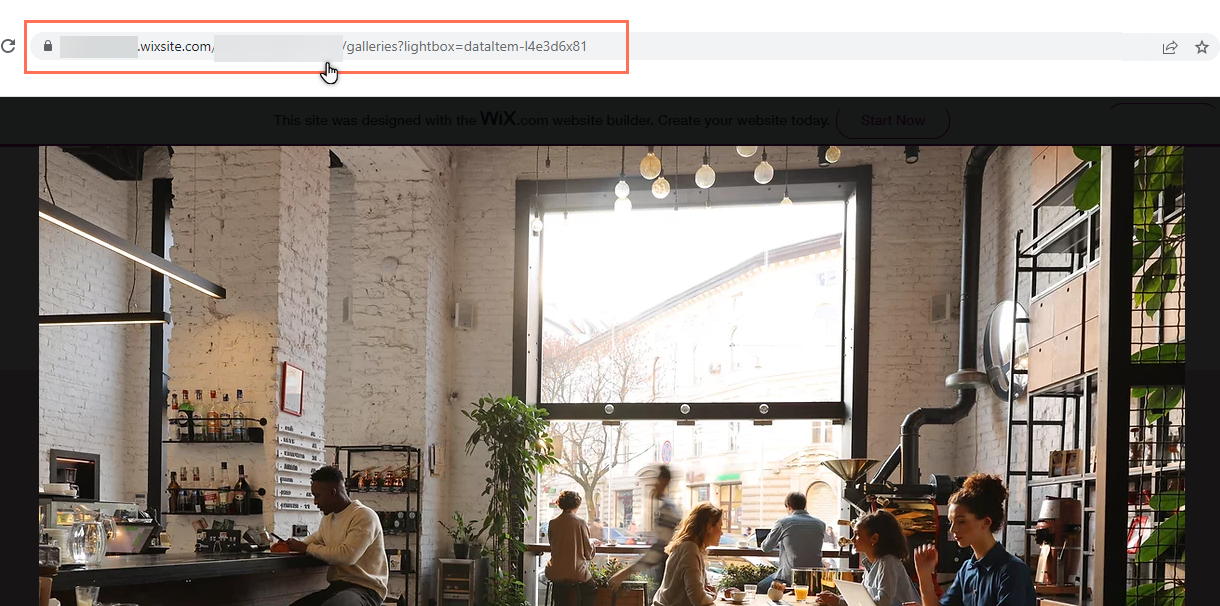
- Click your chosen image in the gallery to expand it.
- Copy the URL of the image from the browser bar.
Tip:
You can open your live site from the top bar of the Editor. Learn how to view your published site
Step 2 | Add the link to the element
Once you've copied the URL, you can add it as a link to an element on your site. Some popular elements you can link to images include buttons and text headings.
To link the element to the image:
- Open the Wix Editor.
- Click the relevant element.
- Click the Link icon
 .
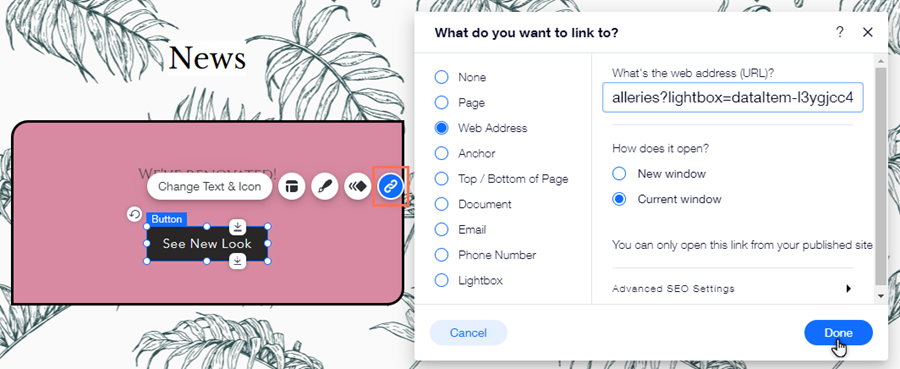
. - Click Web Address from the menu on the left side of the panel.
- Paste the image URL into the field titled What's the web address (URL)?.
- (Optional) Select whether the image opens in the same or a new window.
- (Optional) Choose the link rel attribute under Advanced SEO Settings.
- Click Done.
What's next?
- Publish your changes to see the link in action. Learn how to publish site changes
- You can also link gallery images to other locations, so visitors can click them to go to the relevant content. Learn how to add links to gallery images
