

Dine by Wix: Setting Up Your Restaurant
3 min
In this article
- Step 1 | Update your business information
- Step 2 | Add photos and descriptions of your dishes
- Step 3 | Customize your restaurant site using the Wix app
- Step 4 | Promote your restaurant
Your restaurant has its own page in the Dine by Wix app where customers can do everything from view your restaurant's details and send a message, to placing an order or booking a table.
Before you invite customers to join you in the Dine by Wix app, make sure everything is updated behind the scenes.
Step 1 | Update your business information
The Dine by Wix app pulls your restaurant's information from the Business info tab in the dashboard. Make sure all details are accurate, especially your restaurant's location, contact info and opening hours. Customers using the Dine by Wix app can search for restaurants based on these parameters.
Show me how

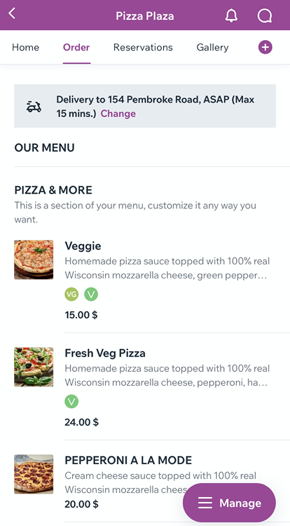
Step 2 | Add photos and descriptions of your dishes
Your menu and dishes in the Dine by Wix app are pulled from your site's dashboard. It's important to provide good descriptions of each dish so customers understand exactly what they're ordering. Add high quality photos of the food to entice people to place an order on the app.
Show me how
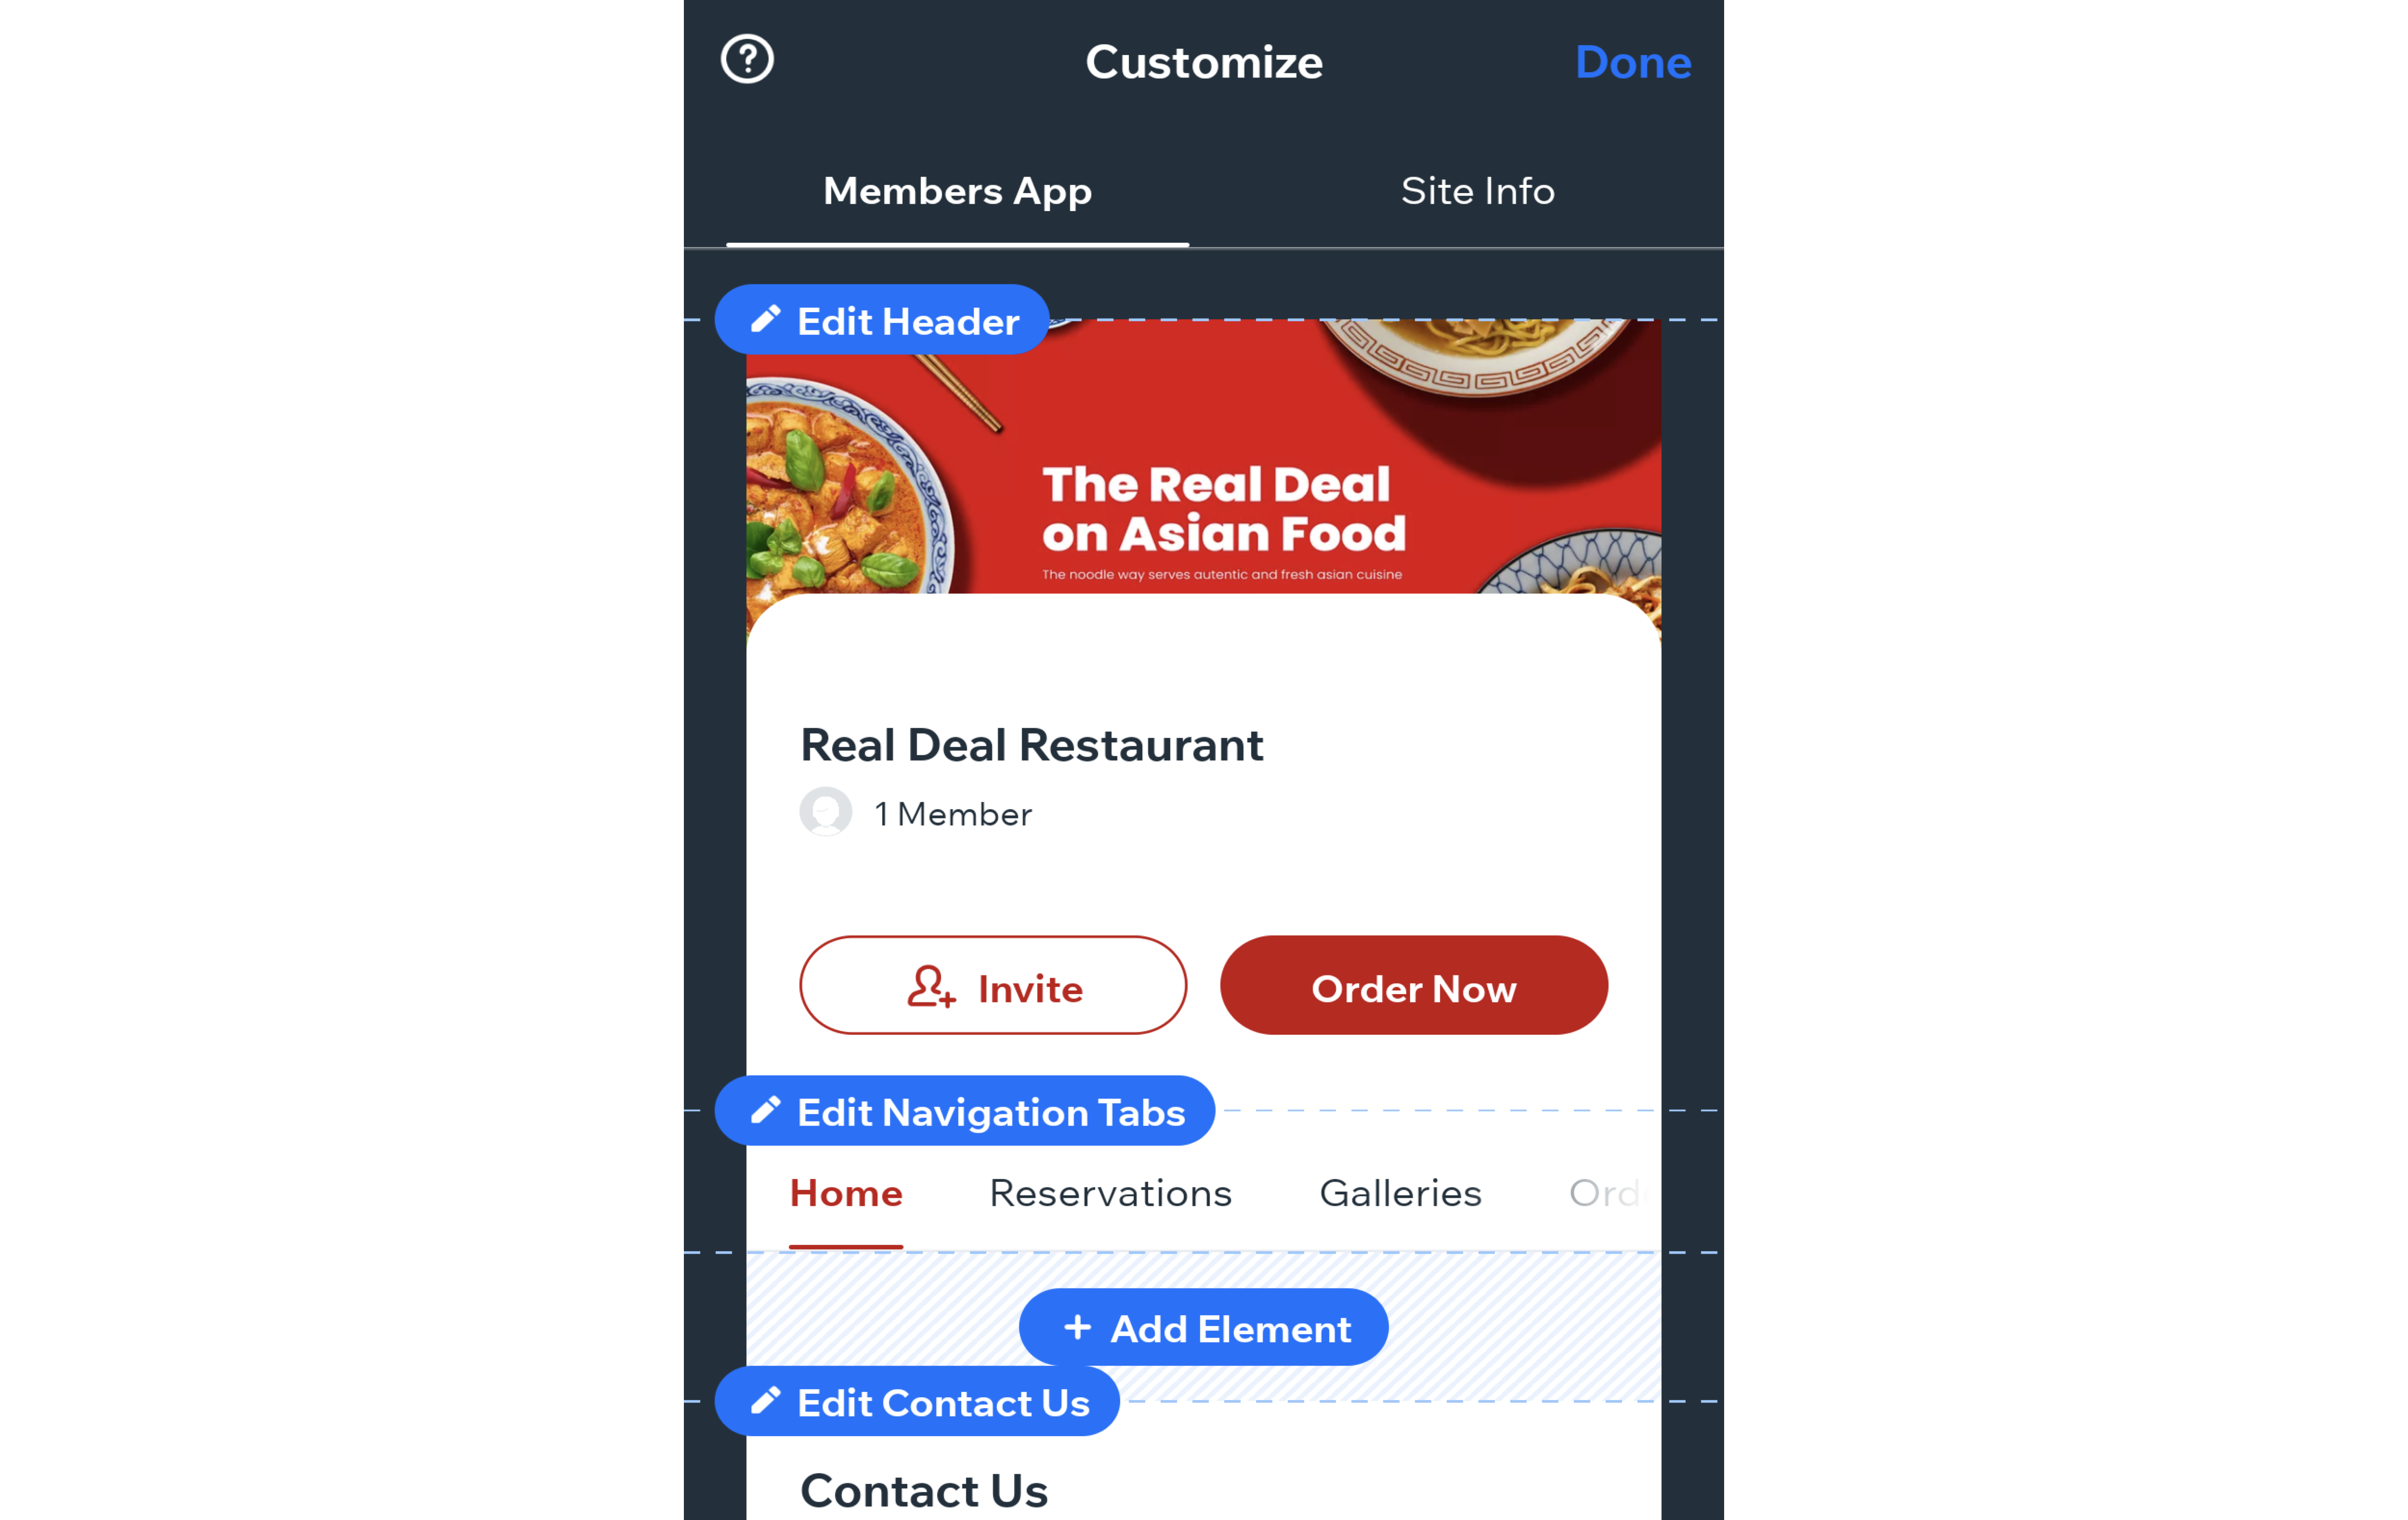
Step 3 | Customize your restaurant site using the Wix app
From the Wix app on your mobile device, you can customize how customers view and interact with your restaurant's site in Dine by Wix. Add restaurant-specific elements like online ordering and reservations, as well as a photo gallery to display all your delicious offerings. Learn more
Step 4 | Promote your restaurant
When a customer places an order from Dine by Wix, or is invited via your restaurant's invite code, they automatically become a 'member' of your restaurant. From the Wix app, you can send an announcement via push notification to all current members. Learn more
You can also send your invite code via social media or email marketing campaign to reach all potential customers and tell them about exciting offers. Learn more

