

Wix Studio: Working with the Code Panel
7 min
In this article
- Page Code
- Global Code
- CSS
- CSS Classes panel
- Properties & Events panel
- Backend code
- Databases
- Packages & Apps
- GitHub integration
- Help
The code panel is where you can write code to add custom functionality and interactions to your site. Use the code panel to add frontend code and CSS styling directly with the built-in editor, manage your collections, add code packages, add custom apps or extensions, and access advanced coding features, such as the Wix IDE or GitHub integration.
To begin coding, select the code icon  and click Start Coding.
and click Start Coding.
Page Code
The Page Code section provides you with a frontend code editor for every page on your site.
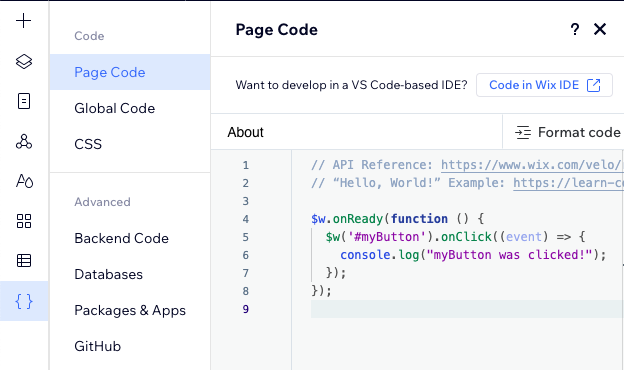
Toggle between your site pages in the top bar to edit each page's frontend code. You can see which page you are currently editing at the top left of the code editor.

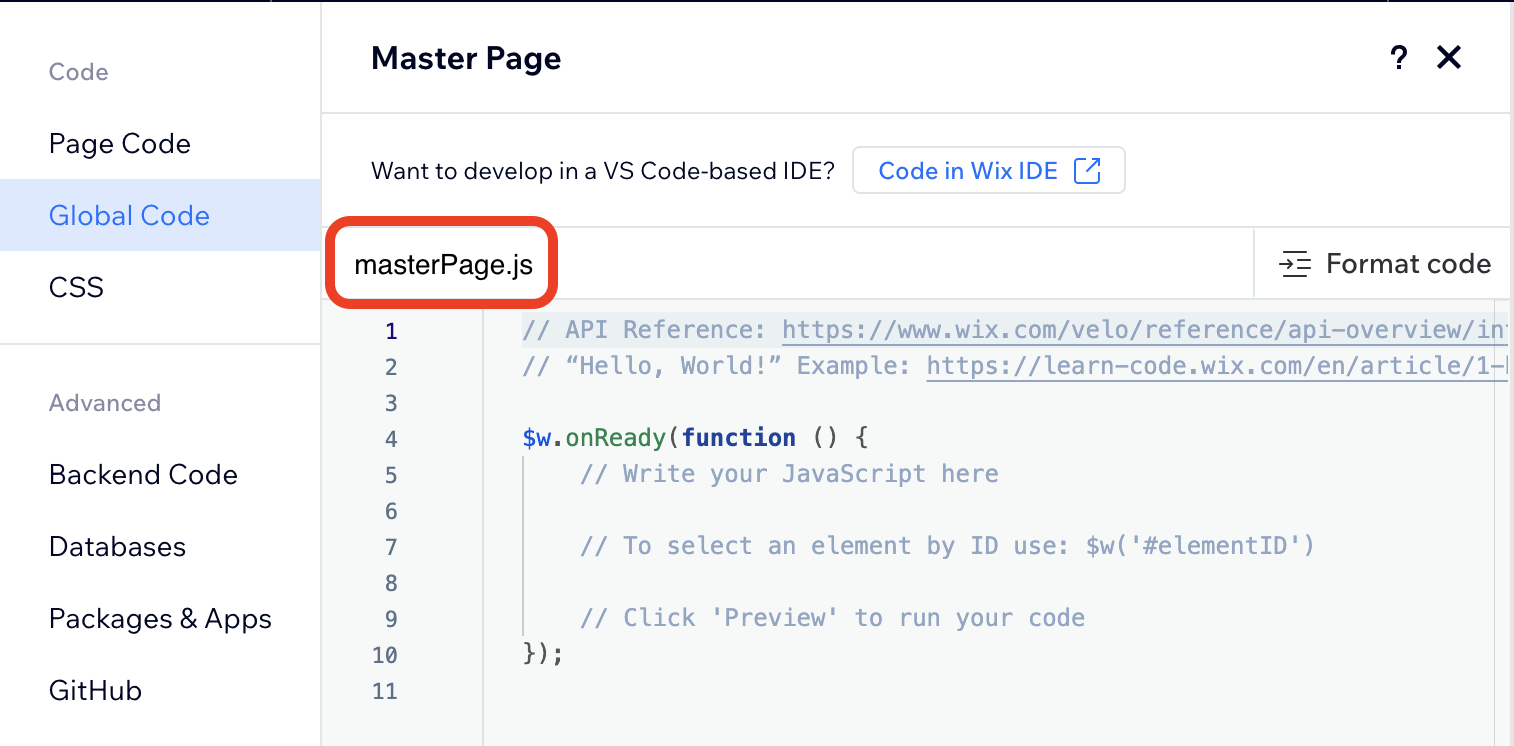
Global Code
Use the Global Code section to add frontend code that runs on every page. If you want to add processing for your header or footer, this is the place to do it. This is also the place to handle elements that you want to put on every page, like a search bar or shopping cart icon for a store. The global code runs in the masterPage.js file.
NoteDon't import functions from masterPage.js into the code files of individual pages. Doing this will cause the masterPage onReady function to run twice on that page. If there's a function that you want to use in the code for multiple pages but not every page, see the public files section in About the Wix IDE.
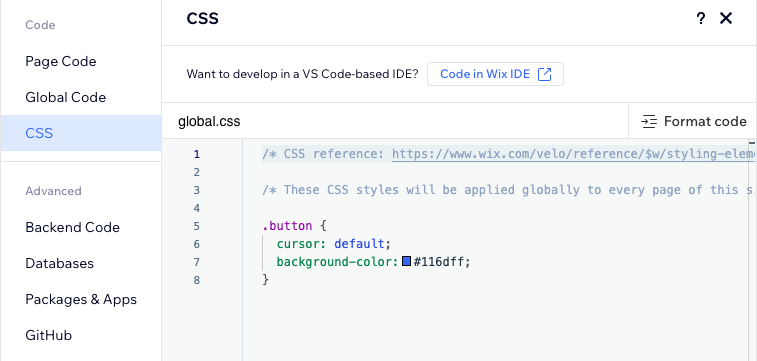
CSS
The CSS section allows you to add CSS styling that applies globally to every page of your site. Learn more about CSS editing.
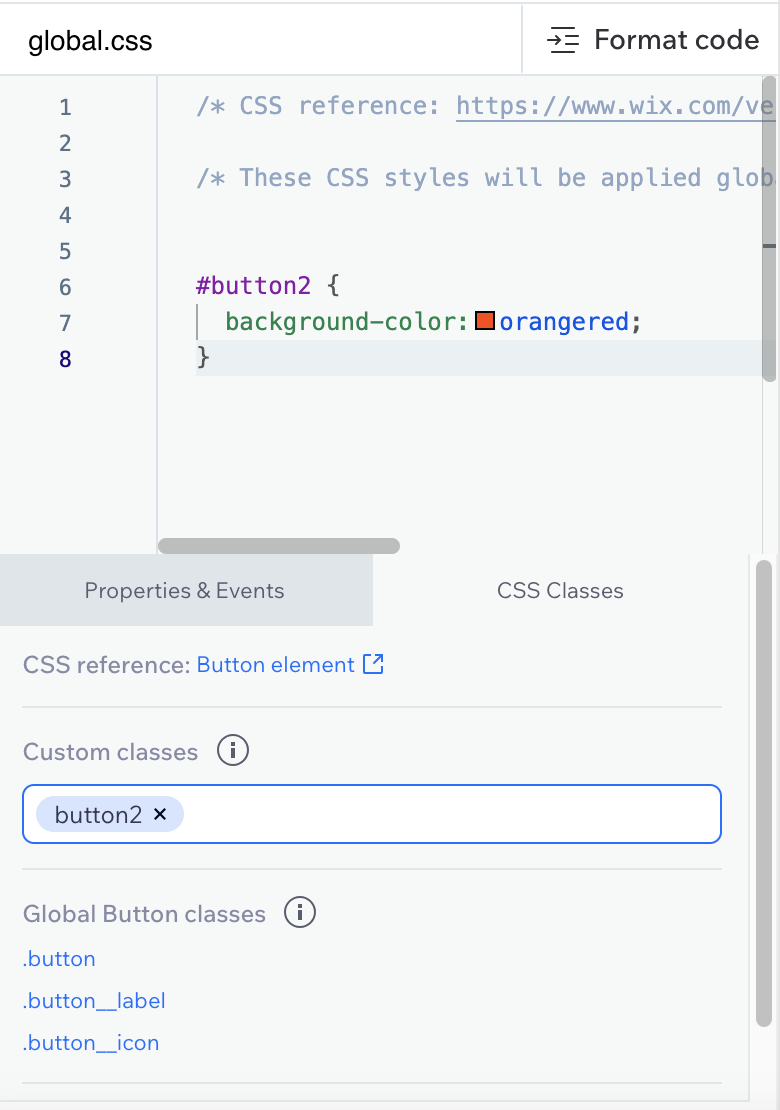
CSS Classes panel
In addition to global CSS styling, you can add CSS styles to specific elements on your site with the CSS Classes panel. Select a specific element on your site and the CSS Classes panel displays the available Global classes for that element. You can also create your own custom class with this panel. See custom CSS classes to learn more.
Properties & Events panel
Use the Properties & Events panel to work with selected elements, such as the header and footer, and datasets. With the Properties & Events panel you can change an element's ID and default values, or add an event handler that triggers when an action is taken on this element. Note that not all actions are available for every element.
Select an element on your site and click the Properties & Events tab in the code panel:
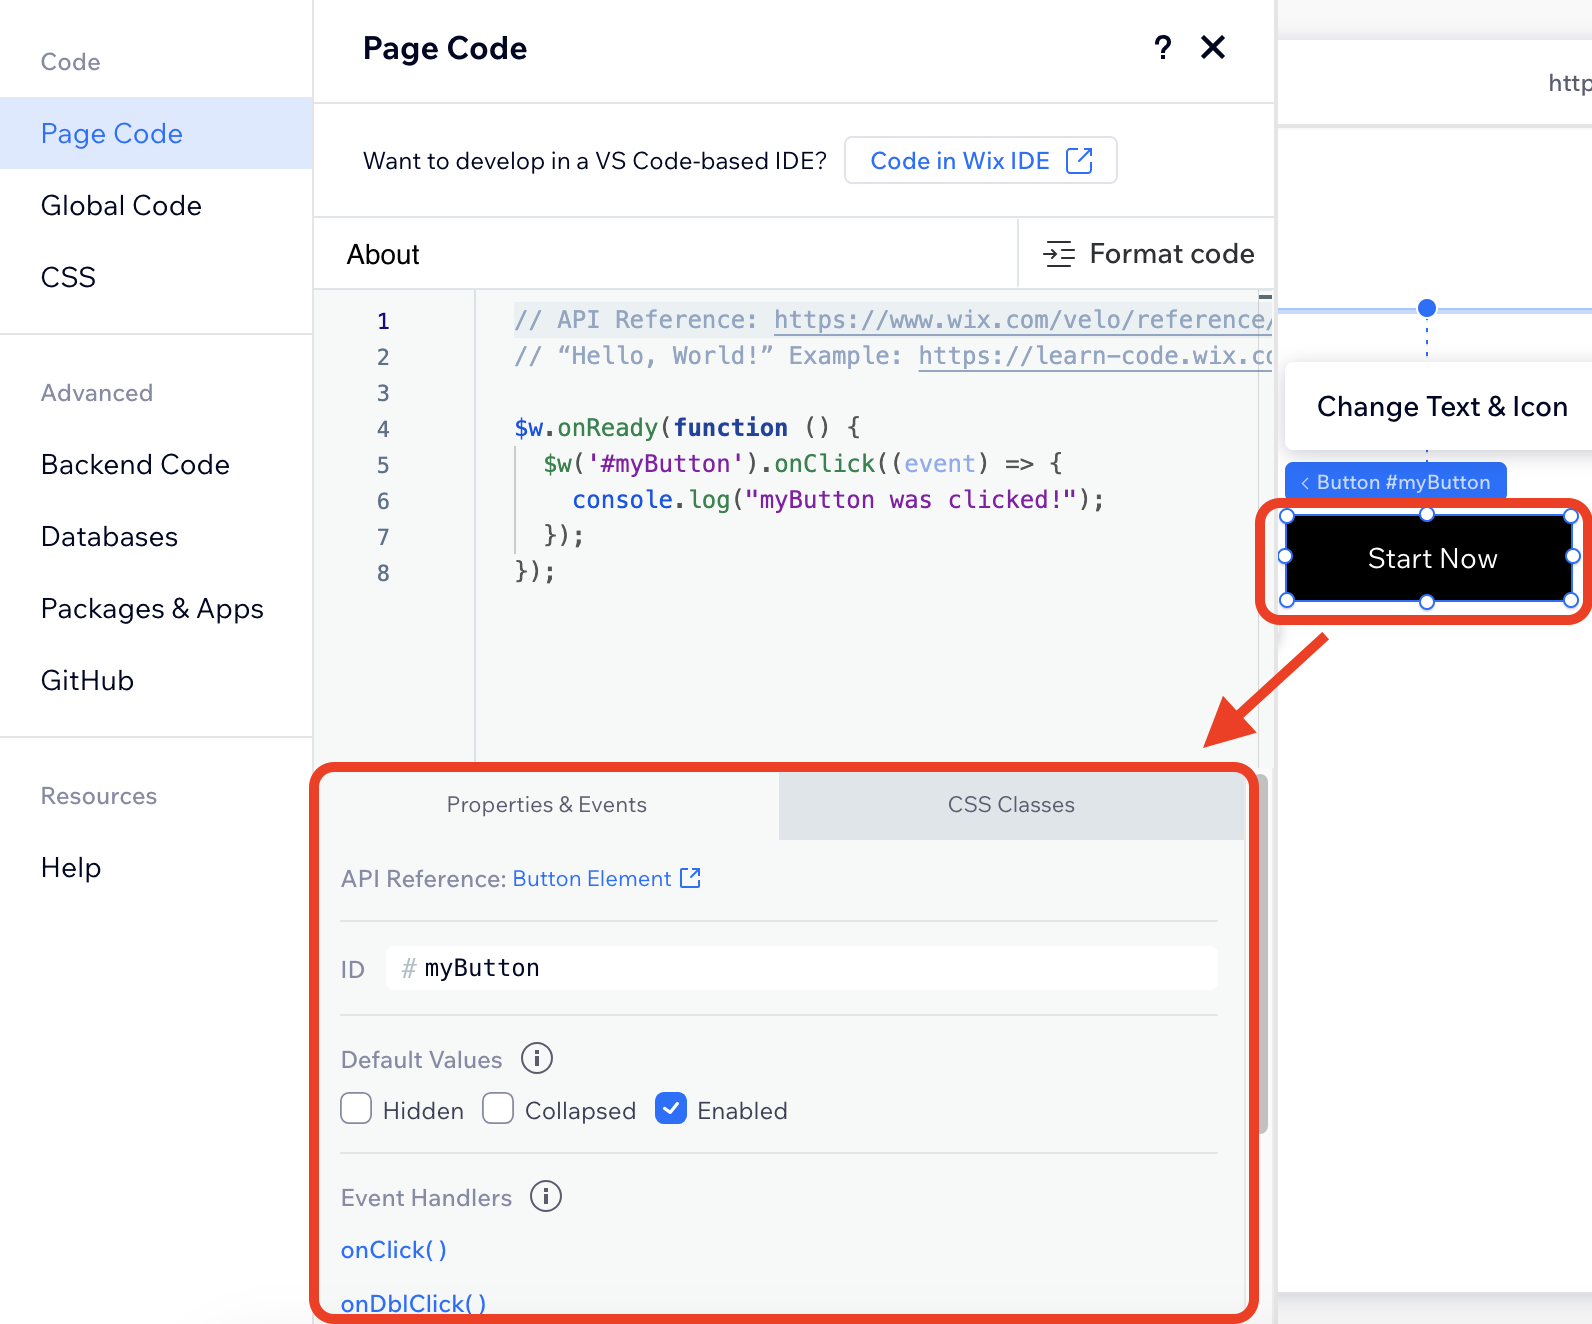
Available actions in the properties & events panel
- Change an element's ID The ID field holds the name of the element you selected. Initially a default name is assigned to your element, but you can rename the element to something meaningful.

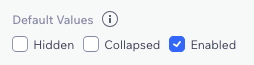
- Change an element's default values By default, an element on your page will have certain initial states. For example, a form might be hidden when your page is loaded, or a button might be disabled. You can change these default values.
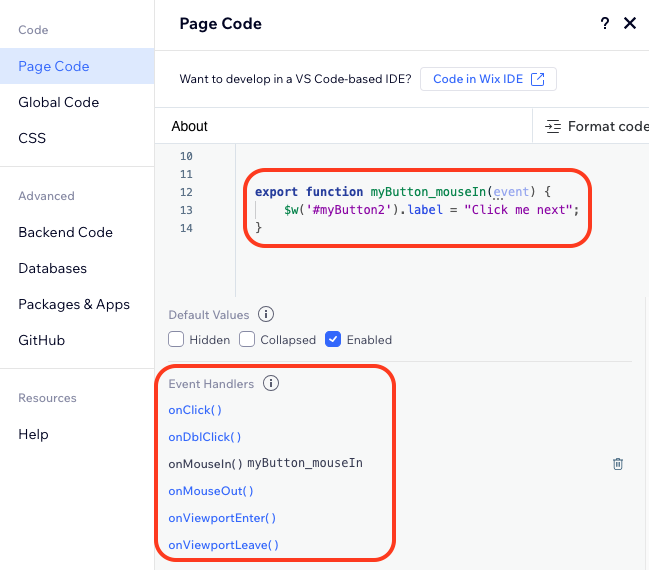
- Add an event handler Click the event that you want as a trigger and the function for the event handler is added to your page code. Then add the code to run with this event.
Backend code
Backend code includes files that are not publicly accessible from your site. Since the backend code isn't visible, you can place sensitive information in your backend code that might otherwise be a security risk.
You can't add backend code directly in the code panel. You can add backend code with one of these options:
- Wix IDE: Click Open Wix IDE to get started.
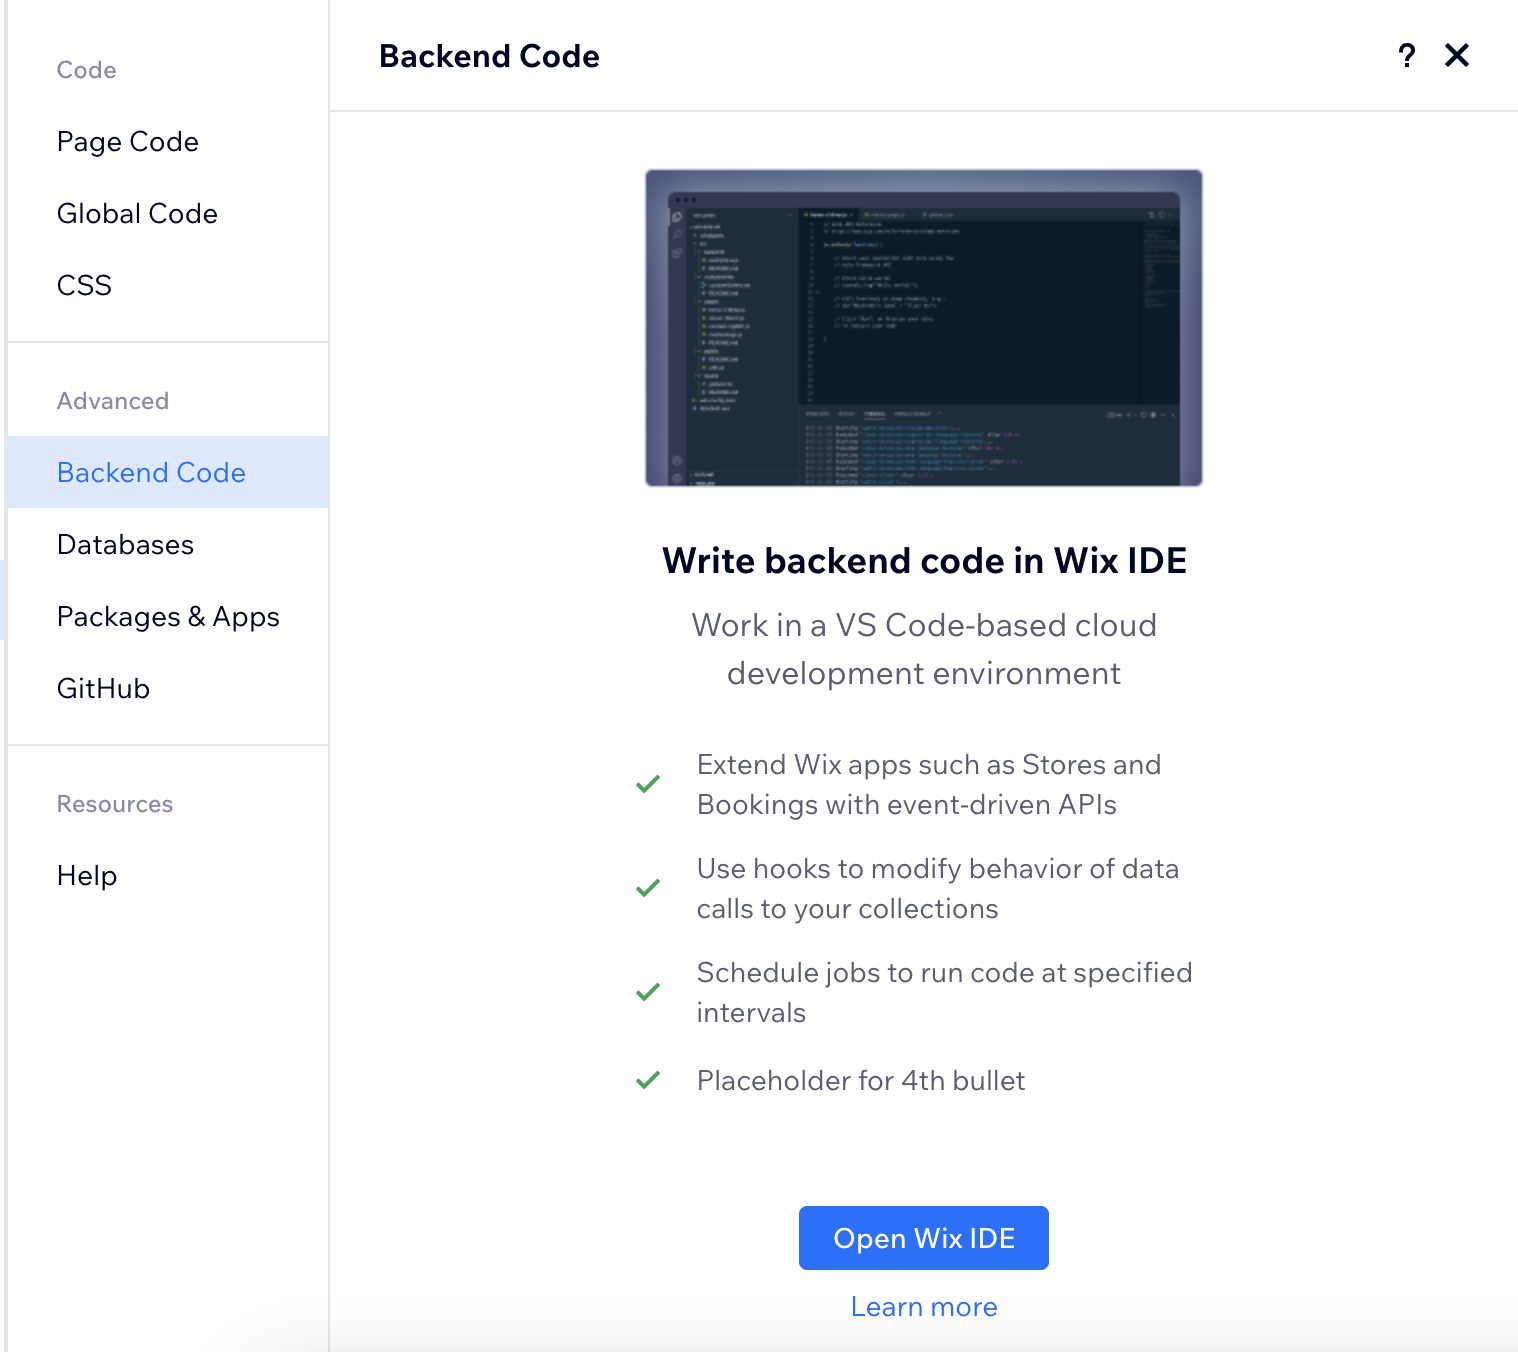
- GitHub integration: Navigate to the GitHub section to get started.
NoteCurrently you can't write code in both Wix IDE and using the GitHub integration.
Databases
The Databases section of the sidebar contains your database collections. Click a collection to open it in the Content Management System (CMS).
You can add a new collection by clicking the plus  icon that appears when you hover over My Collections, or by clicking on Create collection.
icon that appears when you hover over My Collections, or by clicking on Create collection.You can add a new dynamic page based on a collection, update a collection's permissions, remove a collection, or add and remove hooks to a collection by clicking the ellipsis  icon that appears when you hover over a collection name.
icon that appears when you hover over a collection name.You can also connect external databases in External Collections. You can manage their content here like any other collection. Read more about using external collections.
When you add certain Wix Apps to your site, database collections are automatically added to your site. These collections appear under Wix App Collections. Wix App collections contain information about the items in your Wix app. Collections for each app are grouped together and are read-only. You can edit the collections in the relevant App manager in your Dashboard.
NoteYou may need to save or publish the site and refresh your browser to view the Apps collections in the Database.
Packages & Apps
This section allows you to add complex functionality to your site with packages and apps.
Packages
You can use a code library that suits your needs and incorporate it into your own code. Each reusable library of code is known as a package. There are 2 types of pre-built packages that you can install in the Packages section of the sidebar - npm Packages and Velo Packages
- Install a package by clicking the plus
icon that appears when you hover over npm or Velo Packages, or click Install packages from npm and Install Velo Package.
- Manage an installed package by clicking the settings
icon that appears when you hover over the Packages section.
- Uninstall a package by hovering over the package you want to uninstall, click the Show More
icon, and select Uninstall.
Apps
You can create a custom app with Wix Blocks. Click the plus icon or Create New App to get started.
icon or Create New App to get started.Custom Extensions
Custom extensions, also known as SPIs, allow you to add your own custom logic to out-of-the-box apps and to integrate services from 3rd party providers. Learn more about custom app extensions using SPIs.
GitHub integration
In the GitHub section of the sidebar, you can connect your site to GitHub to write, test, and publish code locally on your computer for your Wix site. To get started, select Connect to GitHub. Learn more about GitHub integration.
Help
The Help section offers links to additional resources:
- Check out the API Reference and the Help Center to explore how to use APIs with your site and to learn basic concepts.
- Find examples of the functionality you need with video tutorials and code examples.
- Connect with Wix developers in Discord or the Velo Forum
