

Wix Blocks Tutorial - the Cookie Acceptance Widget (Beta)
6 min
Note
This product was a limited beta (2018) and will soon be outdated. See our updated help articles to learn more about the redesigned upcoming Wix Blocks workspace.
In this tutorial you will develop a simple widget that informs the site visitor that the site uses cookies, and asks them to accept. The widget then records in local storage that the visitor accepted cookies, and does not display the widget the next time they open the site.
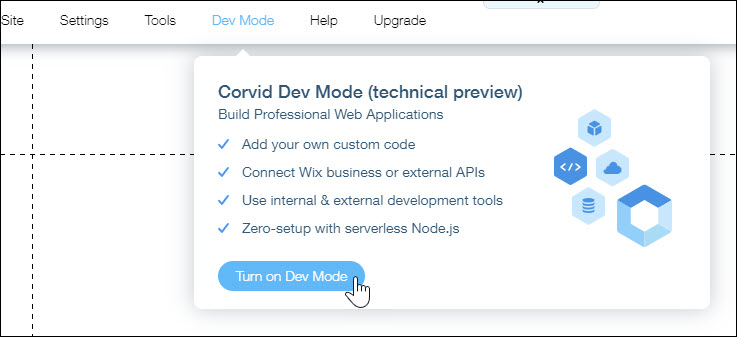
Step 1 | Enable Velo Dev Mode
In the Wix Editor, enable Velo by Wix. From the menu, select Dev Mode> Turn on Dev Mode.
Step 2 | Open Wix Blocks
In the left pane, hover over My Apps, open the ... menu, and select Create New. This opens a Blocks page for developing a single app. It contains a standard widget, which is what you need for this tutorial.

Step 3 | Rename Your Widget
- In the New Application sidebar, hover over the widget name, and from the widget more menu, select Rename.
- Name the widget acceptCookies.

Step 4 | Save Your App
Click Save and give your app a meaningful name, such as acceptCookies.
Add Design Elements
- Add one text element with a text such as "This site uses cookies to personalize your browsing experience".
Important
Obtain legal advice regarding the text required in your locale.
- Add one text element with a text such as "This site uses cookies to personalize your browsing experience".
- Add two buttons, one labeled Decline, and one labeled Accept.
- Organize the elements on the page as you see fit, adjusting font size, button design etc. These can also be modified by the site owner
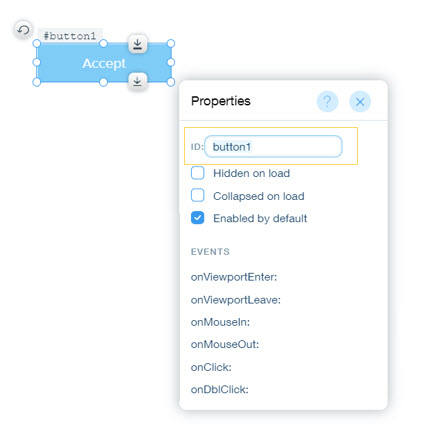
- To make your code more readable, change the respective element IDs to declineButton and acceptButton. To do this, select each button, and in the Properties panel, highlight the ID and provide the new name..
Step 6 | Add Events and Code
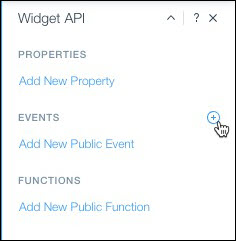
- Add two events to the Widget API. For each event, click the
 and provide the event name and description:
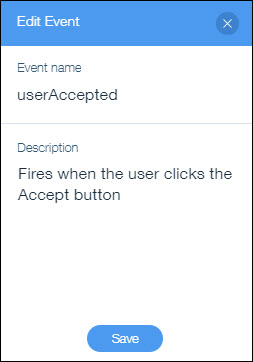
- One called userAccepted, with the description Fires when the user clicks the Accept button.
- One called userDeclined, with the description Fires when the user clicks the Decline button.
Why Provide Events?
The site owner can write code to determine what happens when the event is fired. For example, they might redirect a user who declines cookies to a different website.
2. For each button, add an onClick event. Select the button, and in its properties panel, click the  sign, next to onClick, then press Enter.
sign, next to onClick, then press Enter. 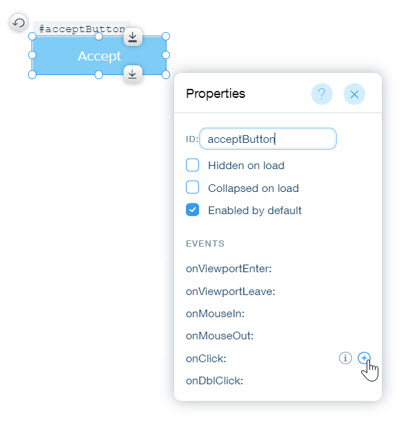
This automatically adds this code to the code panel at the bottom of the page:
1export function acceptButton_click(event) {
2 //Add your code for this event here:
3}
4
5export function declineButton_click(event) {
6 //Add your code for this event here:
7}
3. Open the code panel at the bottom of Blocks, and replace the acceptButton click event code with the code shown below. This code hides the widget, fires the userAccepted event, and records that the user has accepted cookies.
1export function acceptButton_click(event) {
2 // Hide the widget
3    $w('#mediaBox1').hide()
4 $widget.fireEvent('userAccepted')
5 // Record acceptance so that they won't see the widget next visit.
6  local.setItem("acceptedCookies", "yes");
7}
Then, replace the declineButton click event with code that hides the widget and fires the userDeclined event:
1export function declineButton_click(event) {
2 $w('#mediaBox1').hide()
3 $widget.fireEvent('userDeclined')
4}
4. Add the local storage functionality to the widget by importing the wix-storage API. Add this code at the very top of the code panel, above $w.onReady( ):
1// import API for local storage
2import { local } from 'wix-storage';
5. Add the code that checks whether the visitor has already accepted cookies, and displays the widget only if they haven't. Add this code to $w.onReady():
1 // Check the local storage to see if the user already accepted the cookie
2 if (!local.getItem("acceptedCookies", "no")) {
3  // show widget
4  $w('#mediaBox1').show()
Your code should now look like this:
1// import API for local storage
2import { local } from 'wix-storage';
3
4$w.onReady(function () {
5 // Check the local storage to see if the user already accepted the cookie
6 if (!local.getItem("acceptedCookies", "no")) {
7  // show widget
8  $w('#mediaBox1').show()
9
10 }
11});
12
13$widget.onPropsChanged((oldProps, newProps) => {
14 // If your widget has properties, onPropsChanged is where you should handle changes to their values.
15 // Property values can change at runtime by code written on the site, or when you preview your widget here in Blocks.
16
17});
18
19export function acceptButton_click(event) {
20 // Hide the widget
21    $w('#mediaBox1').hide()
22 $widget.fireEvent('userAccepted')
23    // Record acceptance so that they won't see the widget next visit.
24    local.setItem("acceptedCookies", "yes");
25
26}
27
28export function declineButton_click(event) {
29 // Hide the widget
30    $w('#mediaBox1').hide()
31    $widget.fireEvent('userDeclined')
32}
Step 7 | Build Your Widget
Build your app by clicking Build in the upper right corner of Blocks.

Step 8 | Try your widget on a Wix website
- From your Wix dashboard, open one of your websites.
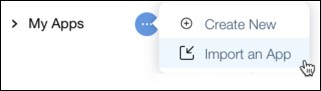
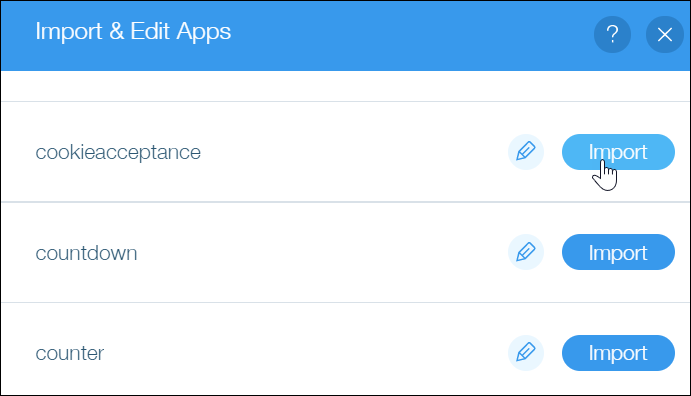
- Expand My Apps, select Import an App, and import your app.
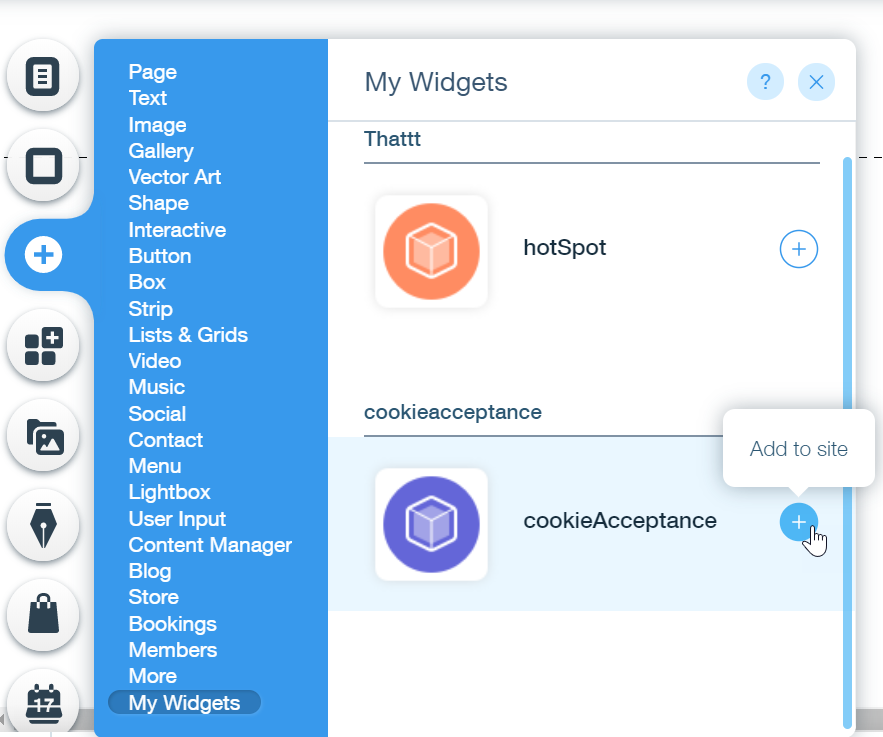
- From the Add panel, add the widget to your site.
- Preview the site, then publish it and ask a few users to test the cookie acceptance widget.
Learn more about Wix Blocks from these articles:
