ADI: Adding and Setting Up Wix Groups
4 min read
In this article
- Step 1 | Add the Wix Groups app to your site
- Step 2 | Create Your First Group
- Step 3 | Set Up Your Groups List Page
- Step 4 | Set Up Your Group Page
With Wix Groups you can create an engaging and active community for your site members. Create a group around a common interest, a shared experience or as a way of categorizing the members of the classes or services you offer.
Step 1 | Add the Wix Groups app to your site
When you add Wix Groups to your ADI site it installs two separate pages: the main Groups List page as well as an individual Groups Page for each group you create.
Show me how
Step 2 | Create Your First Group
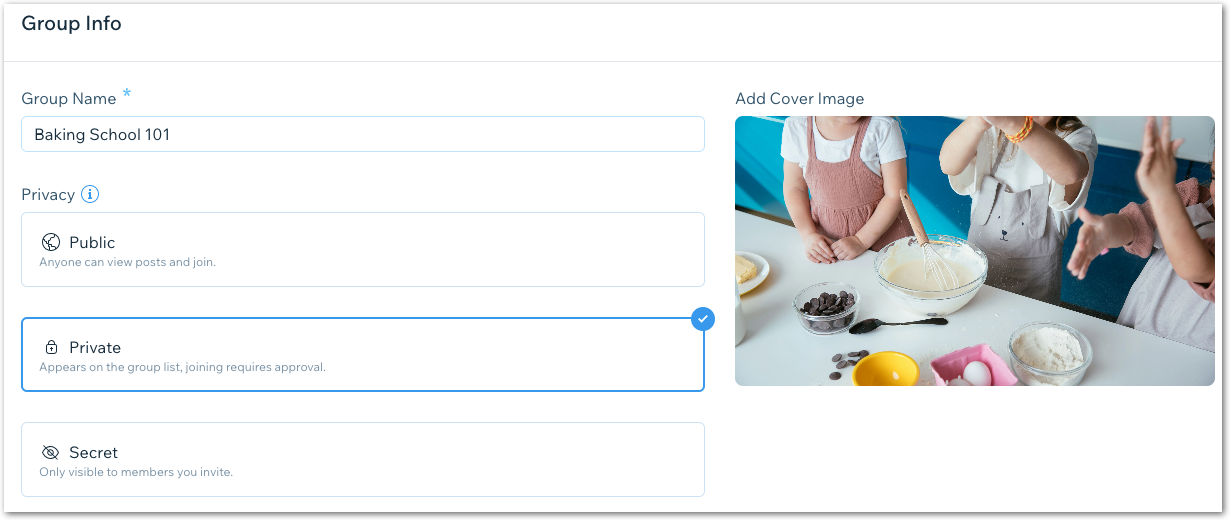
Head over to Groups in your site's dashboard to create your first group. We recommend creating a group before moving on to the Groups page settings so you can better visualize how the settings work.
Show me how

Step 3 | Set Up Your Groups List Page
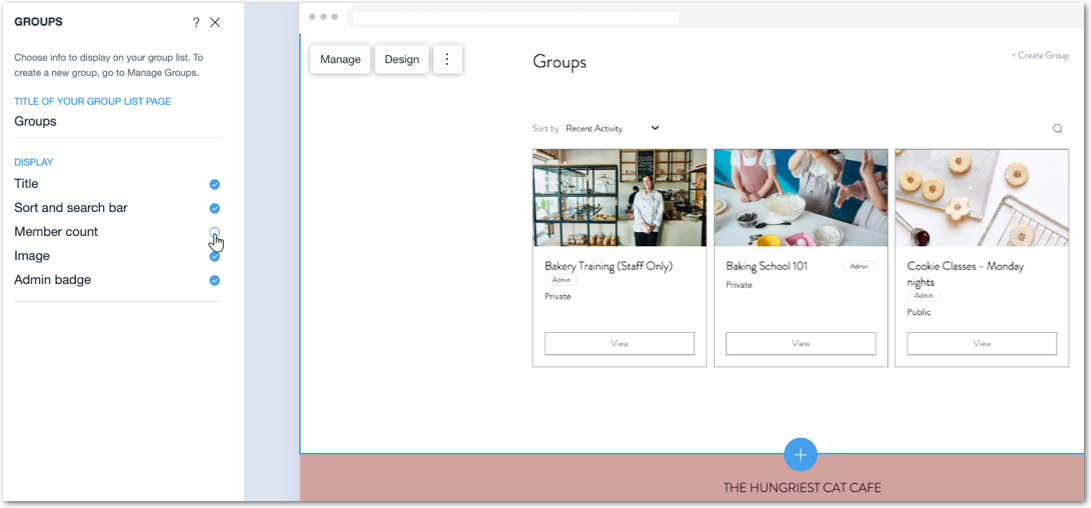
The main Groups page is where site visitors and current group members see a list of all your groups. Choose a layout for the Groups List and manage the settings from the ADI builder.
Show me how

Step 4 | Set Up Your Group Page
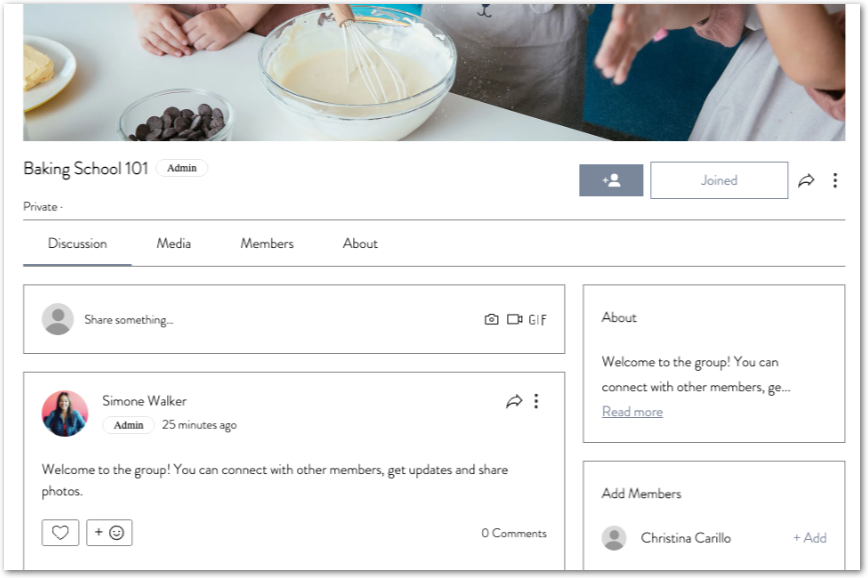
Every group you create gets a page where site visitors can learn more about the group and existing group members can interact with one another. Customize the page and choose what information to display.
Note:
The settings you choose for your Group page affect every group.
Show me how

Tip:
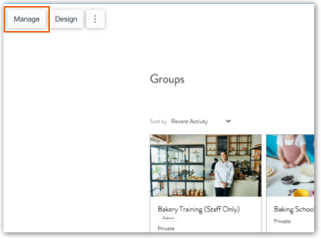
You can edit your group's information, create new groups, and manage settings by clicking Manage in the ADI Builder.


 icon.
icon.
 icon.
icon.
