

CMS: Adding and Setting Up an Upload Button
11 min
In this article
- Step 1 | Add the upload button element
- Step 2 | Connect to the CMS through a dataset
- Step 3 | Set the dataset mode and collection permissions
- Step 4 | Customize the upload button
- Step 5 | Create a submit button
- Frequently Asked Questions (FAQs)
Create an upload button to allow site visitors to submit files directly to your CMS (Content Management System) collections.
When you connect the upload button to your collection, you choose the type of collection field that will store the uploaded files. You can choose from 'Image', 'Document', 'Video', 'Audio', 'Media gallery', or 'Multi-document' field types.
The field type you connect also determines the type of file your upload button can accept. The uploaded files are stored as new items in your collection and in the 'Visitor Uploads' section of your media manager.
Before you begin:
Make sure to add the CMS to your editor if you haven't already.
Step 1 | Add the upload button element
Go to the relevant page in your editor and add the upload button.
Wix Editor
Studio Editor
- Go to your editor.
- Go to the page in which you want to add an upload button.
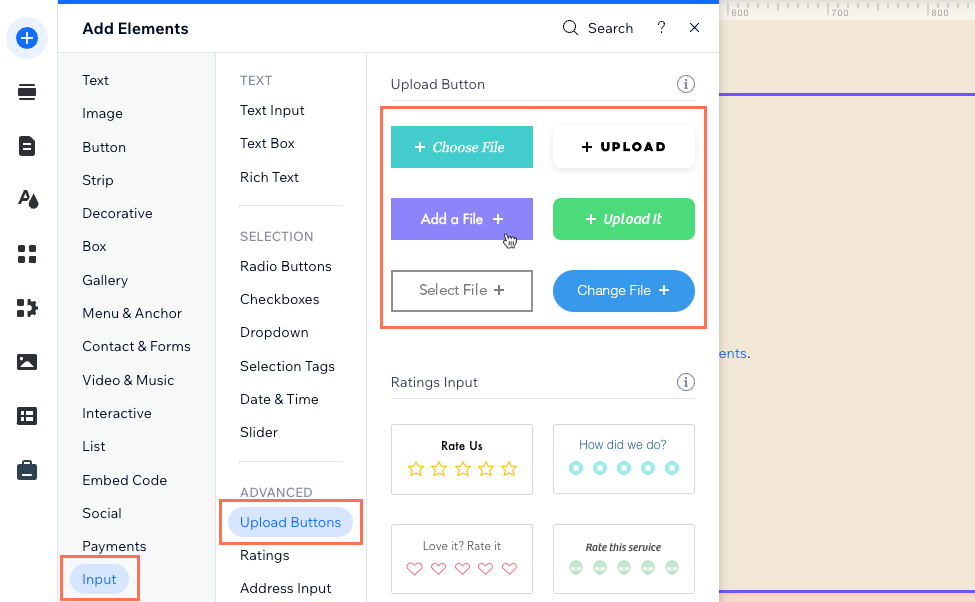
- Click Add Elements
 on the left side of the editor.
 - Click Input.
- Click Upload Buttons under Advanced.
- Click and drag the upload button you want to use onto the page.
Step 2 | Connect to the CMS through a dataset
Connect your upload button to a dataset that connects to the CMS collection field where you will store the submissions.
Wix Editor
Studio Editor
- In your editor, click the upload button you just added.
- Click the Connect to CMS icon
 .
. - Click the Choose a dataset drop-down and select an existing dataset that connects to the collection you will store submissions in. Alternatively, select Add a Dataset, then choose the collection you want to store submissions in.
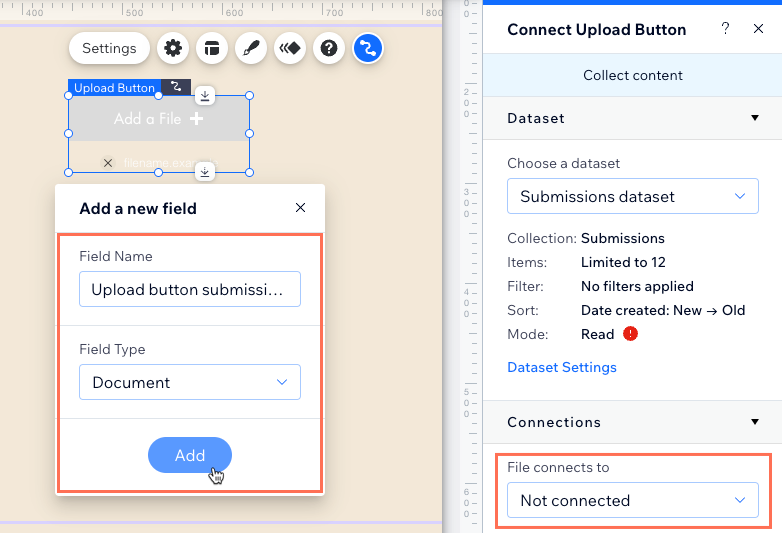
- Add a field to your collection where you will store the upload button submissions:
Tip: Alternatively, you can connect to an existing collection field.- Click the File connects to drop-down and select + Add.
- Enter a Field Name for the new collection field.
- Select the Field Type you want to add to your collection from the drop-down. The field type determines the kind of files you can store in the field.
- Click Add.
Step 3 | Set the dataset mode and collection permissions
Datasets control the connection between your upload button and your CMS collection. Make sure to set the dataset mode to Write or Read & Write so the upload button can add the files to your collection. If needed, adjust the collection permissions to control who can access the collection content.
Wix Editor
Studio Editor
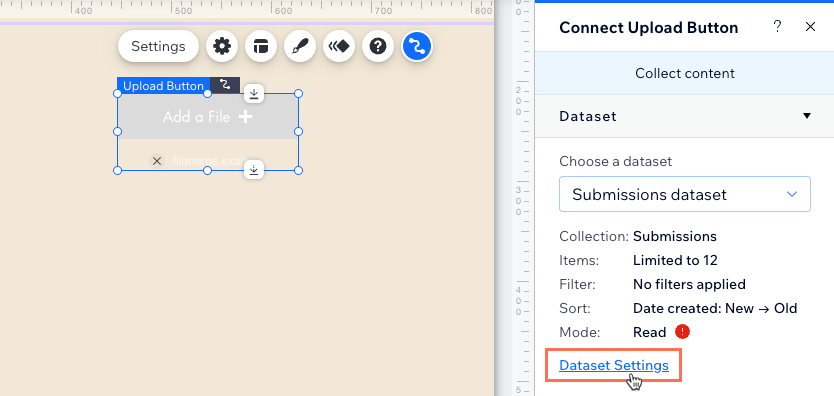
- In the panel on the right, click Dataset Settings.
- (If necessary) Click the permission type next to Permissions to determine who can view, add, update, or delete collection content.
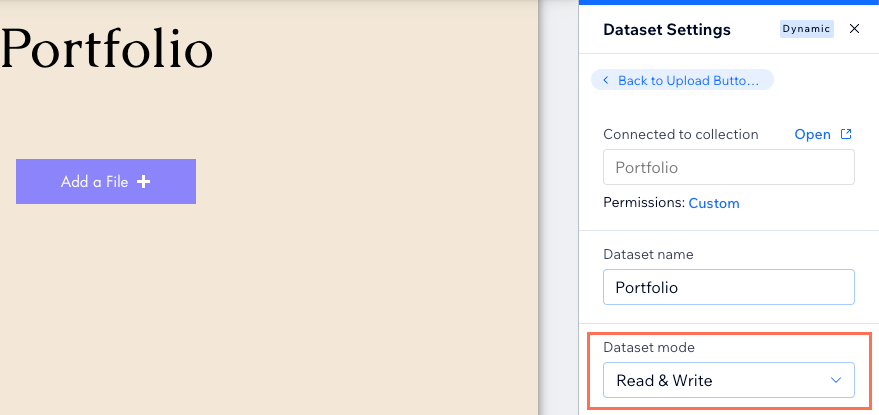
- Click the Dataset mode drop-down and select the relevant option:
- Write: Connected input elements can add new items to the collection, but cannot edit existing items.
- Read & Write: Connected elements can update existing items in the collection. If you connect a 'New' button, visitors can use it to update existing items and add new items to your collection.
Step 4 | Customize the upload button
Go to the upload button settings to set the type of file(s) the button accepts and the number of files that can be uploaded at a time. In the layout and design settings you can customize the button's appearance to match your site.
Wix Editor
Studio Editor
- In your editor, click the upload button.
- Click Settings and edit the following:
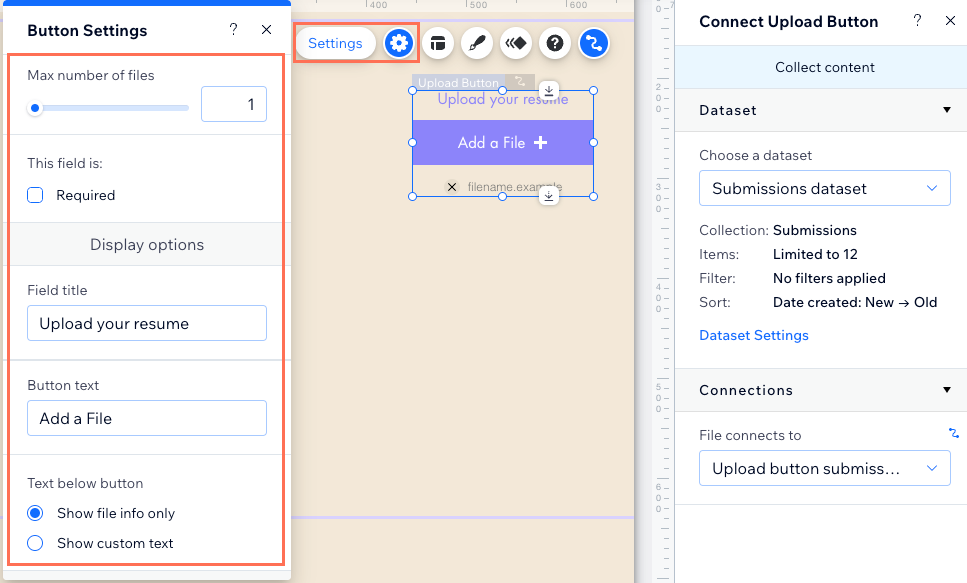
- Upload settings: Choose the file types accepted, the max number of files, and whether to set as required:
- Supported file type: Click the drop-down and choose the type of files the button accepts: Image & Video, Image, Video, Document, or Audio.
- Max number of files: Drag the slider to set the limit on how many files can be uploaded per submission. If you want to accept more than one file at a time, make sure you've connected the button to a 'Multi-document' or 'Media Gallery' field type in your collection (see Step 2). These are the only field types that can store multiple files per collection item.
Note: Currently, it is only possible to upload one audio file at a time. You can vote for the ability to upload more audio files at a time if you would like to see this in the future. - Required: Select the checkbox to make it mandatory that visitors upload a file before they can submit your custom form.
- Display options: Customize the following options:
- Field title: (Recommended) Enter a title that displays above the button text.
- Button text: Edit the text that appears on the button itself.
- Text below button: Choose what you want to display below the button:
- Show file info only: Display the name of the file your visitor uploads.
- Show custom text: Enter custom text that you want to display below the button such as file requirements. This text changes to the name of the file once it has been uploaded.
- Upload settings: Choose the file types accepted, the max number of files, and whether to set as required:
- Click the Layout icon
 to adjust the spacing, direction, alignment and icon position. Click Advanced to set the alignment and direction of specific text.
 - Click the Design icon
 and choose a preset button. Click Customize Design to further customize the button's design.
Step 5 | Create a submit button
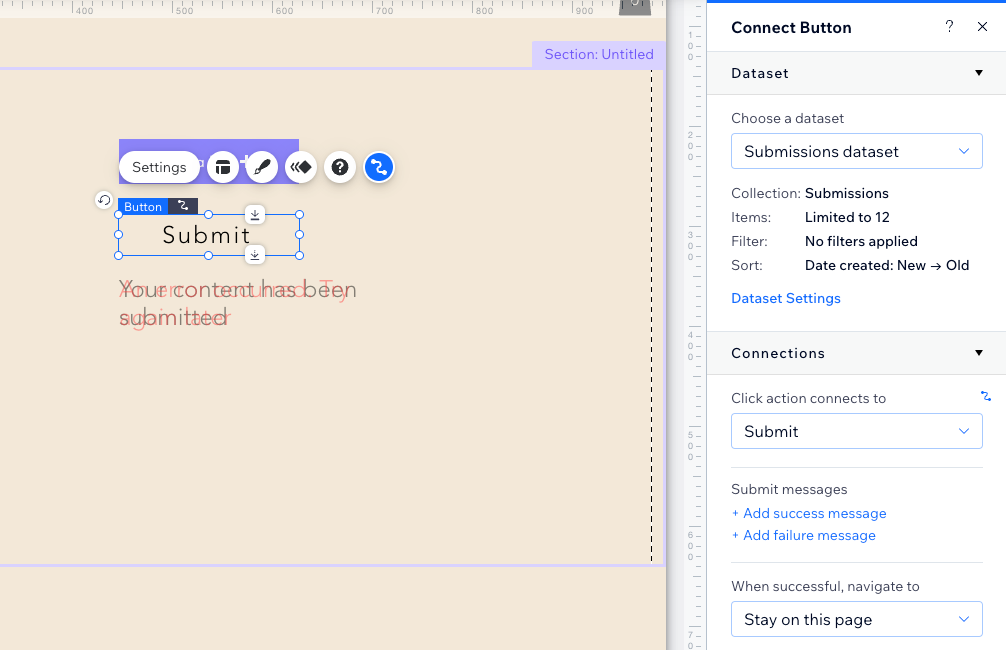
You need to create a way for visitors to submit the files they upload with the button. Add a regular button or image and connect it to the same dataset that connects to your submissions collection. Then set the click action for the button or image to Submit. This allows the uploaded files to 'write', or create a new item in the submissions collection upon clicking the submit button.
If you connect other input elements to the same dataset, the submit button also sends their inputs to the collection.
Learn how to create a submit button for your upload button.
Frequently Asked Questions (FAQs)
Click below for answers to common questions about the upload button.
How do I connect to a 'Multi-document' field type?
Can visitors submit multiple images or videos with the upload button?
Do I need a 'Submit' button to allow visitors to submit their uploaded files?
