

Site Members: Adding and Customizing Your Members List
7 min
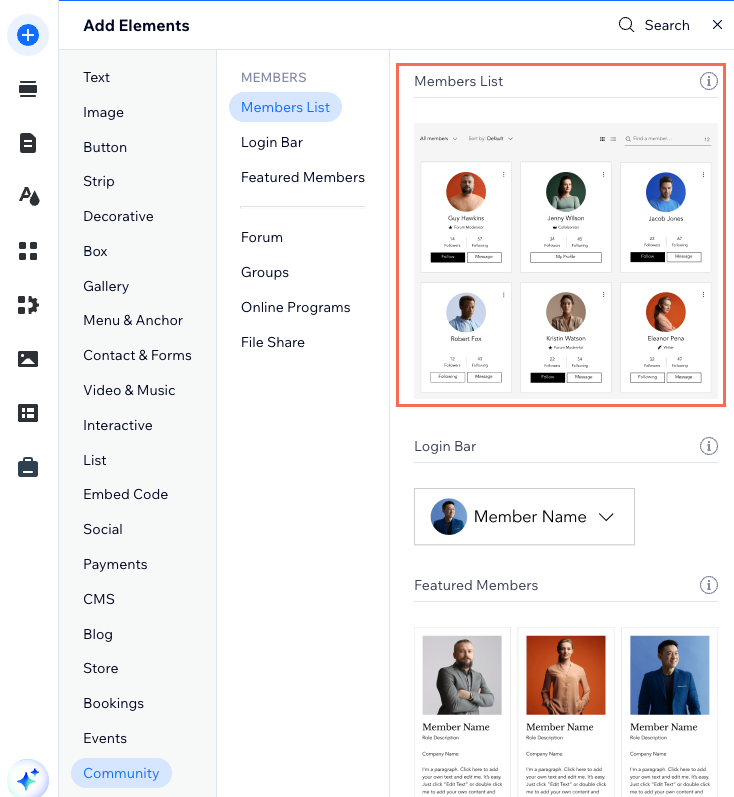
Add the members list element to your site to display your members in any page. Customize the layout, design, and member badges, and choose whether the list is visible to all visitors or only to logged-in members.

Wix Editor
Studio Editor
Wix Harmony Editor
- Go to your editor.
- Click Add Elements
 on the left side of the editor.
 - Click Community.
- Click Members List.
- Click and drag the members list element onto the page.
- Select the members list element.
- Click Settings.
- Choose what you want to customize:
Layout
Display
Design
Settings
Badges
What's next?
- Add a profile page to your members area. After setting it up, clicking a member in the members list on your live site takes you to their profile, where you can view more information about them. You can then customize the member profile fields as needed.
- You can also customize your login bar.
