Wix Stores: Setting Up Local Delivery
8 min
In this article
- Step 1 | Name the delivery area & set a rate
- Step 2 | Define your delivery area
- Step 3 | Define delivery days & time frames
- Step 4 | Setting up your Order tab
- FAQs
Important:
This article refers to the previous version of the Wix Stores shipping page.
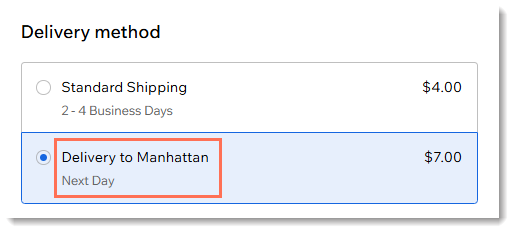
Cater to your local customers by setting up a hand-delivery option. You can set up delivery within a specific time frame (e.g. 1-2 business days).
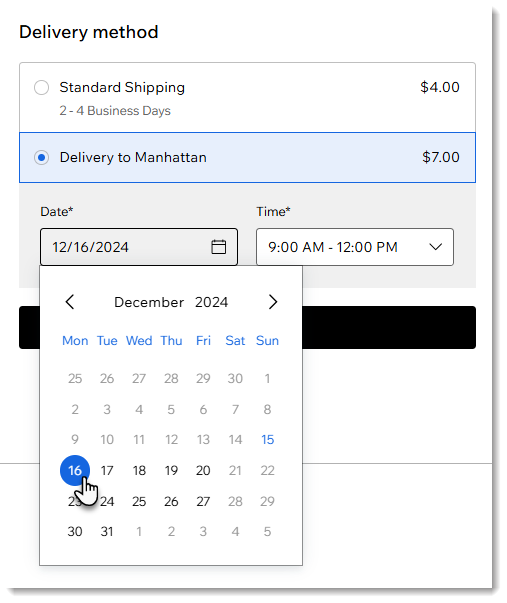
Alternatively, you can let customers select the day and time they prefer to receive the order.
Before you begin:
If you haven't done so already, create the relevant shipping region. For example, to set up local delivery in New York city, first create a shipping region for the US. Learn how to create a shipping region.
Step 1 | Name the delivery area & set a rate
To get started, give your delivery area a name and decide on a price. The name and price appear in the Cart (if the display of delivery rates is enabled) and on the Checkout Page.

To set a delivery area name and price:
- Go to Shipping & fulfillment in your site's dashboard.
- Select the relevant region (e.g. United States).
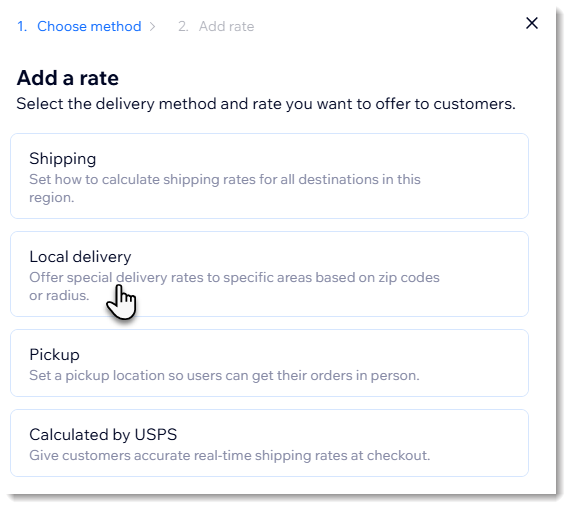
- Click Add Rate.
- Click Local Delivery.
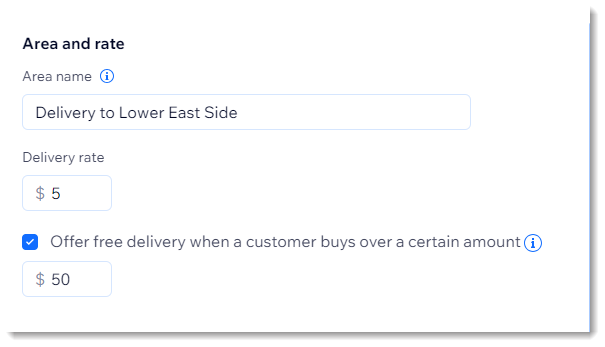
- Enter an area name (e.g. Delivery to Lower East Side).
- Enter your delivery rate (e.g. $5).
- (Optional) Offer free delivery to customers who make purchases over a set amount:
- Select the Offer free delivery when a customer buys over a certain amount checkbox.
- Enter the amount.
Note:
You can add up to 50 local delivery areas per region. For example, if you set up the US as a shipping region, you can add up to 50 local delivery areas in the US.
Step 2 | Define your delivery area
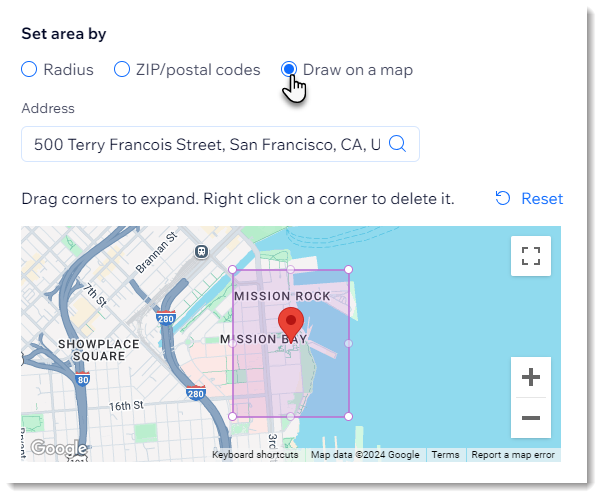
There are 3 methods you can use to define your delivery area. You can set a radius around an address, draw a map, or select postal codes (zip codes) to mark the area.
Define an area by radius
Define an area by postal code
Draw a map to define an area
Step 3 | Define delivery days & time frames
Now that you have set up where you deliver to and how much you charge, you can decide on the timing.
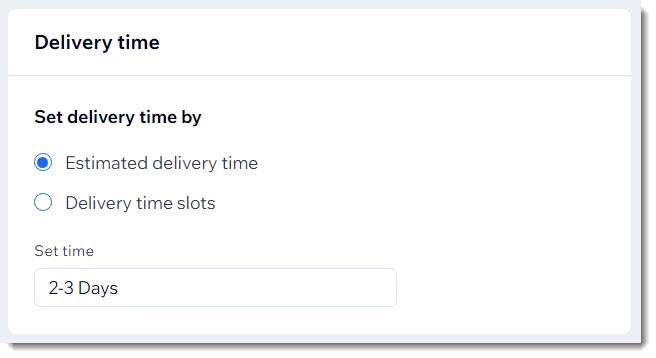
There are 2 ways to set up delivery days and time frames. The first option is to let your customer select the delivery time slot they prefer from a calendar.
Alternatively, you can set one delivery option and add a short message (e.g. Same Day) so users know when to expect their order.

Set up a single delivery option
Set up scheduled delivery (Customer chooses the delivery date)
Tip:
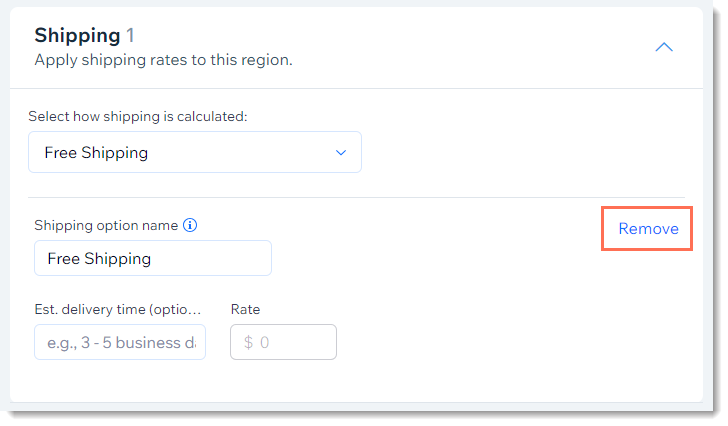
When you create a shipping region, a default Free Shipping rule is created. You can edit this rule, replace it with another shipping rule, or remove the shipping rule completely.

Step 4 | Setting up your Order tab
To get a clear picture of which orders you need to fulfill on specific days and at specific times, add the "Delivery Method" and "Delivery Time" columns to the Orders tab.

FAQs
Click a question below to learn more about local delivery.
Can I create a store pickup option in addition to local delivery?
Is it possible to specify a cut-off time before which a customer needs to place their order for a single delivery option?
Is it possible to specify a cut-off time before which a customer needs to place their order with scheduled delivery?
Want to learn more?
- Learn how to fulfill scheduled orders.
- Check out the full Wix Learn course on getting started with Wix eCommerce. Skip to the fourth video to learn more about setting up shipping.




 next to any time slot to add an additional slot to the same day (up to 8 time slots per day).
