

Wix Invoices: Creating a Revenue or Tax Report
1 min
Use revenue and tax reports to keep track of how much your business has billed. Choose a time period and run reports listing all amounts invoiced or all taxes invoiced during this period. At the bottom of your report you'll see a total figure.
Important:
We recommend consulting with an accountant regarding taxes collected from your customers and additional tax obligations.
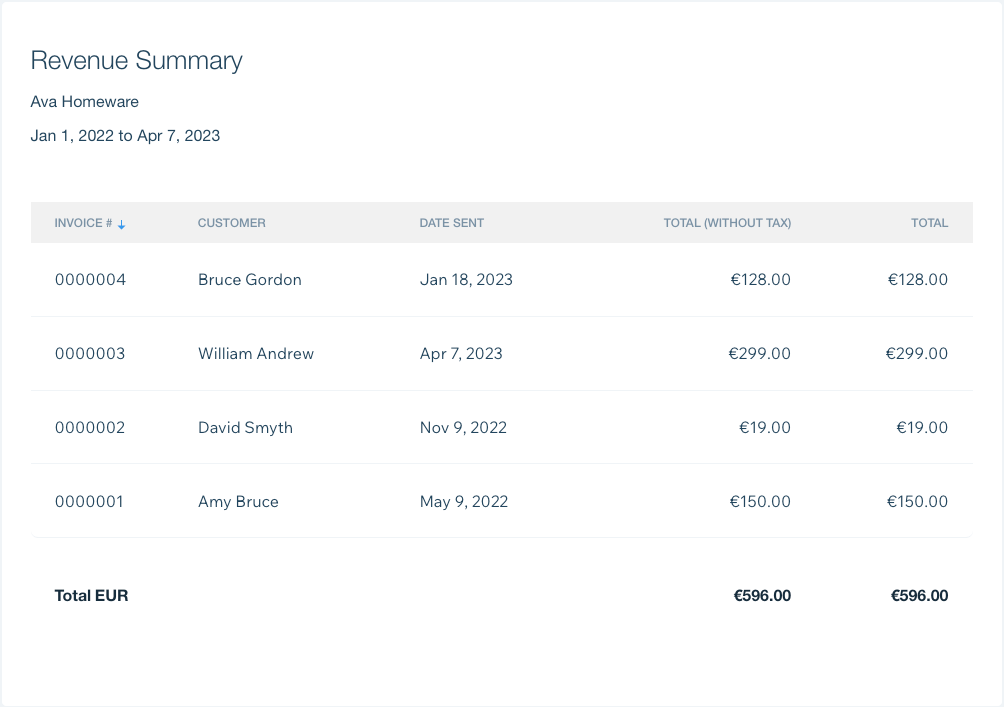
To create a revenue or tax report:
- Go to Invoices in your site's dashboard.
- Click the More Actions drop-down at the top right and select View reports.
- Click Create Report under the type of report you'd like to run:
- Tax Summary: View all taxes billed during a certain period.
- Revenue Summary: View all amounts billed during a certain period.
- Set the report's date range by selecting start and end dates in the Date Range section.
- Click the Revenue drop-down and select a report type:
- Cash Basis: Displays data on invoices paid during the date range.
- Accrual Basis: Displays data on all invoices sent during the date range, including both paid and unpaid.
- Export or print the report:
- Export: Click Export to CSV to download your report in CSV format.
- Print: Click Print to print the report.
