Wix Editor: Adding and Setting Up an Icon Button
6 min
In this article
- Step 1 | Add your icon button
- Step 2 | Set up your icon button's text and icon
- Step 3 | Add a link to your icon button
- Step 4 | Customize your icon button
Icon buttons are a fun, visual way to help visitors navigate around your site. To make sure they know what your icon button does, you can add an informative tooltip that appears on hover.
Set up the link on your icon button and customize the icon that is displayed for each of its states; regular, and hover.
Learn more about button states
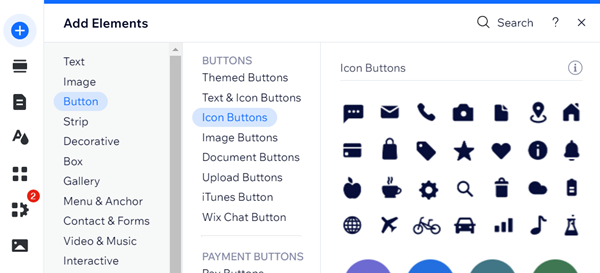
Step 1 | Add your icon button
To get started, choose an icon button from the Add Elements panel and drag it to your page. There are plenty of designs to choose from, depending on the action and the desired look.
To add an icon button to your site:
- Go to your editor.
- Click Add Elements
 on the left side of the editor.
 - Click Button.
- Click Icon Buttons.
- Click or drag the button to add it to your page.
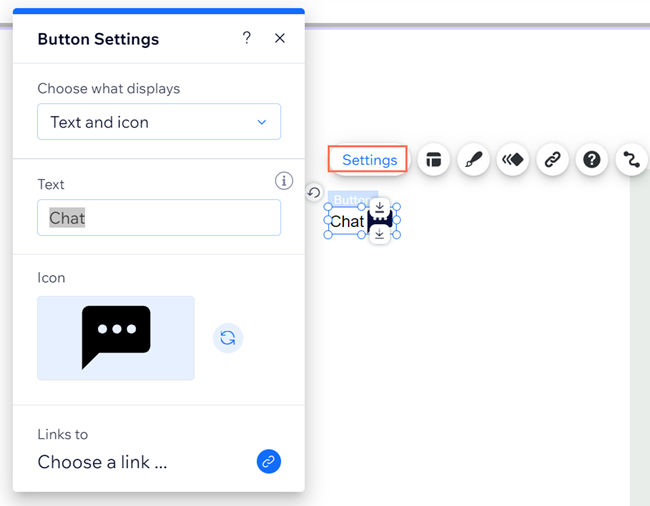
Step 2 | Set up your icon button's text and icon
Set up what you'd like to display on your button. You can display an icon, text, or both.
Text and icons shown on buttons should contain a clear call-to-action, and let visitors know what they'll be directed to.
To set up the button's text and icon:
- Click your icon button.
- Click Settings.
- Click Choose what displays and select an option from the drop-down:
- Text and icon: Display both text and an icon on the button. Set up the following options:
- What does it say?: Enter the text you want to display on the button.
- Choose icon: Click the Replace icon
to select a new icon for your button. You can choose from free media available from Wix, or upload your own.
- Icon only: Display only an icon on the button. Set up the following options:
- Choose icon: Click the Replace icon
- What's the alt text?: Enter an alt text description of the icon.
- Choose icon: Click the Replace icon
- Text only: Display only text on the button. Enter the text you want to display on the button under What does it say?.
- Nothing: Create a transparent button that doesn't display text or an icon. Enter an alt text description of the button under What's the alt text?.
- Text and icon: Display both text and an icon on the button. Set up the following options:
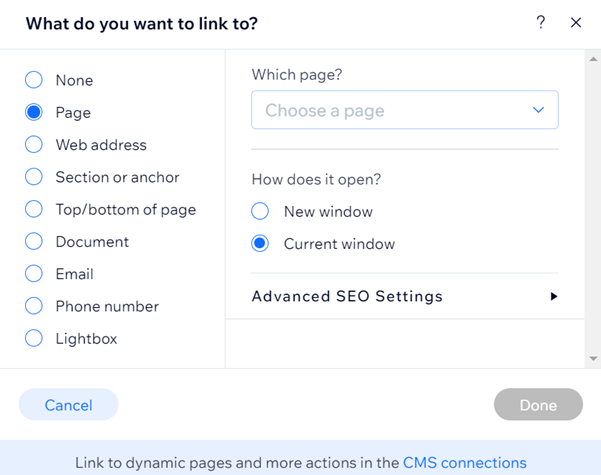
Step 3 | Add a link to your icon button
Add a link to your icon button to direct your site visitors to the relevant location. You can link to many different places including a page on your site, external web address, document or email.
To add a link to your button:
- Click your icon button.
- Click the Link icon
 .
. - Select a link type on the left.
- Depending on the link type you selected, add the relevant information.
- Click Done.
Tip:
Learn more about the types of links you can add.
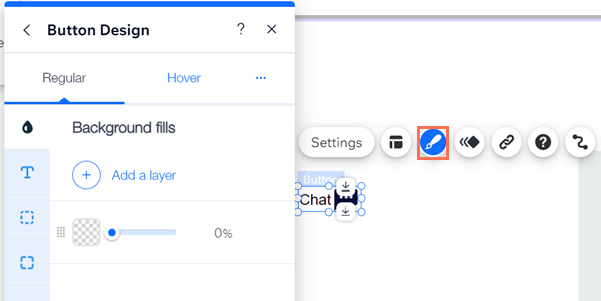
Step 4 | Customize your icon button
Once you've added a link to your icon button, customize it to your exact needs. You can choose the background fill, design the text, and much more.
To customize your icon button:
- Click your icon button.
- Click the Design
 icon.
icon. - Select a different preset design, or click Customize Design to adjust the existing design.
- Under Customize Design, choose the button state from the drop-down menu.
- Regular: How the button is displayed before visitors interact with it.
- Hover: How the button is displayed when visitors hover over it.
- Customize the design from the following tabs:
- Background Fills
: Customize the fill of your button.
- Text
: Adjust the design of the button text.
- Borders
: Edit the width and design of your borders.
- Corners
: Adjust the radius of the button's corners.
- Shadows
: Add and customize a shadow effect on your button.
- Layout
: Select what to display on your button, and adjust the alignment.
- Icon
: Edit the appearance of the icon on your button.
- Background Fills